Showing posts with label Nursery. Show all posts

Thursday, April 16, 2015

Final Reveal - Our Finished Kid's Room

Like another major project I can think of, this project ended up taking longer, being more difficult,  sometimes painful and exhausting, and time-consuming than I originally expected. As of today though, we are calling this project done. (The other one should be wrapping up soon.)

the original office

Let's take a minute to remember where this project started- with an overly-crowded office that had accumulated lots of stuff that really didn't belong in an office but had nowhere else to go. So we started by removing everything, including our cookbooks, and organizing it. Next we started on what became a huge project to touch up the trim and paint in order to have the floors refinished. Once they were done, we started moving in all the furniture and fun stuff we had purchased. We refinished a dresser that we found on Craigslist. I got my sewing machine humming and made baby blankets, floor pillows, a crib skirt and curtains. And then we finished it all up with a little floating shelf.

Here's what we ended up with:

the right side of the room - crib and glider

closeup of the crib with map and mobile

the map and mobile

view of the mobile from below

the glider with a poof and new lamp

the left side of the room

the floating book shelf and boat kite over the radiator

boat kite at night with its fairy lights on

closeup- the boat is pretty awesome at night

closeup of my floating shelf with its little bitty plants

closeup of the dresser and changing table - love the knobs!


wall art grouping above the dresser

the little blue table will be multifunctional

floor pillows hang out by the dresser- ready to be sat on

The intended resident of this room has not arrived yet, but the unintended ones definitely have. The cats love this room. Not only have they started stockpiling toys on the rug and playing under the crib skirt, they both love to nap in the room. Wally prefers the chair (hence the towel), while Syd prefers the crib.
getting ready to nap in the morning

cribs are just way too big, even for cats. 

So - here's a reminder of the original plan. We wanted light and bright, and gender-neutral. We wanted something kid-appropriate that would be fun and interesting for a baby, but could also work for a growing kid. We wanted it to fit into our house, without being too themed or matchy. I wanted lots of patterns and pops of color. What do you think- how'd we do?


Tuesday, April 14, 2015

Floating Book Shelf

One thing our fabulous kid's room was still missing was book storage. We have plenty of storage space in the closet, but we want the books to be out and accessible to make it easier to read as often as possible. We don't have a huge amount of space left though, as all the furniture and stuff has been slowly loaded into the smallish room. I've noticed that many nurseries store books facing forward so that the covers are easier to see, but it seemed like that approach wouldn't hold as many books and wouldn't transition to older ages very well, so I opted to build a normal-sized, floating shelf over the radiator instead. After some quick measuring, I decided I wanted the shelf to be about 30" wide, 3" thick and 8" deep, so that it can fit the average book but be as lightweight as possible. In case we change our minds in the future, we wanted the shelf to be removable.

Step 1. Shop
To build one floating shelf that is 30" wide - I needed the following (most of this came from my scrap pile):
  • one 1"x2"x8'
  • one 1"x3"x6'
  • one 1/4"x4'x8' plywood
  • wood glue
  • 2" wood screws
  • 1.5" finishing nails
  • plaster anchors

Step 2. Build and Attach the Frame
Using the 1"x2"s, I cut one 29" long piece and four 7" long pieces. Then I used wood glue and wood screws to attach them to each other, with roughly even spacing for the interior supports. Once the frame was built, I used the level and plaster anchors to secure it to the wall. I purposely wanted to build the shelf right in the corner so that I could anchor it on two walls, making it as strong as possible (books are heavy).


frame is put together and ready to be installed

frame attached to the walls

Step 3. Build Shelf Box
Next, I started to build the box that will slide over the frame. Using the remainder of the 1"x2", I cut another 29" piece - this board will be a support for the plywood top and bottom. Then I cut the front and side faces out of the 1"x3" - cutting one piece that was 30" long and one that was 8" long (These are rounded numbers - I measured each before cutting, and had slight variations based on the squareness of the wall, etc. Measure first if repeating this project).  The two faces will cover everything up so that you can't see the interior frame or the sides of the plywood. Using two finishing nails and some glue, I nailed them together. (Meant to use a kreg jig so that the nails wouldn't be visible from the front, but took the lazier route because I was tired.)


two faces get nailed together

Next we need to attach the 29" support piece to the back of the front face. The goal is that the plywood top will sit on top of the support so that it's flush with the top of the face. (Because I'm using 1/4 inch plywood, I will be able to make the top flush but not the bottom. If you used 1/2 plywood instead, you should be able to center the support on the back of the face and have both the top and the bottom be flush.) I held the faces up to the un-cut plywood, dry fitting to get a sense where the support needed to be to make the top flush, then glued and nailed it onto the faces using finishing nails. 
the support gets nailed to the back of the front face, with a small space for the top of the shelf to fit

Step 4. Attach top and bottom to shelf box
Using the leftover plywood from the bookcase project of forever ago, Spouso used a circular saw to cut 2 pieces that were 29" wide and 8" deep.  Using wood glue and the finishing nails, we nailed the top and bottom onto the support. Again, the plywood should be sitting on the support and flush with the top of the two faces.


finished shelf box ready to be painted

Step 5. Paint & Attach Shelf Box to Frame
I opted to paint the shelf white to lighten it up in here a bit, and then let dry overnight. Lastly, I slid the shelf box over the frame. I predrilled, and then used screws to attach the box to the frame, so that it can't slide back off but can be removed in the future if we want.

shelf box slides on and gets screwed to the frame

Step 6. Cover with Stuff
Once it was attached, we loaded it up with books. I also added two small plants, because every room needs a plant, and a piggy bank. (I love that the little asparagus fern looks like a truffula tree.). We bought some books that were recommended by blogs and Amazon, but we definitely need more. If anyone has recommendations for books for babies - please let us know!


shelf is all finished and loaded up


I thought the books would take up more space... must get more.

close up of the plants - so cute!

This is officially the last project for this room. Final reveal coming next.

Monday, April 13, 2015

Lined Grommet Curtains

You may remember 
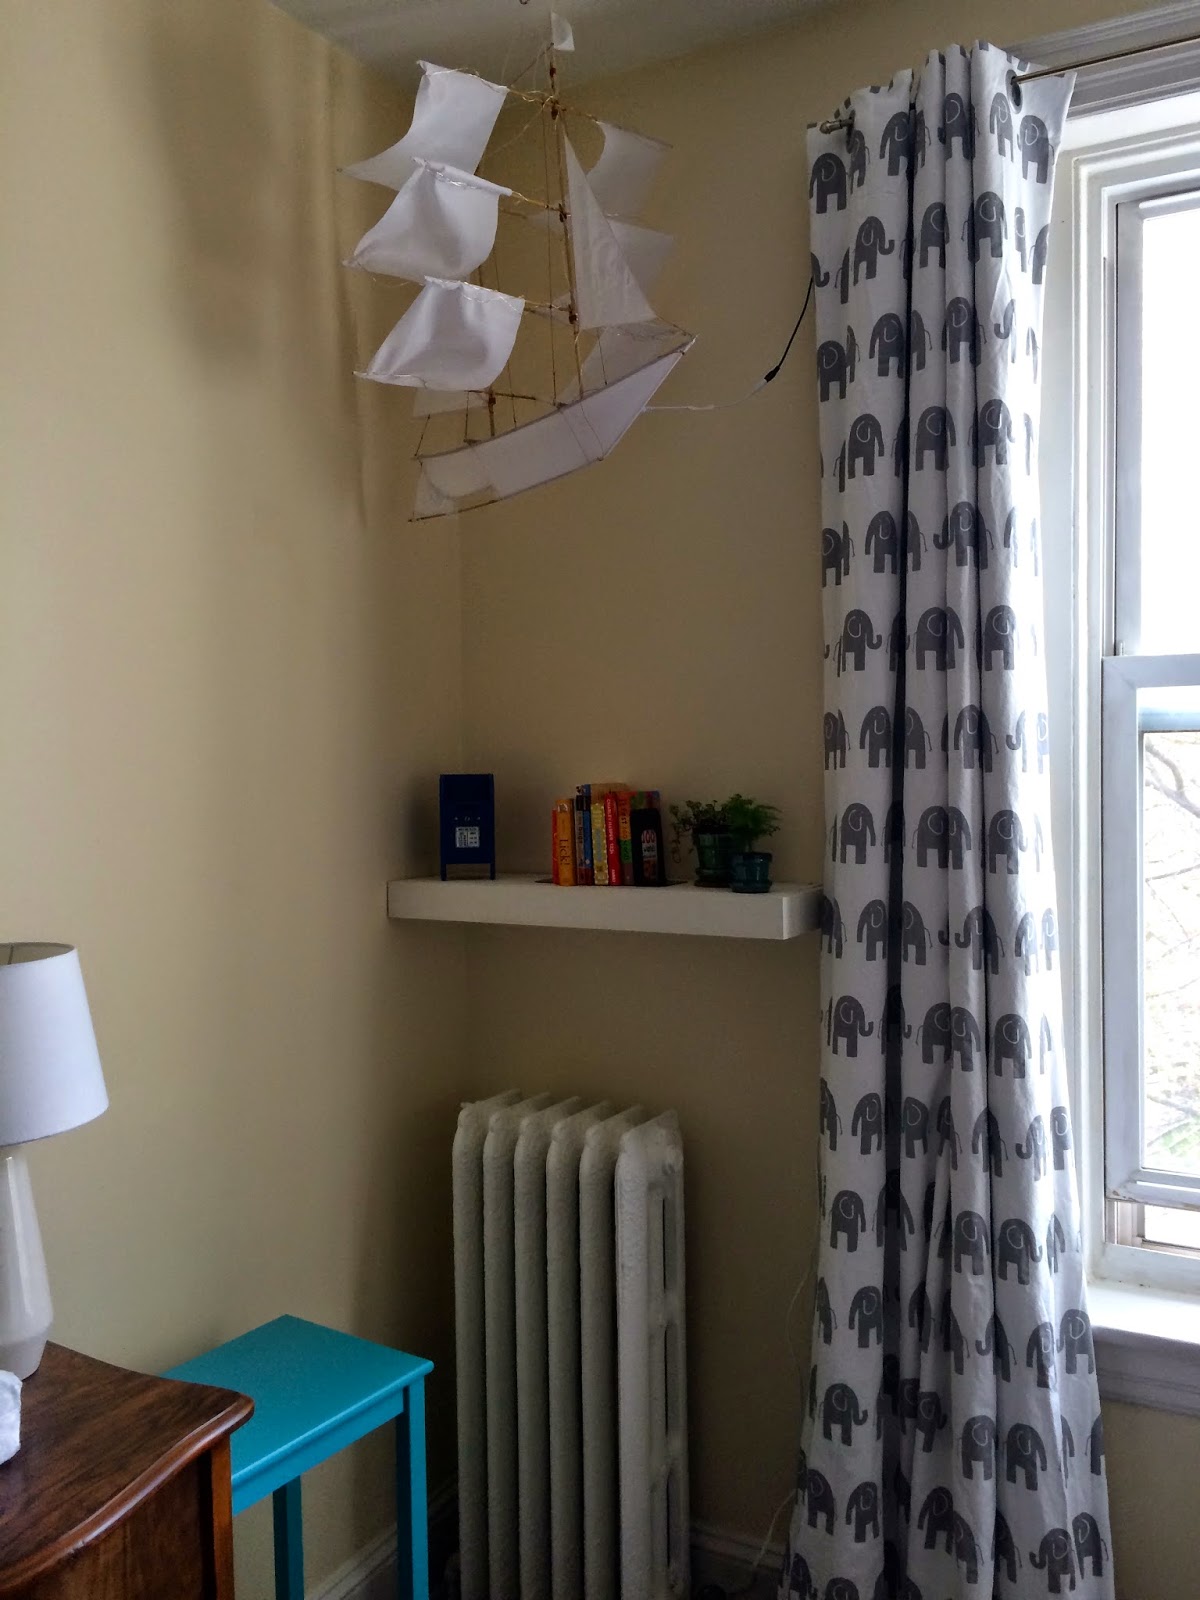
one of my earliest posts on making curtains for the old office - I was very excited to make lined drapes for a room that gets a lot of afternoon sun-- and to use my sewing machine for the first time. Unfortunately, the style of curtain I made (pole-pocket) didn't really allow the fabric to push to the sides, so they were hard to keep open. The fabric wasn't really appropriate for a kid's room anyway, so I decided to replace them with a new fabric, and use grommets to help them open more easily. Since this room gets lots of sun, lining them is still important.

I searched around for some instructions, found a couple helpful blogs with slightly different approaches (here and here), and created my own plan based on them, the materials I had, and my skill level. (I haven't gotten to the point of trying fancy stitches yet, so we have to keep this pretty simple.)

Step 1. Preshrink & Cut Fabric
I bought 8 yards of this cute elephant fabric, unrolled it, and threw it in the wash to preshrink. Once it was washed, dried, and ironed, I cut 1 panel that was 110 inches long (height from floor to curtain rod + 8"). So that the pattern lines up on both panels, I took the remaining fabric, cut it off to match the pattern at the top of the first panel, and then cut another 110 inch-long panel. Then I cut 2 panels of blackout liner that were 105 inches long (5 less than the curtain fabric). Lastly, I cut 2" off of the width of the liner so that it will be slightly narrower than the curtain fabric.

cutting two long panels with matching pattern at the top

Step 2. Sew Long Edges
For each panel, place the liner on top of the right-side of the curtain fabric so that its top is 5" below the top of the curtain fabric, and the left edges are flush. Then pin and sew the long, left edge together. Then pull the liner over to line up with the right long edge, and pin and sew it together. At this point, you should have a huge fabric tube. Because the liner is slightly narrower than the curtain, this causes the curtain material to fold around the edge of the curtain to ensure the liner isn't seen from the front. Then I flipped the curtain tubes right-side out.

Line up the curtain material and liner so the liner top is 5 inches bellow the curtain top and left sides are flush, and sew the left side.

Then pull the liner over to be flush on the right side, and sew the right side.


Step 3. Sew the Top
Next, I turned my attention to the top of the curtain. The goal is to create a loop of fabric for the grommets that's 4" tall, without excess liner and bulk. The curtain fabric should be sticking out 5 inches above the liner. Using only the curtain fabric, I folded and pressed a 1-inch hem, and then folded over again 4 inches. Then I pinned it down and sewed across.

Fold the top down 1" and press, then fold another 4" and press. Then pin and sew it down.

pressing and pinning the 4" fabric loop

Step 4. Install Grommets
I bought 2 packs of these grommets from Amazon, picking the almost 2" diameter option in brushed silver to match the new curtain rod. First you mark the centers of the first and last grommet, four inches from the edges and 2 inches down from the top. To figure out where to put the rest of the grommets, you have to do a little basic arithmetic. Take the width of the finished panel, subtract 8, and then divide by 7. The result is the number of inches between the centers of each of the other grommets.  My curtains were 53" across, so 53 - 8 = 45, and 45/7 = 6.42. I rounded to 6.5 and marked the center of each grommet, and then used the template in the grommet pack to trace the circle. It's not critical that the spacing between the grommets is exact, so rounding is ok - but it is critical that they are all the same 2" distance down from the top. Then I cut out the fabric circles, snapped together the grommets, and hung the almost-finished curtains.

my first blog equation! so excited. spacing the grommets is really not that hard.

marking, cutting and installing the grommets

Step 5. Hem
While searching the web for instructions on how to make grommet drapes, I noticed that a lot of people recommend that you measure the distance you want the curtains to cover, make them, and then hang them. It just makes me a little nervous to do that and have them turn out to be a little too short for whatever reason. So, instead, I purposefully made the curtains a bit long and hung them, and then went back to hem them to just brush the floor.  After pinning in place, I took them down one last time to sew the hem, and then put them back up. Voila-- all done. This room is getting really close to finished!
curtains needing to be hemmed

closed- note the fabric pattern is lined up across both panels

all done!

Sidenotes:
If you read my crib skirt post, then you know I actually made these curtains twice. A couple thoughts on that:

1. It is really really important that you measure the windows before you order the fabric - can't express this strongly enough. I think I sort of assumed that 3 yards per panel (9 feet each) would be plenty, but in fact- our windows are freakishly tall - so I needed closer to 4 yards per panel. Which meant that when I hung the finished curtains, they were way way too short.

2. When I made the first set of curtains, I made a number of careless mistakes. Getting a second chance was great, because it allowed me to fix the mistakes and really get it right. For the first set, I didn't pay attention to matching up the pattern for both panels, so it looked askew to see both panels side-by-side. I forgot the classic rule of lined sewing projects that you always want the rightside of the material to be on the inside of the fabric tube before you flip it - so I would've had exposed stitches and raw edges. And, I forgot that the point of making the liner 2" narrower than the fabric is so that you pull it over before sewing the last hem - which makes the curtain fabric curl around the edge. You would've been able to see my liner from the front.

3. I don't believe in "pregnancy brain", nor do I appreciate being told my brain is no longer functioning.  (General note: the only thing you ever need to say to a pregnant woman ever is, "You look fantastic, and you're doing a great job"). That being said- I do seem to be making a lot more careless errors than usual. The good news is that I made all my mistakes on the first set of curtains, which turned into a nice crib skirt, so the second set of curtains turned out perfectly. Practice made perfect - but generally, avoid the careless mistakes because curtain fabric is pricey!

Friday, April 3, 2015

Adjustable, Lined Crib Skirt

I was not planning to make a crib skirt. I was planning on making curtains for the kid's room-- which I did- and then hung and realized that they were about a foot too short. So - I ordered new fabric to make new full-length curtains, and need another project to use up the failed curtains. Enter - crib skirt!

I did some quick googling and found lots of blog posts to make crib skirts that could be adjusted to fit both the crib when it's raised for an infant and again when it's lowered for a toddler. Most posts made three separate panels that could be tied on to the crib- so I figured I would follow that plan. However, most of the posts I found made unlined crib skirts. The thing is, when you make lined sewing projects, meaning that there's both the attractive material you want and a basic, plain material sewed to the back, it allows you to hide all the stitches so they can't be seen. If you don't use a liner, then you can see all the stitches, so it's really obvious if you can't sew straight, have the wrong color of thread, etc.

So, I decided to make a lined, adjustable crib skirt out of three separate panels, to help disguise all my sewing sins and use up the extra curtain material.

Step 1. Measure the Crib
With the crib's mattress raised to its highest position, I measured the height from the ground to the bottom of the mattress, and the length and width of the inside of the crib. The crib was 18" up from the ground, 28" deep, and 52" wide.


Step 2. Cut Fabric & Liner
I added 1" on all sides for hems, and cut a single large panel that was 54" wide by 20" tall, and two smaller panels for the sides that were 30" wide by 20" tall. I was using a fabric with a really strong horizontal pattern, so I cut each panel so that the bottom was the same part of the pattern- this way they will all line up. If you don't have a strong pattern, you probably don't need to worry about this part. Then I ironed everything flat. Because I'm making a lined skirt, I cut the same measurements out of the lining fabric. (My fabric was already prewashed, but if you are starting fresh, you should prewash and dry to shrink before getting started).


Step 3. Pin and Stitch Bottom and Sides of Each Panel
For each panel, I pinned the liner onto the curtain fabric. It is very critical that you pin the liner onto the right-side (meaning the side you want to eventually be on the front) of the fabric. You should not be able to see the right-side of the fabric. Then I stitched together the bottom and sides, leaving a 1" hem.


Step 4. Attach Ties to Each Panel
To attach the panels to the crib, I needed to add ties. I grabbed some scrap fabric and cut it into long pieces. I folded a long piece in half, and then pinned it inside the top of each panel, one on each end. The scraps should be dangling inside of the panel. Then I pinned all the way across, and sewed almost all the way across each panel. It's important not to sew across the entire panel - or you will sew it all the way closed. Instead, leave a couple inches open.


Step 5. Flip and Finish
Using the space you left open, flip the entire panel inside out. At this point, the right side of the fabric should appear, and the ties should be on the outside. Then I simply sewed the last few inches closed - these will be the only stitches that can be seen in the finished project (but should probably be covered by the mattress).


Step 6. Attach to the Crib
Last but not least, you take each panel to the crib, and use the ties to tie it onto the crib frame so that the panels just dust the floor. Then put the mattress on top- which will help keep everything hidden and flat. When the kid is older and we need to drop the mattress, we will retie them at a higher position on the frame.
tying the panels onto the crib frame

all done

closeup- one perfect row of elephants on the bottom 


ready to nap!

So I never planned to make a crib skirt, but this one turned out pretty well. I am thrilled that the bottom row of elephants is perfectly framed by the mattress- which was totally lucky and not really planned. With the new mattress, mattress cover and sheets- we are all ready to go. This room is really close to being finished. Now I just need to make some new curtains...