
Step 1. Shop
To build one floating shelf that is 30" wide - I needed the following (most of this came from my scrap pile):
- one 1"x2"x8'
- one 1"x3"x6'
- one 1/4"x4'x8' plywood
- wood glue
- 2" wood screws
- 1.5" finishing nails
- plaster anchors
Step 2. Build and Attach the Frame
Using the 1"x2"s, I cut one 29" long piece and four 7" long pieces. Then I used wood glue and wood screws to attach them to each other, with roughly even spacing for the interior supports. Once the frame was built, I used the level and plaster anchors to secure it to the wall. I purposely wanted to build the shelf right in the corner so that I could anchor it on two walls, making it as strong as possible (books are heavy).


frame is put together and ready to be installed

frame attached to the walls
Step 3. Build Shelf Box
Next, I started to build the box that will slide over the frame. Using the remainder of the 1"x2", I cut another 29" piece - this board will be a support for the plywood top and bottom. Then I cut the front and side faces out of the 1"x3" - cutting one piece that was 30" long and one that was 8" long (These are rounded numbers - I measured each before cutting, and had slight variations based on the squareness of the wall, etc. Measure first if repeating this project). The two faces will cover everything up so that you can't see the interior frame or the sides of the plywood. Using two finishing nails and some glue, I nailed them together. (Meant to use a kreg jig so that the nails wouldn't be visible from the front, but took the lazier route because I was tired.)


two faces get nailed together

the support gets nailed to the back of the front face, with a small space for the top of the shelf to fit
Step 4. Attach top and bottom to shelf box
Using the leftover plywood from the bookcase project of forever ago, Spouso used a circular saw to cut 2 pieces that were 29" wide and 8" deep. Using wood glue and the finishing nails, we nailed the top and bottom onto the support. Again, the plywood should be sitting on the support and flush with the top of the two faces.


finished shelf box ready to be painted
Step 5. Paint & Attach Shelf Box to Frame
I opted to paint the shelf white to lighten it up in here a bit, and then let dry overnight. Lastly, I slid the shelf box over the frame. I predrilled, and then used screws to attach the box to the frame, so that it can't slide back off but can be removed in the future if we want.

shelf box slides on and gets screwed to the frame
Step 6. Cover with Stuff
Once it was attached, we loaded it up with books. I also added two small plants, because every room needs a plant, and a piggy bank. (I love that the little asparagus fern looks like a truffula tree.). We bought some books that were recommended by blogs and Amazon, but we definitely need more. If anyone has recommendations for books for babies - please let us know!
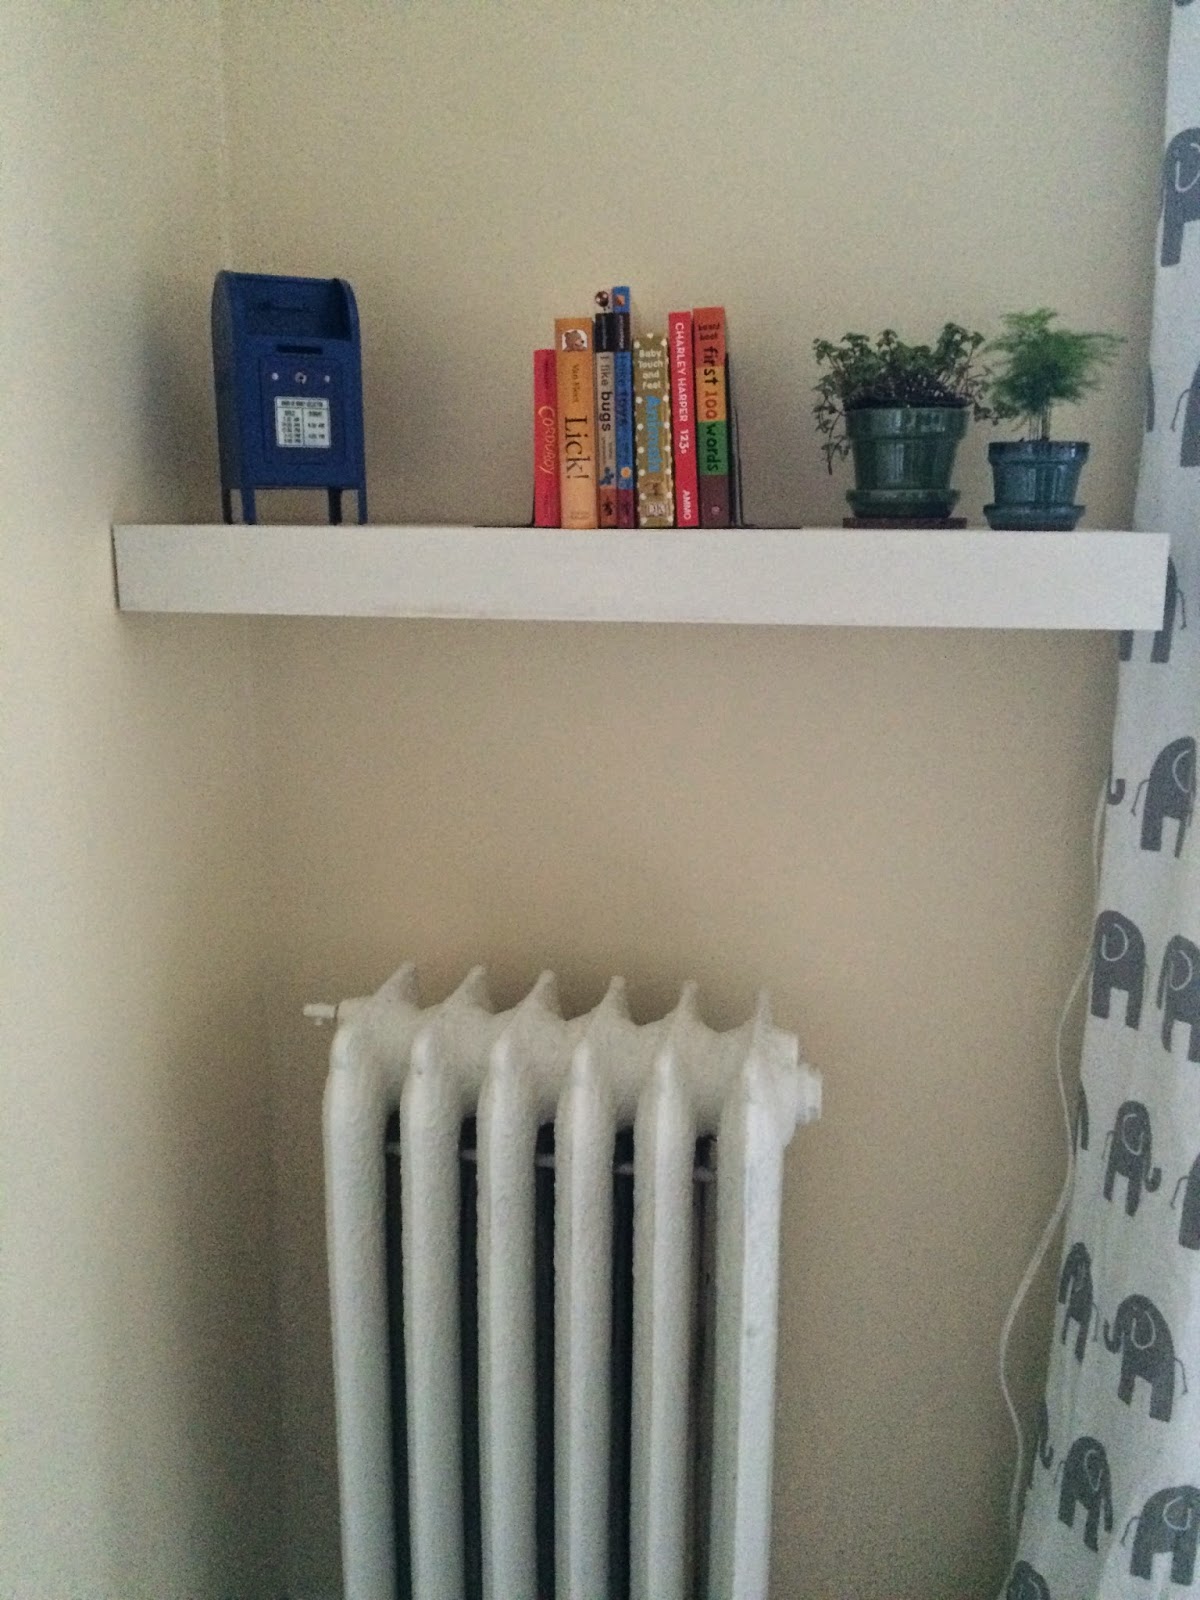

I thought the books would take up more space... must get more.

close up of the plants - so cute!
This is officially the last project for this room. Final reveal coming next.
No comments:
Post a Comment