Monday, August 29, 2016

Fixtures for the Halfbath and Mudroom

So, if you've been following along, you know that we just finished putting down the new tile floor in the half bath and mudroom. The next logical thing to do would be to install the pocket door, because all of the trim will build off of it, and it's easier to install trim before fixtures are in the way. However, we are seriously procrastinating on the pocket door because it's going to be a real PITA to install. Since the toilet has been sitting outside on the back patio all summer, we were anxious to get it inside and hooked up - so, we're skipping ahead and installing the fixtures first. We'll come back to do the door and trim and stuff later.

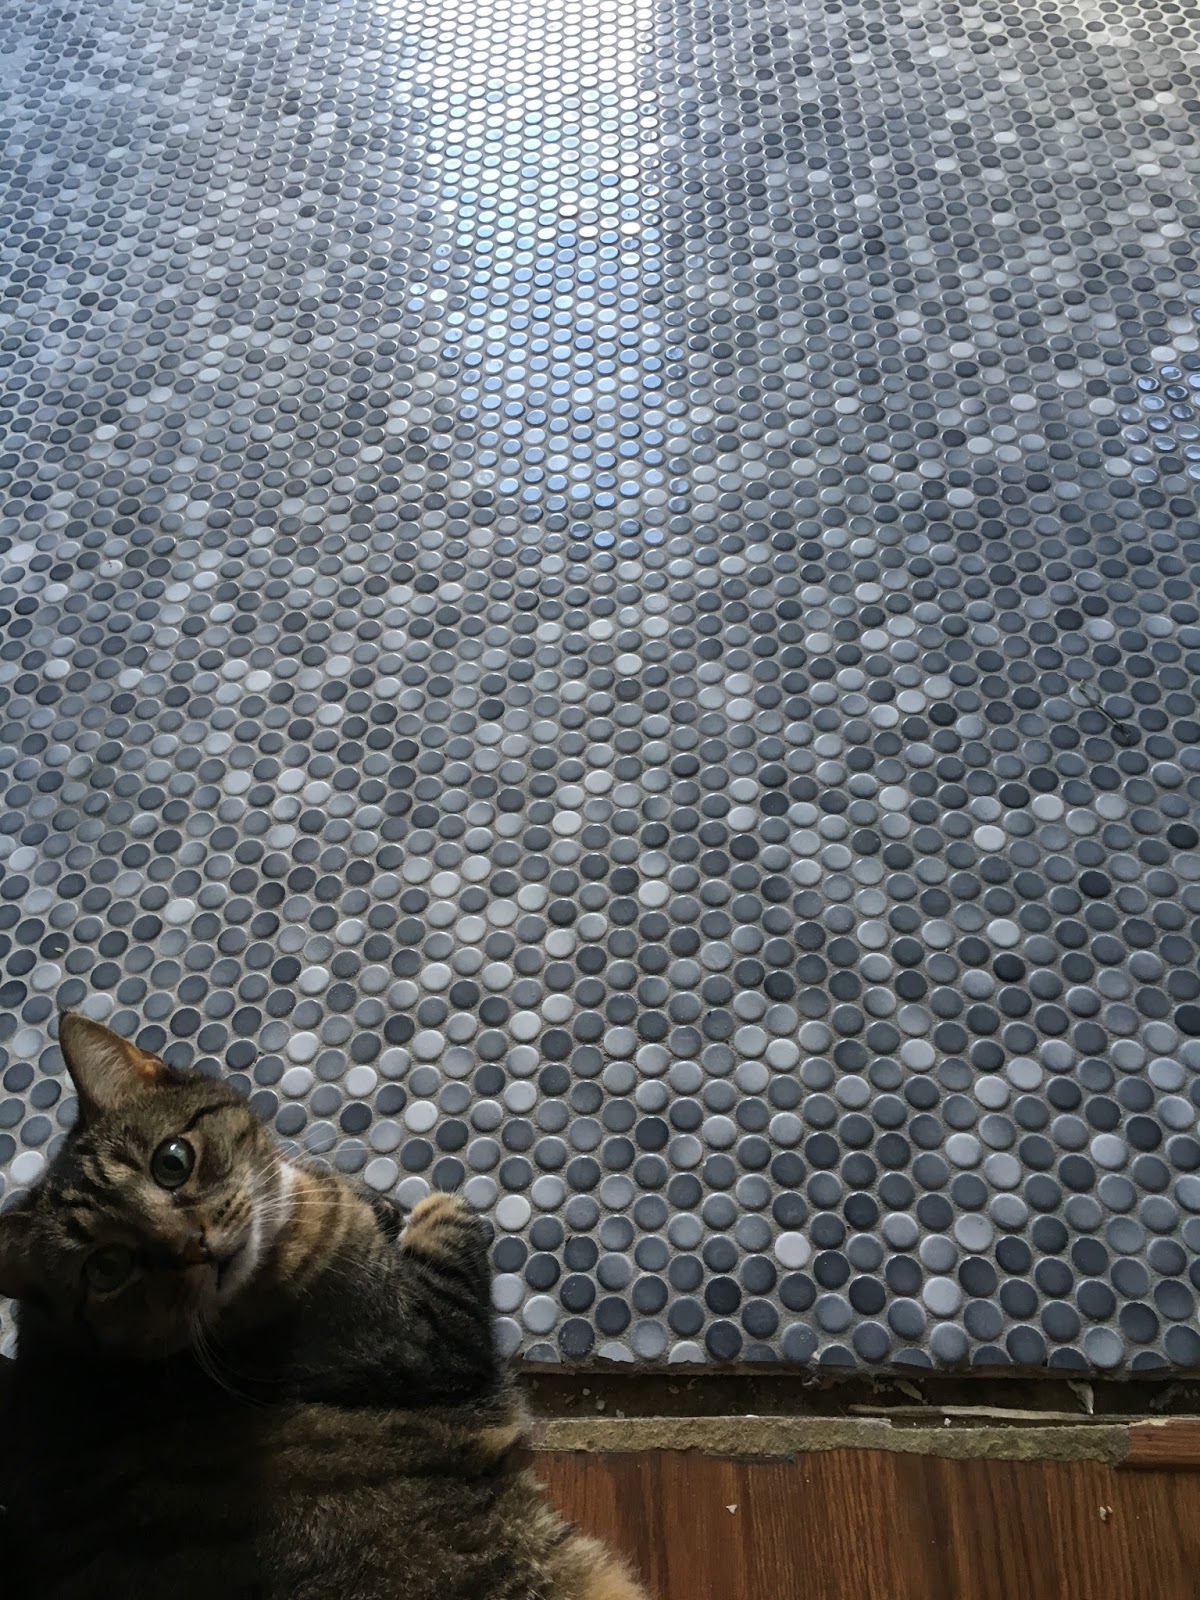
Step 1 - Partial Wall Trim
I know I just said that we were going to skip the trim - but I couldn't allow the sink and toilet to go in before some trim, because it would frankly be impossible to install after the fact. So, we quickly put up some base molding and a few beadboard panels on just the critical walls.

base boards going in 

beadboard panels going up

Step 2 - Install Toilet
Next, Spouso took the lead on installing the toilet. He had to install a new drain thing, and drill it down to the floor. Then we cleaned up the old toilet which had been sitting outside all summer (tip: rubbing alcohol easily removes wax ring gunk). Then we stuck a new wax ring on, and set it down on the flange. He added cut-offs for the water lines, and poof! Toilet is back!

toilet goes back in

Step 3 - Install Sink
Then, we turned our attention to a new pedestal sink. He hooked up the drain pipe, and then put the sink in place, installed the faucet, and then installed cut-offs and water lines. Everything occurred nearly without incident, with only one occasion in which water was literally shooting out of the wall and pouring into the basement apartment below. Turns out - not only had the contractors sheetrocked over the drain pipe to start, but they also mislabeled the cut-off valves for the pipes.

new pedestal is in

view from above - I'm diggin the faucet. 

Proof that the water works*

Step 4 - Radiator
Oh, and the plumber came back and hooked up the new radiator - which means that this space will no longer be icy cold in the winter. This should've been a super easy project since they installed the valves before the tile floor went down - but it turns out they installed the wrong size valves, so they had to rip up my beautiful floor to replace the valves. Then they had to come back a couple times to try to fix a slow leak. Eventually - they finally got it right, and now the radiator should work and more importantly- we're done with contractors! I'm starting to get really excited about fall coming and the radiators going on again.

I suspect this will be a popular spot in the winter. 

So, these two rooms just came a long way on the functional spectrum, but we still have a lot to do to make them look more finished and attractive. (For the record - I continue to believe that the bathroom is not actually functional until there is a door, but I seem to be the only one). We're trying hard to push to the finish - so stay tuned.


* So, just a quick note - the boy is all about bowls, spoons and cups these days and has been carrying this particular bowl around all weekend. Not surprisingly, when Spouso showed him that the sink worked, he immediately stuck the bowl in the water and then threw the water all around the room. He gets more interesting every day.

Saturday, August 20, 2016

Halfbath Gets a Floor

So, as you know - the contractors just finished working in the halfbath and mudroom area - fixing the plumbing, adding electrical and a radiator hookup, and hanging sheetrock. Once they were out - it was our turn to get to work on the floor.

Step 1 - Fill in the Gap
This space used to be the back of the house - so there was a small brick half wall that the contractors removed. When they did, it left a crater-type thing in the floor that needed to be filled in. We picked up a bag of cement, stuck a bit of scrap-wood framing to contain the area, and then poured it in and smoothed it out.

framing and leveling to fill in the gap

Step 2 - Add Backer Board
We had a pretty solid plywood subfloor, but needed something stronger that wouldn't bend or bounce and crack the tiles. So we got some tile backer board, cut it down to size with a utility knife, and screwed it to the plywood.

as always  - 6 hands are better than 2. 

backerboard down!

Step 3 - Paint
So you might've noticed the walls changing colors in the pics above. Knowing that new floor was going down, I wanted to get paint on the walls first, to avoid the risk of splatters and spills on brand new tile. But, we hard a hard time picking a color because there were a lot of constraints: it needed to look good against the floor tile for this space, but I also wanted the same color to go in the kitchen, so it needed to look good with the kitchen now, as well as the kitchen post-renovation, plus it needed to look good against the dining room walls, which abut the kitchen. I ended up with 6 different paint samples and painted the whole room 3 times before we finally ended up with a really neutral color that is barely a color at all. Then, after the mudroom was painted a barely-there color, I decided that the half bath desperately needed to be a strong color, so it went half dark bluish/grey. The bottom half went white, in anticipation of a wainscoting situation, still ahead.

a bluish-grey color looked ok in the mudroom...

but looked horrible in the kitchen against the dining room walls. 

So mudroom gets repainted in a creamy, warm-white color. 

Halfbath goes half dark blue/grey, half white.

Step 4 - Tile! 
Once it was all ready to go, I finally got to put the tile down. I'm always so excited for this step because it makes such a huge difference in a room. We opted for these little gray penny tiles that came in square-foot pieces. Because the tiles themselves are so small, we didn't even need a tile saw to cut around the toilet and door openings. Instead, I just used scissors to cut the mesh backing, and tile snips to cut a few tiles in half. The whole floor went down in a record 4 or 5 hours.

tile is down!

Step 5 - Grout
So, things were moving along pretty quickly at this point, the tile was down and got 24 hours to dry, so I was ready to grout. We picked a light grey grout color to lighten up the floor a bit while being dark enough to hide dirt (this is a mudroom, afterall). Unfortunately, when we bought it at the tile store - I asked what the square footage coverage of a bag was, and the guy quickly answered "100 square feet". Well, we should've known better and actually read the bag itself. Of course the coverage depends on what kind of tile you are using, and since this is a small mosaic with big gaps between the tiles - one bag had a lot less coverage on this tile than it would on most. So, almost as soon as I got started grouting, it was clear that we didn't have nearly enough. I got the important areas finished, and then had to wait until the weekend to get back out to the store and get another bag. (This wouldn't have been that big of an issue if tile stores weren't located as far outside of cities as they can get).

Syd models the new floor. 

the cats seem to love this room already. 

actually - all the little people seem to love this room already. 

checkout the shine. so shiny. 

Major milestone achieved: Our house no longer has any plywood floors! I'm very excited. We still have a long ways to go to make this a functional bathroom, but we're gaining momentum!