Thursday, December 18, 2014

New Envelope Pillow Covers for Christmas

One of the things I wanted to do last year was re-cover all the throw pillows for Christmas, but the fabric I ordered didn't arrive in time. This year, with the fabric in hand, I finally got my chance. I spent a Saturday afternoon slowly cutting, pinning and sewing while watching movies. Of course, the tv is downstairs and the sewing machine is upstairs, so I'm only catching like every other half-hour of the movies.

Step 1. Measure, Cut and Prep Fabric
First up, I quickly wash and dry my fabric to preshrink, and quickly iron it flat. Then, I remove the first pillow cover and measure it: an 18" x 18" square. Next, I cut my fabric into three pieces: one square (Piece B- will be the front of the pillow) that is 19"x 19" (should be 1" more on both sides than the previous pillow cover), and two rectangles (Pieces A and C) that are 19" x 13" (same height as square piece, 6 inches shorter on the length).


cutting fabric is more difficult with playful monsters.

Step 2. Hem Long Edge of Both Rectangles
I fold a half-inch seam on the long each of each rectangle pieces, pin and sew closed.

Step 3. Layer and Sew Top, Bottom and Side Seams
I start with Piece B, right side up. I take Piece A (wrong-side up, with hemmed edge to the right) and place it on top of Piece B. Then I take piece C (which is wrong-side up, with hemmed edge to the left) and place it on top of Piece A. So now we have a pile of all three pieces, with all the right-sides of the fabric inside and only wrong-sides of fabric on the outside. Then, I pin half-inch seams and sew along both vertical edges, and then both the top and bottom edges.


Step 4. Open and Stuff
Last up, I flip out the pillow cover through the envelope opening, and stuff in my pillow.

Step 5. Repeat
I did the same thing for my other pillows, slowly working through all the fabric. After just a few bad movies, I was all done, with six new pillows to festive-up the living room.

two new christmas pillows

Tuesday, December 16, 2014

Heat and Bad Luck

Ok, so right before Thanksgiving, a friend of mine came to stay with us. Just before she arrived, we heard a loud grinding noise coming from the basement. We went down to check and quickly determined that something was horribly wrong with the boiler, so we turned it off and called the plumbers. They couldn't come immediately, but advised that we should keep it off until they could get out to inspect it. When she arrived at the door, the house was already getting chilly. "Welcome to our house, hope you don't like heat."

Over the next couple days, the crew came out to inspect and determined it was definitely broken. Turns out, when our contractors were replacing pipes in the basement over the summer, at some point the water was shut off, and the boiler system went dry. This somehow broke our circulating motor- the thing that pumps the hot water through the radiators in the house- and now it needed to be replaced. Because radiators are awesome - the house held on to its heat for pretty long while we waited for them to get all the right parts and complete the work. But by the second and third day, we were all getting a little annoyed and tired of walking around under blankets.

Once the pump was fixed, we went on our merry way, and the house was warm and comfy again.

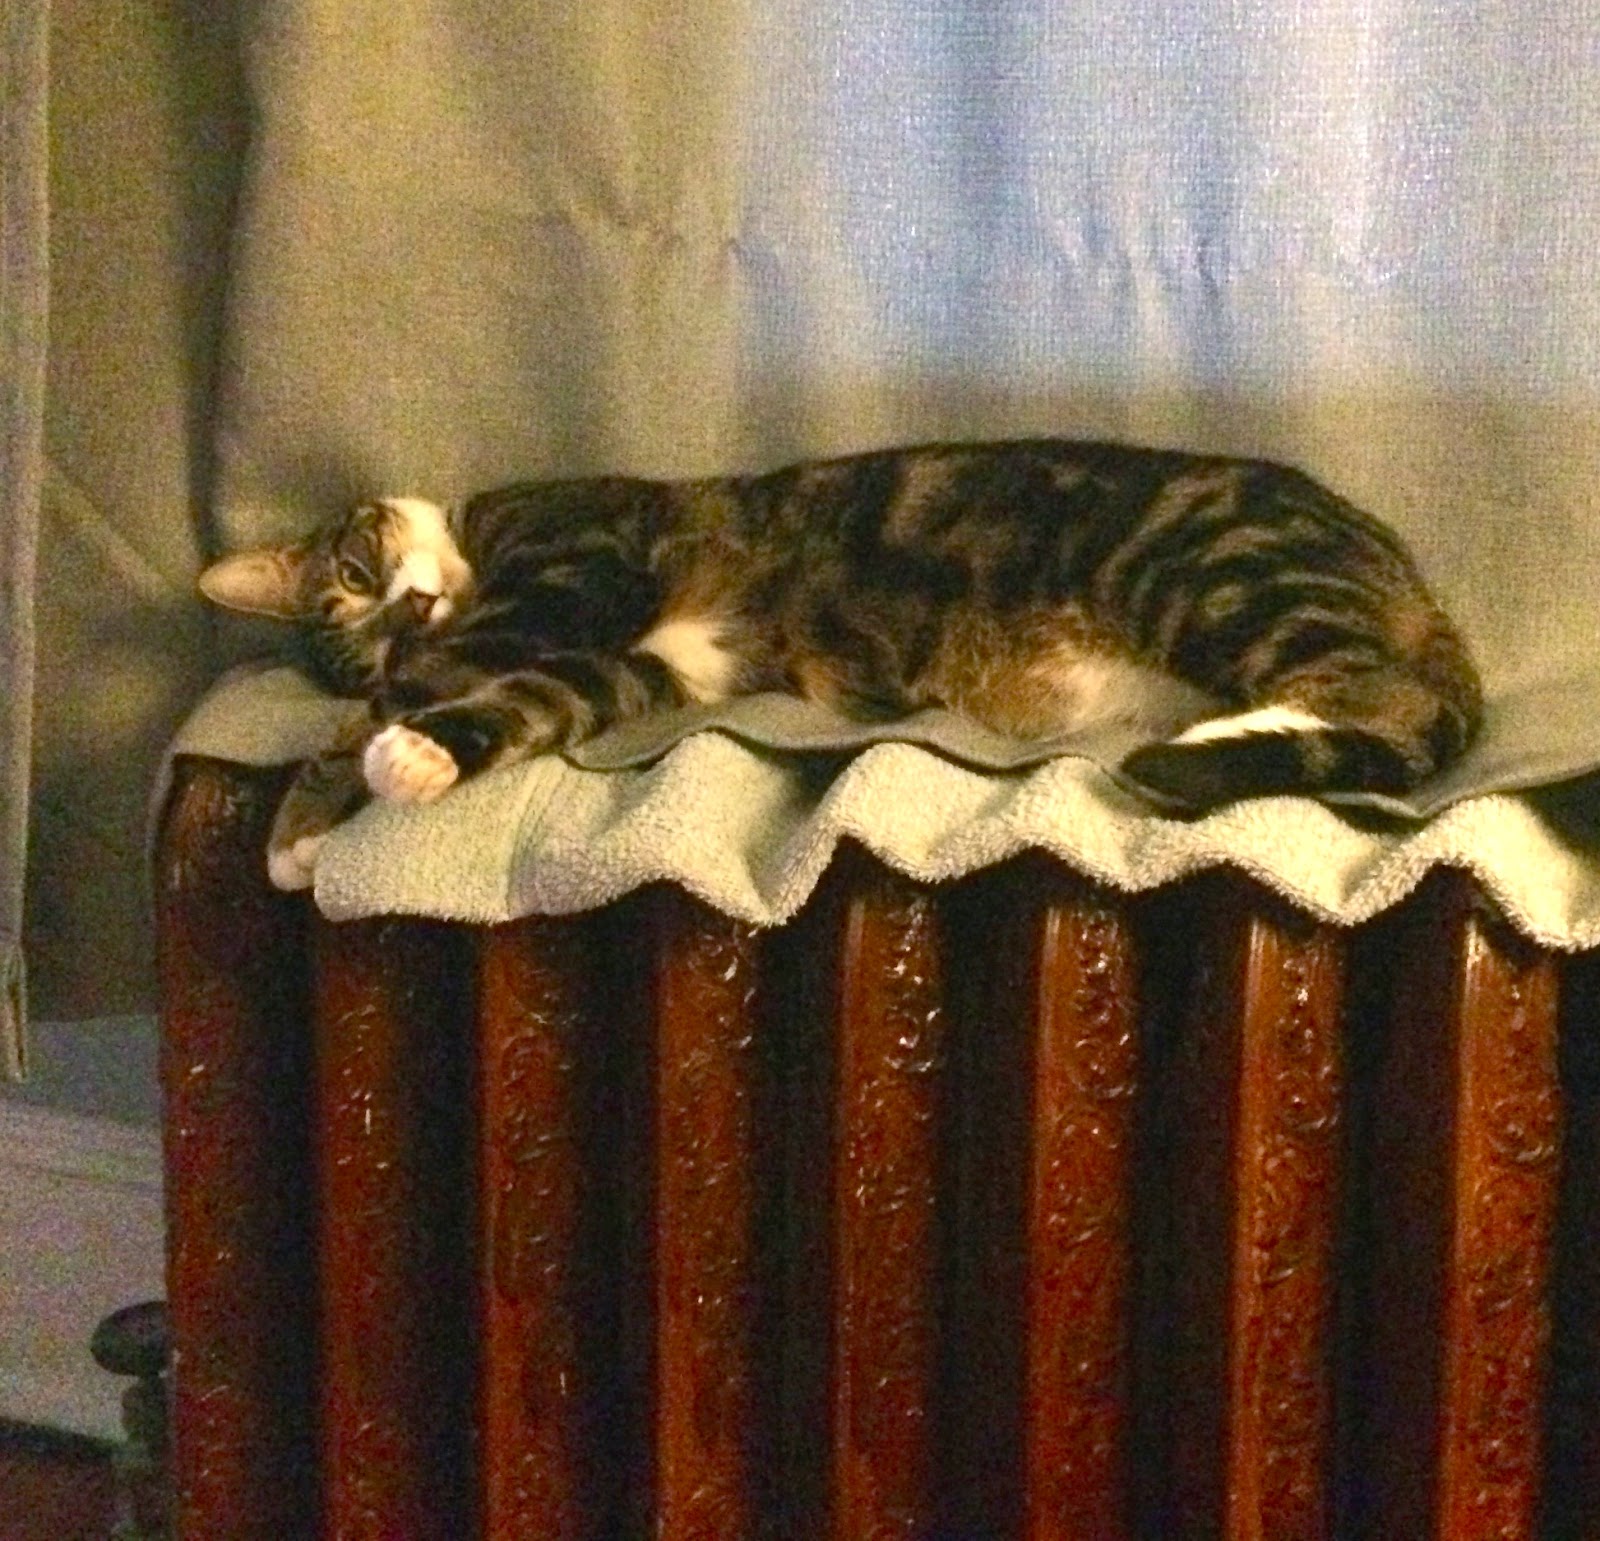
everyone likes a toasty radiator


Then, maybe two weeks after all that, we noticed that the house seemed to be getting slightly cooler. The thermostat noticeably showed that the temperature of the house was at least 5 degrees cooler than it was set to be. So we called the plumbers out again.

Turns out that the work they did to the pump, somehow affected the boiler itself, and ...wait for it... now the whole boiler needed to be replaced. Of course, when we bought the house and saw that the boiler was something like 50 years old, we assumed we would eventually need to replace it. We just didn't expect to have to do it only a few weeks after having a crew come work on the system and swear that the boiler would be fine.

So, after another couple days of wearing blankets, toasting ourselves by the fire, and whining about cold feet - the plumbers finally got the parts and gave us a new boiler. At this point, everything about it is new, so I don't see how anything else could break. Of course, we're about to get more house guests, so everyone should consider themselves warned.

The only good news I can see is that all this work is annoying and disruptive - so it's handy that it's happening now, and not after a new tenant moves into the basement. Hopefully this insures us that no more work will need to happen down there for quite a while. Plus, the new unit is more efficient than the old one, so that's always nice.

Monday, December 15, 2014

Finishing Touches in the Basement

We thought our basement was finished when the contractors left almost two months ago, but there were a couple things that still needed to be fixed.

1. Iron Gates
Both the front and back doors to the basement are protected with iron gates. Those gates both have locks that require you to use a key to exit - which always seemed like a huge fire risk to me. (I like the idea that you can get all the way out of your house without keys if you need to). So, we wanted to replace the locks so that you can get out without a key. The problem is that the bars of the gates are wide enough that you can just reach through, so you could easily unlock the gate by hand, which is a security risk. To solve the problem, we had an iron company come out to replace the locks and add mesh so that you can't reach through. It fixes both the safety and security concerns, even though it's a bit uglier to look at.

new iron gate is safer but definitely uglier


2. Mail box & Doorbell
We ran to the depot to grab a new mailbox, some stickers, and a wireless doorbell for the basement. Just small finishing touches to make for a complete unit.

3. Leaky pipes
Ok, so do you remember this picture from before the renovation got started? We ripped out the wall and part of the carpet, trying to find the source of a leak. We found that not only was water just pouring into the wall where the downspout from the roof hits the ground, but that the wall was completely rotted away. The contractors replaced all the framing and put up new sheetrock, but never did anything about the leak. Similarly, we found that both the front and back doors were pouring in water when it rained, because the drains would overflow.

original basement - destroyed in search of the source of a leak

huge hole to dig up the clogged pipe

crosscut of the removed pipe- more than half-full of cement

We finally called a plumber to come snake all the drains. Two of them were easily fixed, but the third by the back door turned out to be full of construction debris and cement (potentially from the contractors washing their tools off). So we had to get plumbers to come back, dig up the drain, remove the part that was full of cement, and replace. Finally, it is all done, and all drains appear to be flowing nicely (course it's hard to really tell...).

4. Get a Tenant
The contractors were supposed to finish in August, which would have been great for getting a renter in September. They got behind schedule, and didn't finish until October. With all these final projects, we weren't ready for a renter until November, which is a really bad time to be on the market with a rental unit. We posted online, and had a small stream of people come through to check it out. Finally, it looks like we finally found a good tenant who will start moving in before the end of the year! Almost a year after we started this project, our basement is finally done. We are now moving on to other projects!!