

remember the pocket door we found in the kitchen?

door upstairs - with a lot of paint on the edge

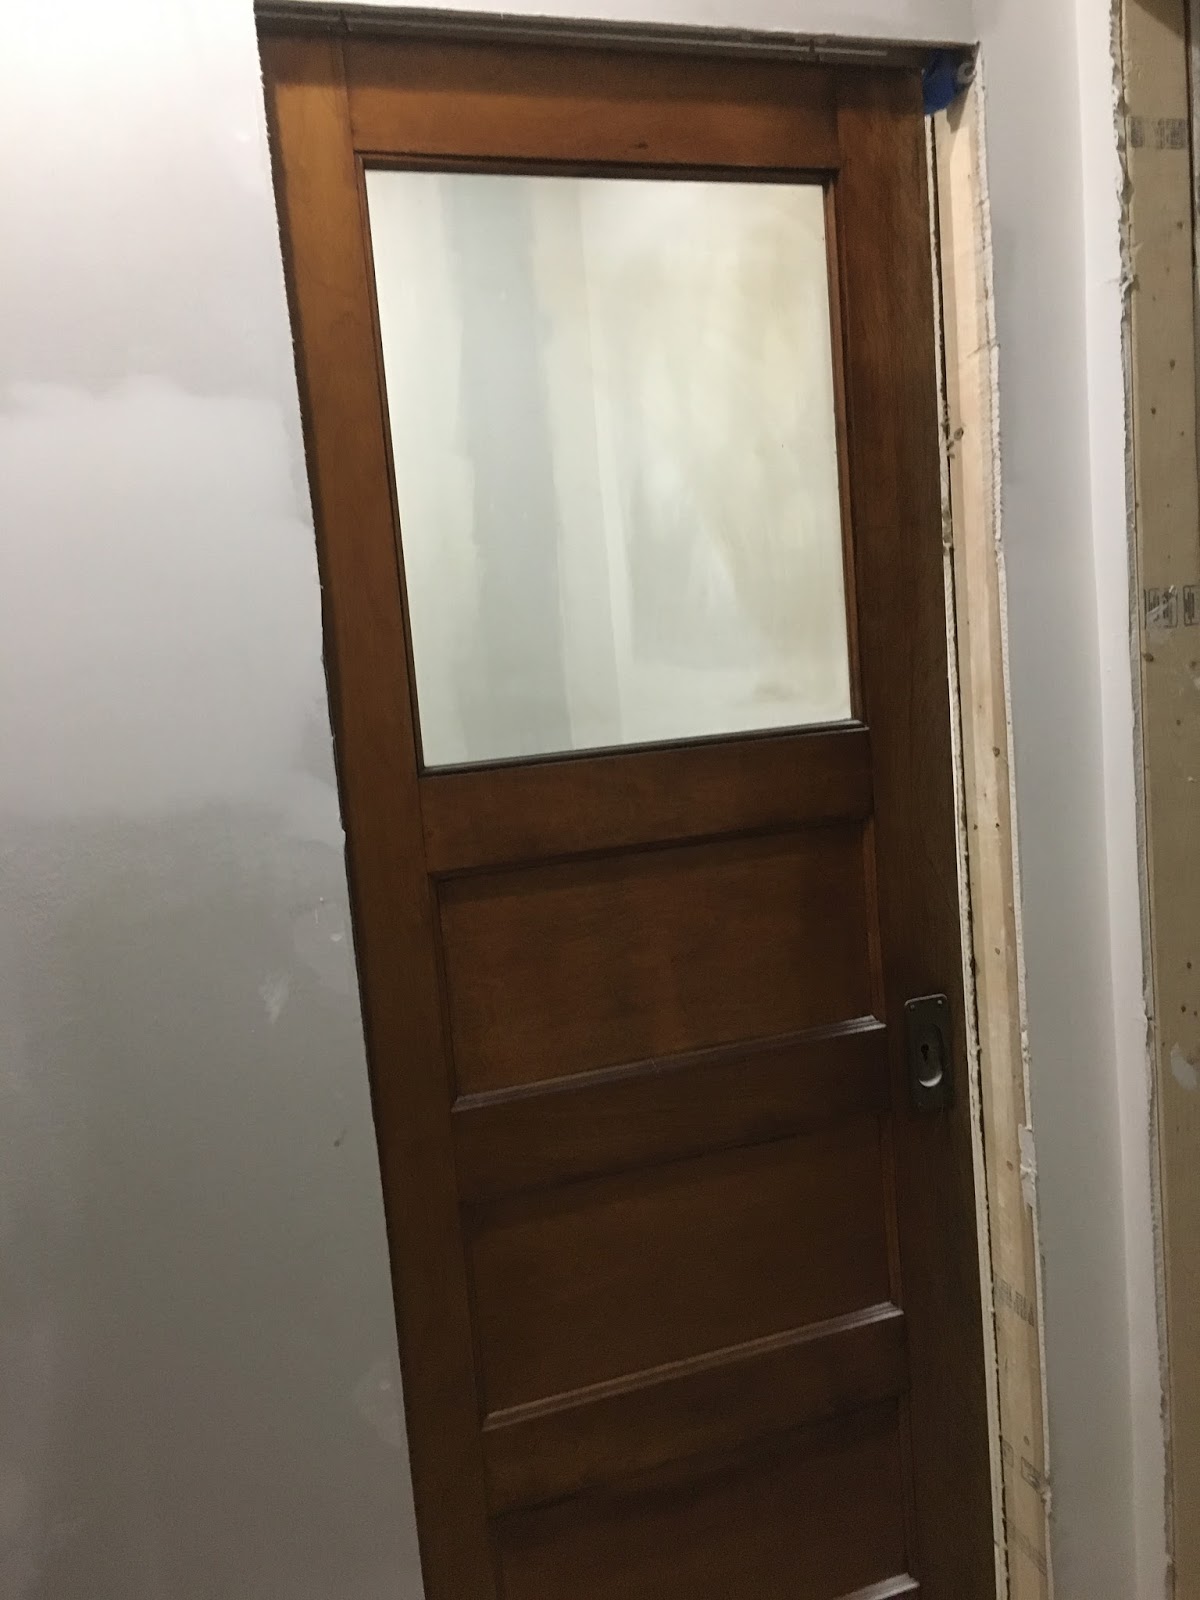
after the heat gun - still schmootsy.
So then I grabbed some really course sandpaper, and hand scraped it down. Yes- I could've used the power sander which would've been faster, but it was naptime, and I was trying to be quiet.

after sanding- no more paint, but some discoloration.

lock comes off
After I cleaned it all up, it was clear that the heat gun and sanding had also removed some of the stain, leaving the edge of the door a little lighter than the rest of the door. So I dug around the garage and found a lighter walnut stain, and gave the edge panel a light coat. It didn't sink in very well, but just enough to darken the door up a bit. It's not a perfect match, but I think looks better.

cleaned and stained
Lastly - I gave the whole door a quick coat in polyurethane to protect it. I briefly debated sanding the whole thing down and restaining, but decided to just let it be. The door is old and should look old, I decided. (plus, there was halloween candy to poke at).

stained, protected, and ready to go.
I spent a little time scraping paint off of the edge of the locking mechanism, and then a lot of time trying to put it back together. A spring had come loose, and it took quite a bit of googling to figure out where it should go. Finally, we figured it out - putting the lock back together so that it will actually work. Now when the door is unlocked, the handle pops out to grab. Then I just slid it back in the door, screwed it in - and called it a day.

tinkering with the locking mechanism

paint mostly scraped off


back in the door

close up of lock on top and handle on bottom
now when you push the button- the handle pops out
The door looks great and is ready to be used again. Our contractor was initially pretty negative about the idea of reusing old doors - but I'm pretty excited that we saved this one. I have no idea how long it was trapped in the kitchen wall, but now it's ready to be seen and used and hopefully will last another hundred years.
a bit of old character in a sea of new construction
No comments:
Post a Comment