
Step 1 - Fill in the Gap
This space used to be the back of the house - so there was a small brick half wall that the contractors removed. When they did, it left a crater-type thing in the floor that needed to be filled in. We picked up a bag of cement, stuck a bit of scrap-wood framing to contain the area, and then poured it in and smoothed it out.

framing and leveling to fill in the gap
Step 2 - Add Backer Board
We had a pretty solid plywood subfloor, but needed something stronger that wouldn't bend or bounce and crack the tiles. So we got some tile backer board, cut it down to size with a utility knife, and screwed it to the plywood.

as always - 6 hands are better than 2.

backerboard down!
Step 3 - Paint
So you might've noticed the walls changing colors in the pics above. Knowing that new floor was going down, I wanted to get paint on the walls first, to avoid the risk of splatters and spills on brand new tile. But, we hard a hard time picking a color because there were a lot of constraints: it needed to look good against the floor tile for this space, but I also wanted the same color to go in the kitchen, so it needed to look good with the kitchen now, as well as the kitchen post-renovation, plus it needed to look good against the dining room walls, which abut the kitchen. I ended up with 6 different paint samples and painted the whole room 3 times before we finally ended up with a really neutral color that is barely a color at all. Then, after the mudroom was painted a barely-there color, I decided that the half bath desperately needed to be a strong color, so it went half dark bluish/grey. The bottom half went white, in anticipation of a wainscoting situation, still ahead.

a bluish-grey color looked ok in the mudroom...

but looked horrible in the kitchen against the dining room walls.

So mudroom gets repainted in a creamy, warm-white color.

Halfbath goes half dark blue/grey, half white.
Step 4 - Tile!
Once it was all ready to go, I finally got to put the tile down. I'm always so excited for this step because it makes such a huge difference in a room. We opted for these little gray penny tiles that came in square-foot pieces. Because the tiles themselves are so small, we didn't even need a tile saw to cut around the toilet and door openings. Instead, I just used scissors to cut the mesh backing, and tile snips to cut a few tiles in half. The whole floor went down in a record 4 or 5 hours.

tile is down!
Step 5 - Grout
So, things were moving along pretty quickly at this point, the tile was down and got 24 hours to dry, so I was ready to grout. We picked a light grey grout color to lighten up the floor a bit while being dark enough to hide dirt (this is a mudroom, afterall). Unfortunately, when we bought it at the tile store - I asked what the square footage coverage of a bag was, and the guy quickly answered "100 square feet". Well, we should've known better and actually read the bag itself. Of course the coverage depends on what kind of tile you are using, and since this is a small mosaic with big gaps between the tiles - one bag had a lot less coverage on this tile than it would on most. So, almost as soon as I got started grouting, it was clear that we didn't have nearly enough. I got the important areas finished, and then had to wait until the weekend to get back out to the store and get another bag. (This wouldn't have been that big of an issue if tile stores weren't located as far outside of cities as they can get).
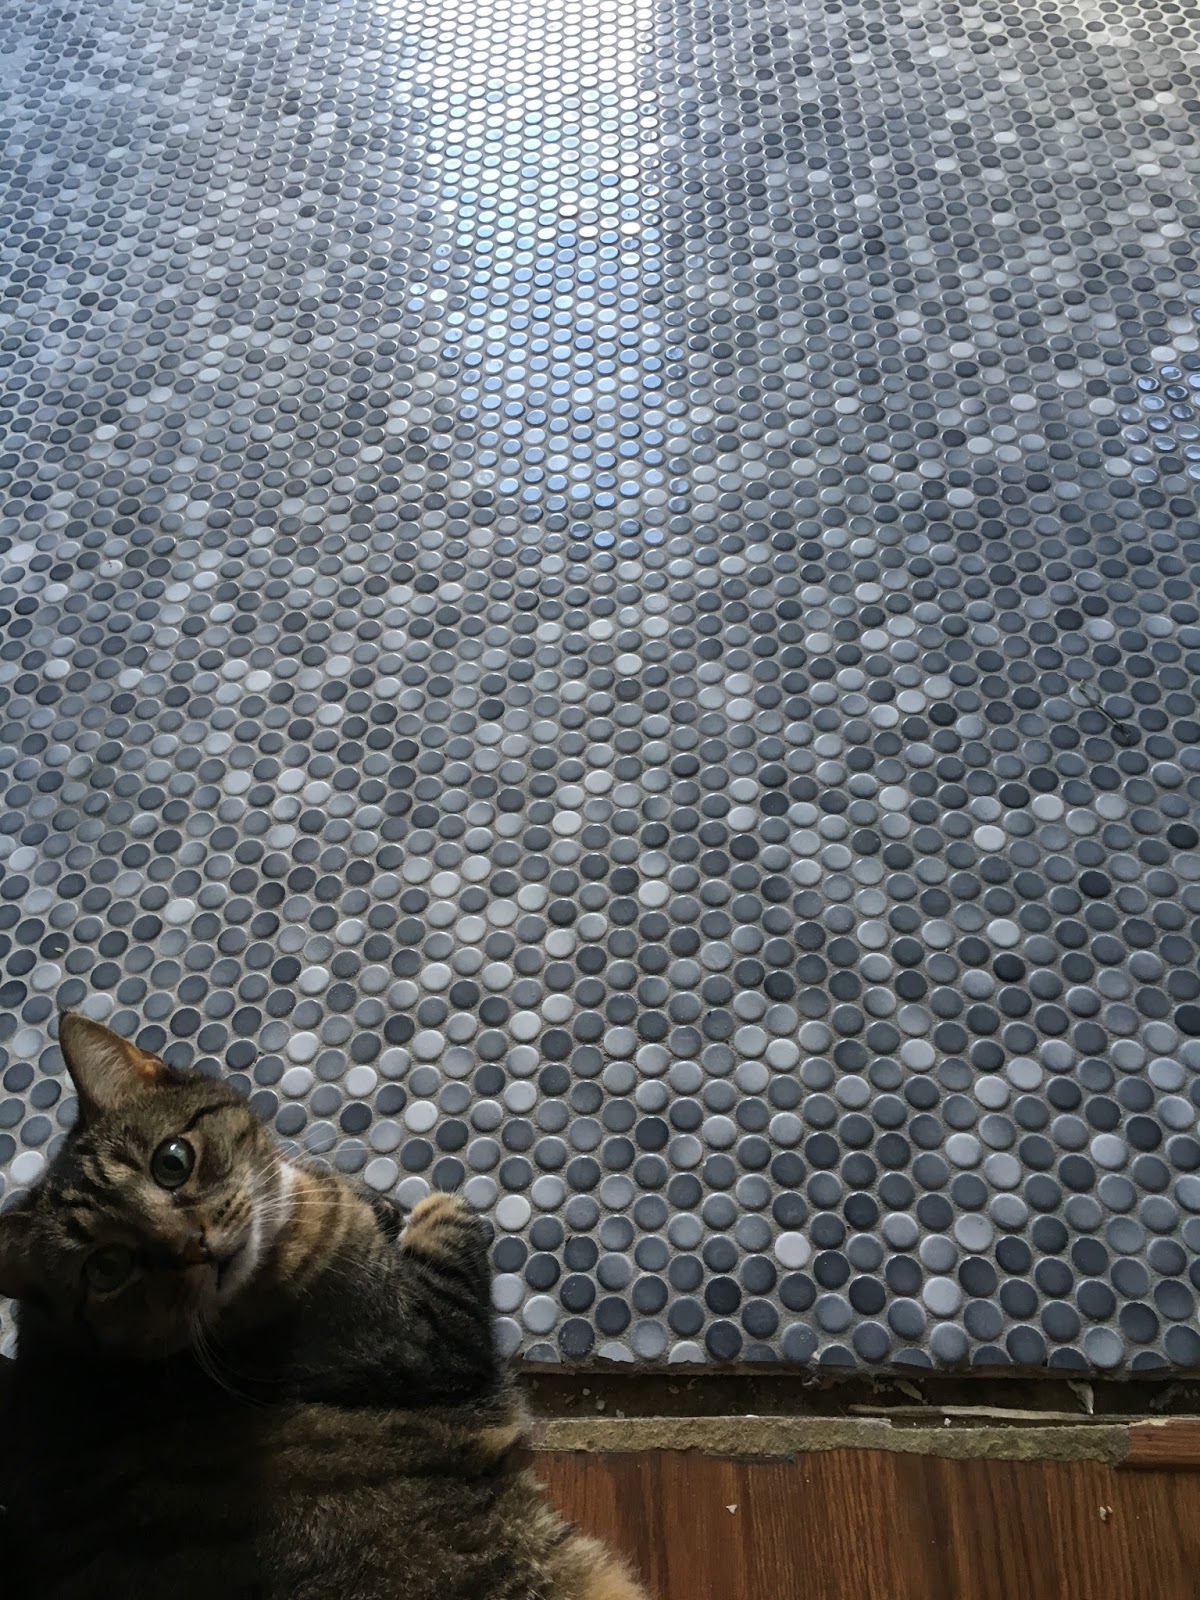
Syd models the new floor.

the cats seem to love this room already.

actually - all the little people seem to love this room already.

checkout the shine. so shiny.
Major milestone achieved: Our house no longer has any plywood floors! I'm very excited. We still have a long ways to go to make this a functional bathroom, but we're gaining momentum!
No comments:
Post a Comment