the before: a brassy, ornate lightswitch
This is super quick with a flat-head screwdriver. I just ran around the house collecting all the lightswitches and outlet covers and brought them to the basement. I laid the outlet covers on a big plastic bag, and created a stand for the screws with a spare piece of cardboard.
all of the outlets and switches on a big plastic bag in the basement
the screws in their cardboard stand
Step 2. Spray.
Using a can of oil-rubbed bronze spray paint, I sprayed lightly and quickly to cover them all. Because of the ornate 3-d-ness, I made sure to move around and get at them from all angles. The screws got a very light dusting so they matched, but the screw groove still worked.
outlets get a coat of paint
screws get a light coat of paint
Step 3. Replace.
After drying for a couple hours, I replaced them all from whence they came. Super quick and easy!
the after: a new lightswitch cover in place
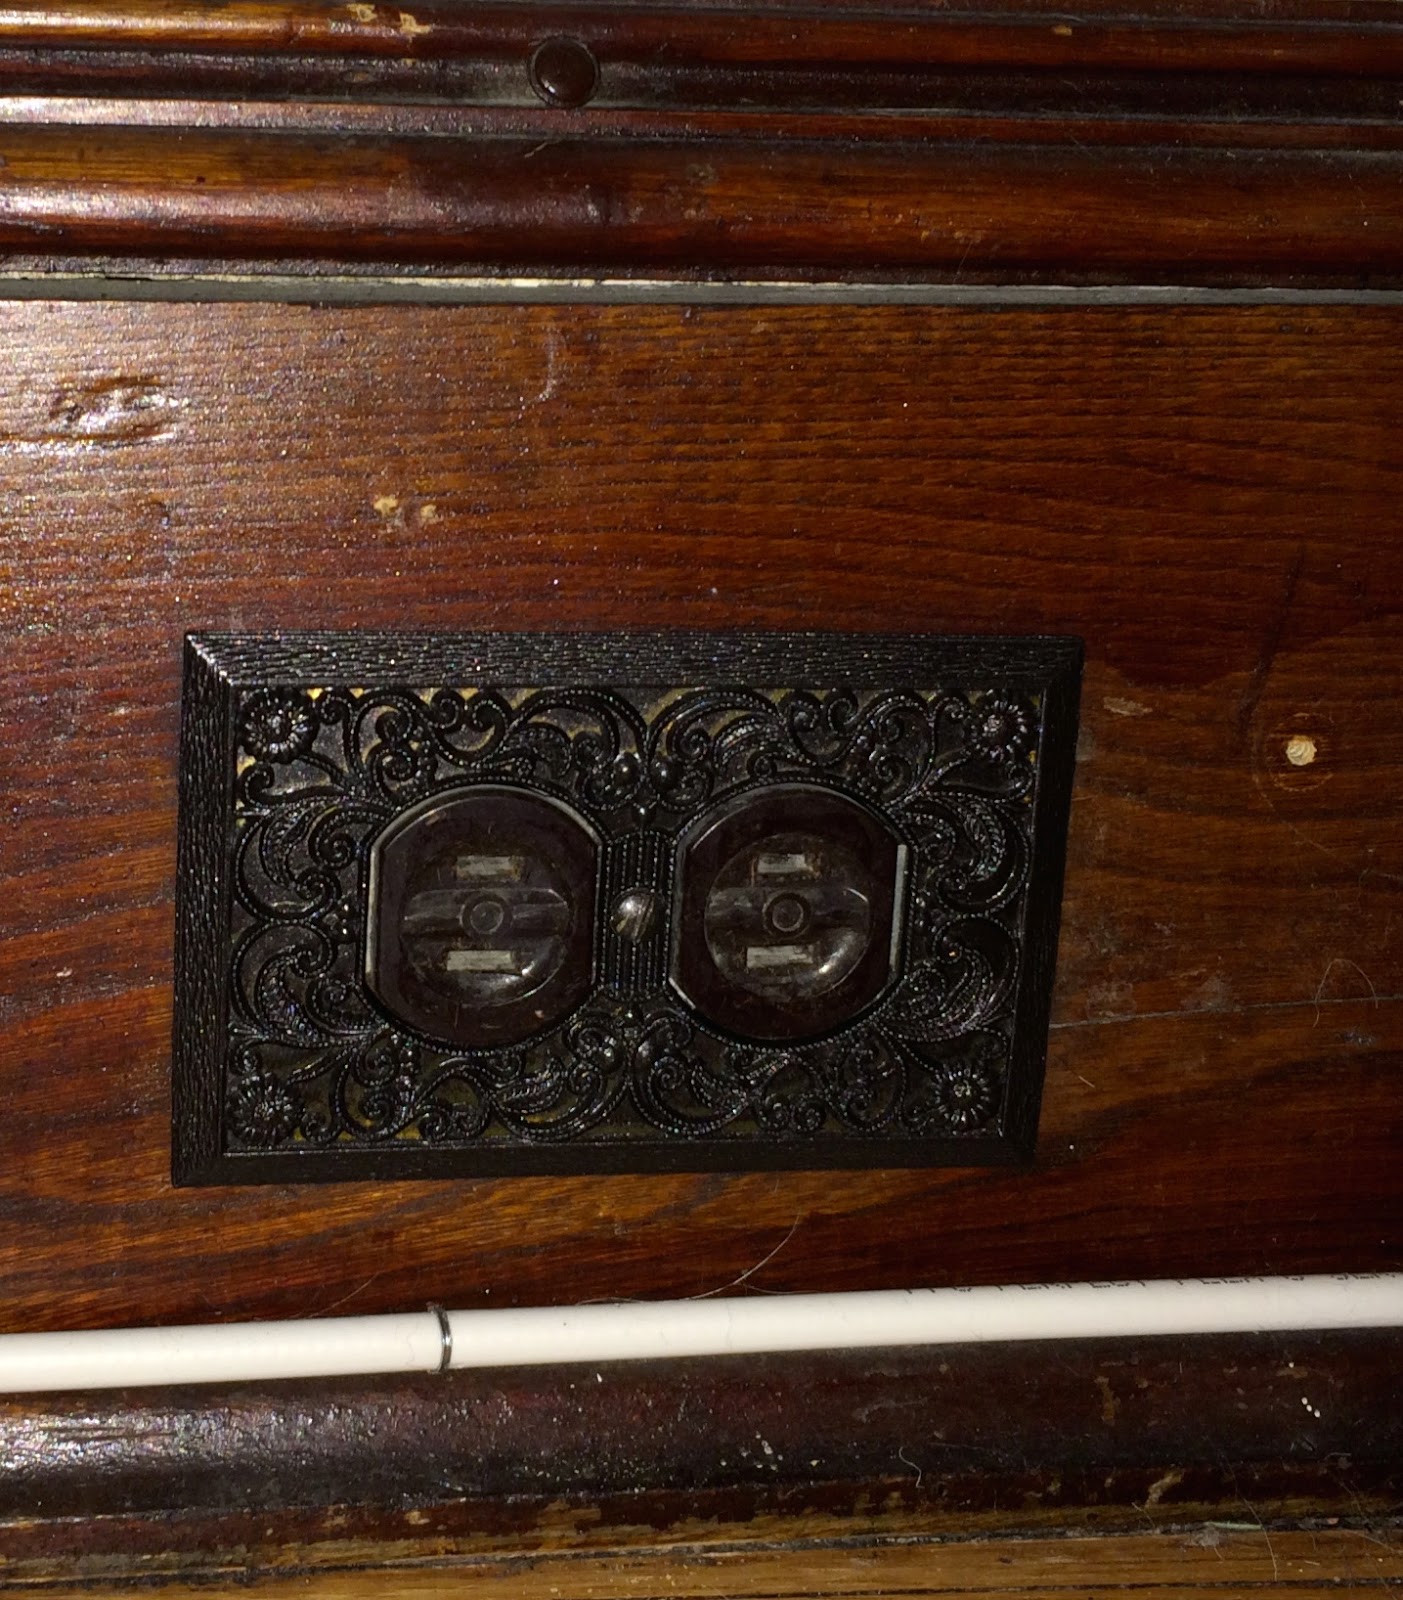
another outlet cover on an almond outlet
Ok, so it's a small improvement. All of the downstairs outlets are now the same and they all match the same metal as the new downstairs lights and doorknobs. I like that this project kept the character of the old house, but modernized it a bit. Of course, as is true with every project, instead of feeling finished, this project feels only half-done. I would love to switch out all the almond-colored outlets for the darker ones downstairs so they blend in with the wood trim, and switch everything upstairs to new white outlets and covers-- but we'll leave that for another day.
Active time = 1 hour
Total cost = $7


No comments:
Post a Comment