

Looking at this picture makes me realize I picked the worst closet. What was I thinking?
As soon as I started unpacking, I realized that the closet didn't work at all. My closet wasn't really small actually, it was just horribly laid out. It was divided in half with a large wooden divider with doors, presumably to separate clothes that are out of season. The front space was really small and cramped, and it was hard to get to the back space. This seemed like a closet that would be an awesome place for hide and seek, but not a great place to store clothes. After weighing those two important priorities, I decided to make it more functional at the clothes holding.

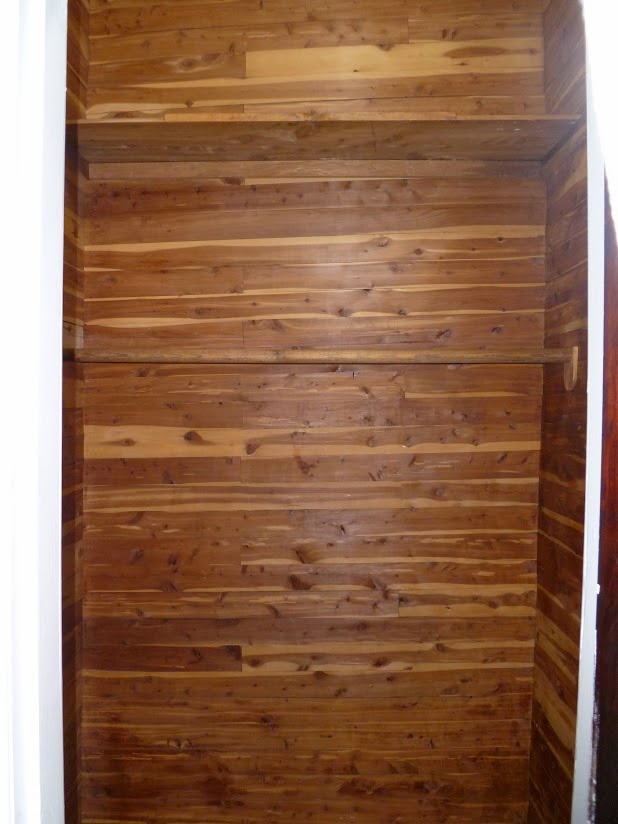
Starting point with open door to back storage area.
After one day too many of being frustrated and not being able to fit my clothes in the front area- I grabbed a crow bar and a hammer and ripped out the central divider. It left behind a huge area, with a single hanging bar (about eye level) and a shelf across the top (roughly 7-8 feet up).
Open and spacious- not super functional.
So I boldly drove to home depot to buy a single board that was 1 x 18 wide, and 6 feet long. I also got two boards that were 1 x 2 to form the supports. I cut the support boards to the width of the closet and the depth of the shelf, then screwed them up to the wall. Then, I cut the big board down to the width of the closet, painted it, and rested it on the supports.
One important lesson here- this is a two man job. It's important to get everything level before they get attached. I couldn't quite hold the level and the boards and the drill at the same time, so I just eyeballed it. Now, it's plain to see that the new shelf is higher on the right than the left. Oops. Next time.

New Shelf!
This has been the status of my closet for a while now, and it's working pretty well. I would just like to add some additional bins for sweaters. Otherwise good!
Total time= 2 days
Total cost = $20 for lumber
No comments:
Post a Comment