Wednesday, March 19, 2014

Wall Art Upgrades: Travel Pictures

I've been more focused on improving the functionality of the house since we moved in- adding curtains to reduce the excessive sunlight and heat, getting a bigger table that can fit our guests, making bookcases and shelves to hold and organize our piles of stuff. Slowly, but surely, the house is coming along and getting furnished and functional, but it still feels somewhat cold and impersonal.

a blank-looking living room 


the empty entryway

An easy trick I learned long ago was to print off travel pictures and put them in simple frames. I think it's awesome for a couple reasons:
  1. Generally, spaces look more complete when there are things on the walls.
  2. My entire family likes to travel and has been to some great places, so we've got lots of interesting options to choose from.
  3. A collection of simple frames helps group smaller pictures to cover a larger space.
  4. When you post pictures from your own travels it reminds you of being on vacation, and 
  5. Art is expensive, but putting up your own pictures is really cheap; you can get a decent frame for less than $20 and print for a few bucks at most.

So I've been meaning to put up some additional pics at home for a while. The reason this project has taken so long to do was because all of my pictures were on an old computer. I finally got around to turning it on, and discovered that it could no longer connect to the internet (no emailing or uploading) and we had no hardware to get the pics off. After a bit of poking around and getting annoyed, I finally ran over to the nearest office store to get a really big thumb drive, and moved all the pics over to my new computer. (lesson learned- move everything as soon as you get new technology).

Then it was as easy as picking my favorites, doing a little cropping and retouching, and uploading them to cvs to print. I grabbed a couple new frames from Target- I really like theirs because they are simple and make it feel like a gallery. Then it was a quick project to pop in the new pictures, hammer in some hangers, and stick them on the wall. The limitation of our local cvs store is that it only prints as big as 8x10 - which is why we have quite a few of that sized frame around the house. I tend to group by color.

new black and white group of cool carved things from our trips to Cambodia & Spain in the living room

it's nice when the art covers the same distance as the thing below it- but this just makes the couch look crappy.

a blue-themed group in the entryway featuring:
 Grandpa's picture of Greenland, my brother's picture of Namibia, and mine of Norway.
Go family, go!

two new pics in the dining room from a trip with my mom to Mexico

a new one for the fireplace room from Spain

and another for the fireplace room from Italy. 

closeup of the fireplace room and my grandfather's belt buckle
 
 
So- maybe that's enough travel pics for now. But I'm generally pleased with the new stuff up on the walls. It's a small project, but it makes a big difference. Combined with the plants and new lights, the first floor is really feeling a lot nicer, and a lot more like ours. If only we could do something about the basement and the kitchen...

Wednesday, March 12, 2014

Houseplants

I like houseplants- they are a nice way to make a room feel more lively and filter the air. We didn't have space for them at the old condo, so we didn't bring any into the house with us. For our wedding, we had three orchids as decorations that have been sitting sadly in the greenroom. Because they're wedding-related, I feel extra pressure to keep them alive. 

unhappy orchids.

check out the overflowing roots trying to break free

and sad yellow leaves. 

So I finally decided to help them out. I ordered orchid soil from amazon, and it just arrived.  I did some googling to figure out how to replant, and it seemed like an easy Saturday afternoon kind of project.

Step 1.  Remove them from their pots and potting stuff. 
This was a little tricky to do gently without ripping off roots, but mostly they just shake free. 

Step 2.  Soak.
This step helps to soften up the roots so that they will bend more easily. I left them all in warm water for an hour or two. 

orchid bath in a spare trashcan full of warm water

Step 3. Cut off dead roots.
Healthy roots are white or green and solid, while dead roots are brown and flimsy.  Sadly, most of the roots were dead. I carefully cut them loose with a pair of scissors.

Step 4. Gently put in container and fill with new soil. 
I carefully bent the remaining roots into the containers, then placed the orchid soil around them. The ones that were underwater were definitely more pliable than ones that were above the water.

happier plant gets some new soil. 

Step 5. Hope for the best.
The newly potted orchids all seem much happier. I'm just hoping this will be enough to turn them around.

happier orchids.

So, while we're on the topic, I decided to add some new plants to the mix. My goal is to have one in every room. I just have to be careful because both cats are big fans of climbing up, chewing on, and peeing in plants- so I can only use plants that are up off the floor. Light is also tricky since we have several rooms that get hardly any light and several that get way too much. Apparently NASA did a study on the best indoor plants for air quality, and these guys were all on it:

new ivy in the green room

 
a peace lily for the dining room

and our new golden pothos moves to the living room.

A good start- beginning to feel a bit more like spring. 

Saturday, March 8, 2014

New Lights for the First Floor

Ever since we moved in, the lights on the first floor have bothered me. Generally, they are way too shiney and bright for my taste. The dining room chandelier is massive and bright chrome with odd little plastic ball things. The fireplace room and the entryway both have the same brassy glassy fixture. All of them are generally unattractive when turned off, and cast really ugly light when turned on. So replacing them has been on the to-do list for a while.

Bright shiney chandelier

brassy glassy in fireplace room

another brassy glassy in the entryway

to make it worse- from my spot on the couch I can see all three at once.
  
closeups- so big and bright.

brassy and twirly. Cringe.

So- amazingly- for Christmas this year, my mother in law gave us a new chandelier for the dining room. This was an awesome gift for a couple reasons:
  1. The dining room is looking awesome now that we have all the new furniture, so upgrading the lighting will complete one fantastic room. [We still need a rug and some curtains, but this will make it functional and very close to fully finished.]
  2. This room will now be furnished 100% with gifts from our parents, which is kind of cool.
  3. She gave us more than enough to cover the chandelier, plus two more lights. So we can actually fix all three of the horrible offenders at once.

We shopped around a bit online, and were overwhelmed by the thousands of options. It took us a while to narrow down the many many options that are out there (which is why it's now March and we're finally getting to this). We had a hard time agreeing to something that was simple, elegant and timeless, but not "boring". We finally found a chandelier we both liked, and then grabbed a semi-flush mount for the fireplace room and a dangly one for the entry from the same collection. The collection also has a bigger pendant that I'd like to put over the stairs, and some smaller pendants that could go in the kitchen eventually, and then all the lights would be from the same collection and tie together nicely. We ordered the three, they arrived swiftly, and we got to work.

Switching out a light is easy generally, and basically the same process as switching out an outlet. The thing that makes it more difficult is the weight of the fixture, and the fact that you're installing it above your head while on a ladder or chair. We started out with the smallest one and worked our way up to the chandelier.

Step 1. Turn off the circuit breaker & light switch.
This is really important, so I'm making it its own step.

Step 2. Remove old light.
The light is just held in place with a couple screws. Once they are removed, you just have to untwist the wires to disconnect it entirely. This is an easy step- the important part is just keeping track of the old wires for the next step. It's also definitely a two-man job, since you need someone to hold the weight of the fixture while the other person messes with the wires. We took turns so our arms wouldn't fall asleep.


Step 3. Attach new light to the same wires the old one used.
In old houses, the old wires never look like the instructions drawing- so the important thing is just to repeat whatever the previous light had going on. If the old one worked, then the new one will.

Step 4. Attach new light to box.
Generally also easy, but definitely requires two people and ladders so you can see. The other trick is getting enough light to see- since all the outlets in the room are probably off at this point. We have trusty camping headlamps that work great.

Step 5. Turn on circuit breaker.
So this was the point where our easy weekend project took a bit of a turn. All three of our new fixtures said they needed 100 watt bulbs, so I ran over the store and dutifully picked up a bunch of 100-watt bulbs before we got started. Once the new fixture was installed and turned on with the new bulbs, we clearly had a problem.

tanning salon.

Step 6. Rethink bulbs.
After a bit of googling, we discovered that lamps are rated for the highest wattage light bulb they can handle, but they can (and probably should) use much lower watt bulbs (apparently it creates a fire risk to use higher wattage bulbs, so don't do that). I haven't really paid a lot of attention to light bulbs in the past, usually just grabbing whatever was at the store, so I didn't have a good sense of what would look good.

So, at this point, we pilfered all the light bulbs from the rest of the house to try them out.  We had a bunch that were 40 watt (these are all CFLs actually, so I'm using their watt equivalents), and a bunch that were 75 watts. We also had some that were "soft white" colored and others that were "reveal" colored. We took the time to try out the options and decided that we liked soft white better, but weren't in agreement about the brightness. I prefer the 40 watts, while the husband likes more light. So we ran back to the store to return the 100 watters and buy a bunch of new 40 and 60 watters, and agreed to let this room be brighter (for now) and the entryway to be dimmer. Also, because we are using CFL bulbs, we can't use a dimmer. For the dining room which has a dimmer, we bought halogen lights because they can be dimmed.   

75 watt - reveal color
Step 7. Repeat.
It was easy enough to then move into the entryway and tackle that room, but it took longer for us to muster the strength to do the dining room (the heavier it is, the more of a pain). We finally got around to it, and now everything is done. The only remaining task is to put up the old lights on craigslist and hopefully get some dough back.

new fireplace room semi-flush mount

Fireplace room (maybe still too bright?)

entryway light

Entryway with new dangly fixture

new chandelier

dining room looking good
  
Not only do all three rooms look much nicer when the lights are off - they look infinitely better when the lights are on. The frosted glass shades help diffuse light more than the previous clear glass did, reducing the glare. Maybe it's the lack of brass or just nicer bulbs, but the light is much less yellow than it used to be, so the rooms generally seem a little less sickly.

So, three rooms get massively more attractive. Thank you Jody!!!

Total Time = 2 weekends
Active Time = 6 hours

Monday, February 24, 2014

Renovation Update & Organizing the Garage

Renovation Update
Do you remember this post from the summer? Where I boldly laid out my plans for the basement with the estimated completion date at the end of last summer? Sweet sweet optimism. Well, it's not that we forgot about it. We jumped right in. We met with several contractors to get rough estimates, one of which suggested that we meet with an architect to get design plans. So we did that, which took a little while to go back and forth until we had something we all liked. Then he sent his plans to the city to get permits. And then we waited. And then we waited. I revised my completion deadline to the end of the year. And we kept waiting. The penalty for doing any work without a permit is apparently really really huge, so we didn't want to risk it. So we waited.

Now, finally, after waiting several months for our permits to be reviewed-- we have approval! We can finally get started! We have just reached out to three well-reviewed contractors to get estimates for the entire project. Once we get all of those, we are going to whittle them down to something we can afford that gets as much done as possible, but most likely won't complete the whole project.

So, even though there are a couple things in the master bedroom and fireplace room that I really want to finish up, we are switching gears to start prepping for this new big renovation. First up, is organizing the garage.

Garage Project
So, we currently have a large, nasty basement that I use for projects and to store tools. The tools aren't stored in a helpful way, so when I need something, I usually end up taking everything off the shelf to find it, and stuff remains piled on the floor (not ideal). Since we are planning to turn the basement into a rental apartment, we need to move everything out, including all the tools. We can't just throw things in storage somewhere, because we will need to use these tools often, so we need to create a functional workshop in the garage.

starting point: tools & stuff cluttered in the basement
 
starting point: randomness in garage

Step 1. Clear everything out & sort.
This step was super important to get garage junk out of the way, and to see what all was coming up from the basement. Turns out we had a number of repeats and dried up stuff, so getting it all in one place and sorted out was huge.
everything in the basement gets sorted

garage gets emptied out

empty garage walls for future workbench


Step 2. Build paint shelf.
Once everything was sorted, it was clear we had lots of paint that needed to go somewhere. I ran to the store, and had them cut down five 1x8 boards for me [I have eyes for a new saw, but he isn't mine yet, so this was easier than cutting them myself]. I just nailed them all together. Here's my design- It's pretty basic, but it's the perfect size for paint cans and fits perfectly in the spot.


laying out the lumber

in process-

all done and loaded up with paint (on bricks to protect from potential future water). 


Step 3. Create garden area.
Because all of the tools and supplies are still on the basement floor, the old plastic shelves are empty. So I grabbed them and brought them out to the garage to make a garden area. This isn't super permanent because it feels like it will fall over at any point, but it's useful now. 

paint shelf at the far end, garden stuff nearby. Empty space between for future workbench. 
  
So, voila! We have an organized garden area and paint shelf. It's progress, but obviously not quite done.  More to come.
 
Total time: 4 hours
Active time: 4 hours
Total cost: $40 for lumber

Monday, February 17, 2014

Fireplace Room Style

Once we had the chimney repaired, we started using the fireplace quite a bit. It's been really cold, so the crackly warmth is awesome. But it has brought extra attention to the short comings of this room. Mainly, 1) it's still ugly and 2) there's nowhere to sit.  So, it's time to work on this project before the winter ends and we lose the motivation. The vision I have for this room is bright and lively, with lots of blues and greens and sparkle, sort of like this:


  1. White Carrera marble for the hearth and front of the fireplace.
  2. Our blue and white rug.
  3. A comfy chair
  4. Some blue and green accents
  5. A fun colorful pillow
  6. Some sort of storage thing

So- first on my list was getting some color and style in here.

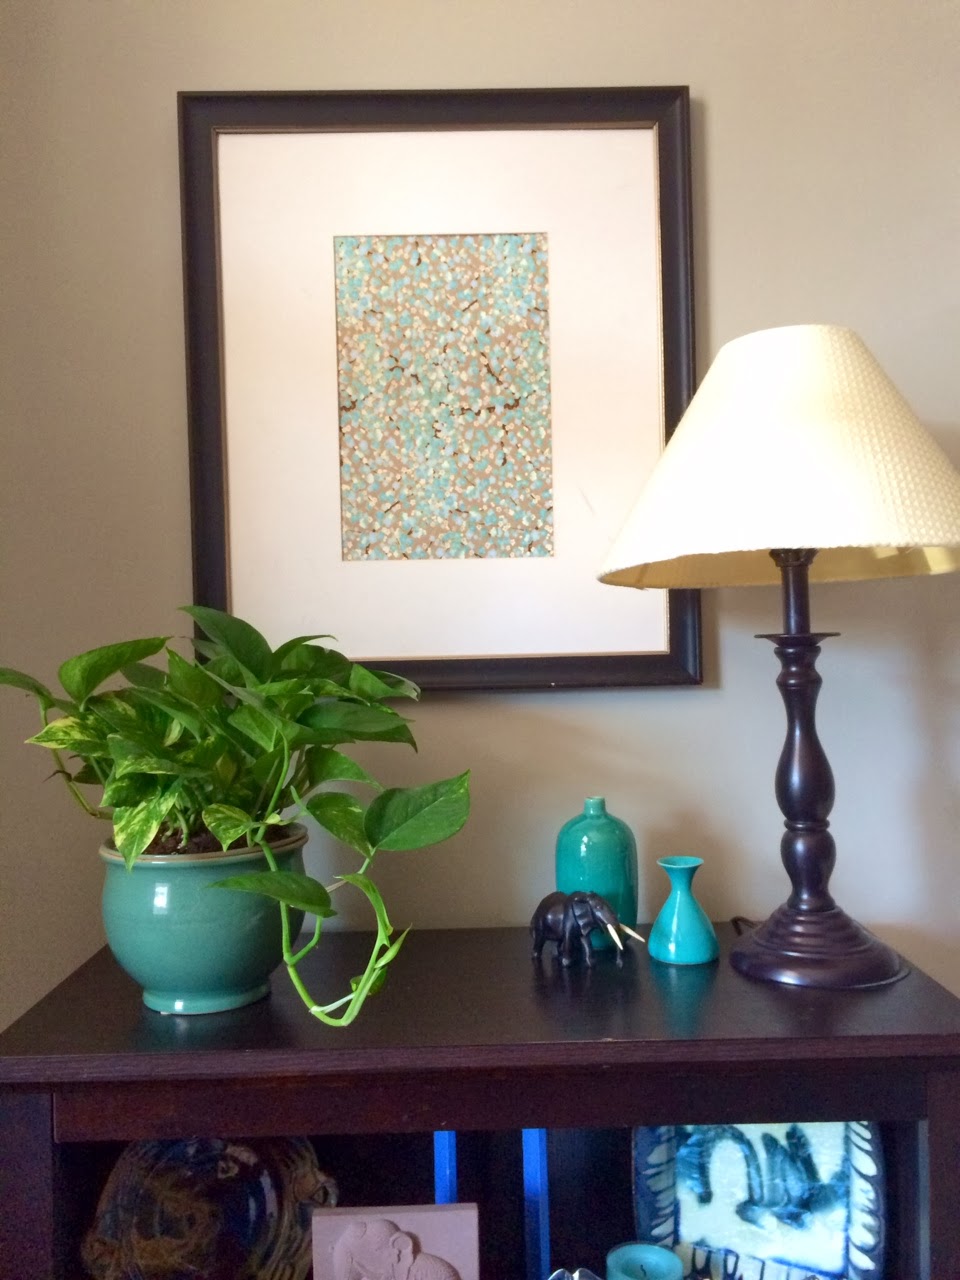
1. I went and got a new indoor plant and put it in a nice pot.


2.  I stole an extra dining chair for some seating and pulled out my watercolors for a doodle in the right color scheme (fear not, i'm not confused as to what my day job should be).


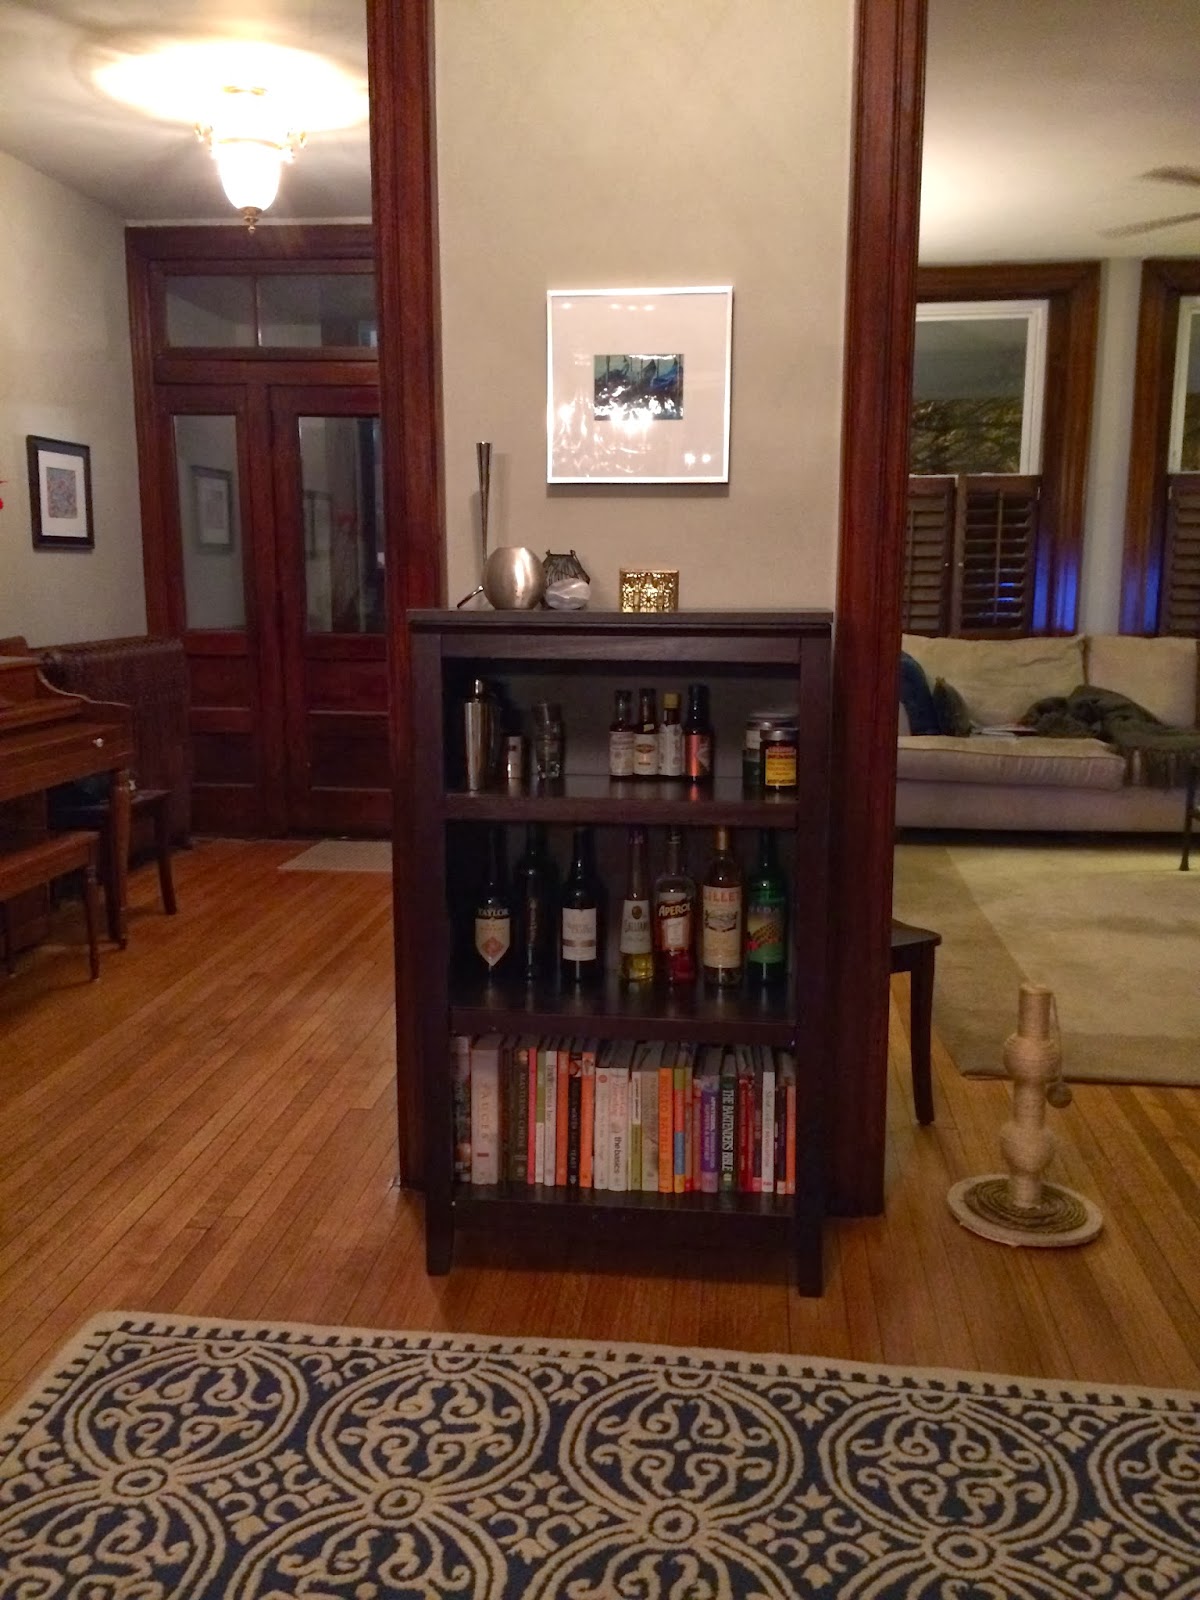
3. I stole the bookcase from upstairs to make a new liquor cabinet/cook book holder. Turns out it perfectly fit the tiny wall. (i'm not showing you what the office looks like now, but it's now on the list for a new bookcase).


 Ok, so we're on our way. The room has a little bit more purpose, and a teensy bit more style. But we still have a ways to go.

Monday, February 10, 2014

Locks and Keys

So we moved into this house slightly more than a year ago. One of the first tasks on the to-do list was to re-key all the doors for several good reasons:
  1. You never know who may still have a key to the house, the old owner, her friends, a realtor, a contractor, etc.
  2. Every door is on its own key, so I literally have 5 keys that I have to carry all the time [I'm not counting three other security gates that also have their own keys. freaking janitor over here.]
  3. Every knob is a different metal and style.
  4. All of the doors require keys to exit the house, creating a serious safety issue in case of fire, and also creating a situation in which I literally locked myself into the entryway and had to call R to come home from work to let me out (that was a fun conversation).
The Problem

I called a few locksmiths, and was quoted a rate of around $800 to replace all the locks. Shockingly, we did not embrace the estimate, and instead forgot about it until now. Since then, I discovered Kwikset's "Smart Key" products. The deal is supposed to be that you can easily replace the knobs, and then magically rekey to whatever key you want, so that all the new locks take the same key.  I've been eyeing it for some time, and finally decided to go for it. I got two new knobs for the two security doors and one for the kitchen door, which should replace three keys with one new one. (Not perfect, but progress). I decided not to rekey our front door, which is thicker than normal. I also didn't mess with our security gates, which will need some other adaptation (we don't want people to be able to just reach through the gate to turn the deadbolt).

Inside of the kitchen door to start-

I had to wait until the weather warmed up a bit- this isn't a great winter project, but I didn't want to wait until spring. Then it was as easy as:


1. Remove the old knobs & prep doors.
This was pretty quick.  There's a bit of a trick to taking off a door knob, and of course, without the instructions for that model, you have to figure it out yourself. This one had tiny screws that I needed a super tiny screwdriver to loosen. Mostly, it was pretty quick and easy. While the knob was off of the kitchen door, I decided to take the opportunity to quickly paint it. The door was painted brown, so it's been on my list to repaint white to brighten things up a bit.

old hardware removed

2. Install the new ones.
The box has instructions that are really easy to follow. The difficult part was that the old knob seemed to be somewhat jerry-rigged into place, so it was easy to get the new one on, but then it didn't quite line up correctly with the door frame or wouldn't quite catch. After just a bit of work, everything fit together.

with a quick coat of paint and the deadbolt on top

the knob attached and working
3. Rekey.
With all three of the new knobs installed, we just took their little magic tool to switch everything over to fit one key. If we need to rekey again in the future for some reason, it'll be really easy to do.

4. Repeat. 
We did the same process on the two security doors (minus the painting). Which resulted in these lovely pictures. (ignore the crappy outside paint. it's on the list).


front door


 back door


kitchen door


kitchen gets less yellow.


I go from five keys to three! Success!
 
 
Total time = 2 weeks
Active time = 4 hours
Total cost = $200