Showing posts with label basement. Show all posts

Thursday, October 1, 2015

Babyproofing

So - maternity leave was mostly pretty slow and uneventful, house-wise. There was not a lot of time to get anything done on the many, many house projects that I want to work on. However- in the past month we did rather frantically end up making a lot of changes to the house.

You see, finding day care in DC is really hard to do. As soon as I knew I was pregnant, I signed up for the waitlists for 5 different day cares in the area. We paid our waitlisting fees and waited patiently, hoping that by the time maternity leave was over, we would have a spot somewhere. As the end of my leave approached, I reached out to all the daycares to find out where we stood and discovered that we didn't have a chance of getting into any of them. At best, we may be able to get into one in a couple years, and at worst, we managed to move backwards on a list from 150th to 175th.

So, we frantically started researching other childcare options and found a nannyshare that was available with a family in our neighborhood. The great news was that a good nanny would watch our son, starting exactly when we needed her, at a much more convenient location. The bad news was that a 1.5 year old would now also be staying in our house every other week, which was chockfull of baby death traps everywhere we looked. Since our son is only starting to roll over and months away from being really mobile, we hadn't even thought about baby proofing. The other kid though, is running around and great at getting into trouble- so we needed to babyproof asap.

Step 1. Remove the Breakables
There were two bookcases full of breakables - one of our fancy crystal and stuff in the living room and one of our liquor and glasses in the fireplace room. The alcohol got moved into the dining room buffet so its bookcase could go back upstairs to hold books in the new office. The other got moved up to the green room, replacing the console table that was a bad fit up there anyway.

The old liquor cabinet in the fireplace room

new empty wall in the fireplace room- perfect for a basket of toys

old bookcase from the living room moves up to the green room

Step 2. Remove the Deathtrap Shelving Units
After the Great Renovation last year, we got two metal shelving units to replace the walk-in pantry that we lost. One was full of small appliances in the dining room, the other full of food in the kitchen. Both were hideous and totally dangerous for a small child who could pull them over and crush himself. I took all the small appliances off the one unit and moved it down to the basement, where I joined it with a third shelving unit into a mega-double-shelf, to help better organize the stuff being stored down there. The other got moved into the mudroom, where it can be locked away from the kid by the old exterior door.

Old Death Trap #1 - pantry in the kitchen

new well-organized pantry in the mudroom 
(still a deathtrap, but safely behind a lockable door)

Old Death Trap #2 - small appliances in the dining room

new mega double shelving unit in the basement

new safe and empty corner of the dining room

Step 3. Get new Cabinets
To hold all the small appliances that now had no home, we picked up some cheap white cabinets and a countertop from Home Depot. All the appliances fit easily into the new storage space, plus we get two new big drawers for utensils and stuff. We were desperately short on counter space before, so even a crappy counter is a huge step up. Even though the kitchen is getting steadily less attractive at every turn, this is a big improvement for storage and functionality. Plus it lets us test-drive this layout before buying real cabinets in the future kitchen renovation. The old table that was in this spot got moved out to the garage to help organize the workbench area.

ugly new cabinets with lots of counter space and storage

Step 4. Add gates, outlet protectors and cabinet locks
After some minimal research on Amazon, we ordered the classic baby proofing gear - baby gates for the stairs, little plastic plugs for all the electrical outlets, and magnetic locks for the kitchen cabinets.

Wally demonstrates the cat door in the baby gate


Step 5. Build Shelves in the Laundry Closet
I finally put up some basic wooden shelves to get all the laundry supplies up off the floor. This has been on the to-do list since the new laundry closet was built, but we couldn't seem to get it done.


new shelves keep detergents off the floor and out of reach for short people

Step 6. Rearrange the Living Room
Once the old bookcase full of breakables was removed from the living room, we needed to rearrange the remaining furniture. We angled the short couch so that it blocks the radiator (a future hazard once the weather gets colder), which also creates a good place to stash toys out of sight. We also moved the old coffee table to the side of the long couch in the newly created space where the old bookcase was. It has hard metal corners that we don't want the kid running into. On the one hand, the new layout is more open and great for playing, and makes it easier to get to the windows. On the other hand, we no longer have a coffee table, so it's much harder to eat dinner in front of the tv. We seem to have accidentally forced ourselves to start eating at the dining room table like real adults.

the old living room layout with breakables in the corner and a dangerous coffee table

new living room layout is more spacious and less dangerous

the old coffee table becomes a side table

Step 7. Mount the TV
Then we ordered a support to mount the tv to the wall so that it can't be pulled over. Once it was on the wall, we no longer needed the massive tv stand under it, and switched it out for a new much smaller console table that is similar to the side table. We then used a furniture strap thing to attach the console table to the wall, so it can't be pulled over either. The trick here was figuring out how to hide all the misc cables and wires, which were totally visible through the new sleek, glass table. I spent some time bundling and tying each of the wires into a smallish mass that I hide behind the cable box. 

old tv stand is massive and dangerous

new mounted tv over much smaller table

Step 8. New Wall Art
After a lot of time staring at our horrible couches and rug that I never liked, I was feeling pretty annoyed with the living room. We can't afford to buy all new furniture, so I bought a new watercolor for the wall instead (consolation prize!) 

the new watercolor classes up the joint

So, not exactly a renovation project, but a bunch of stuff got moved around and improved. We would've had to do all this eventually once our son is mobile anyway, so it was all time well-spent. We also managed to get rid of several pieces of furniture, like the old tv stand in the living room and the red console table in the green room. They are moving on to a new home, while we are slowly making progress on my goal to get rid of all the temporary and flimsy furniture we bought in our gradschool days.

Tuesday, December 16, 2014

Heat and Bad Luck

Ok, so right before Thanksgiving, a friend of mine came to stay with us. Just before she arrived, we heard a loud grinding noise coming from the basement. We went down to check and quickly determined that something was horribly wrong with the boiler, so we turned it off and called the plumbers. They couldn't come immediately, but advised that we should keep it off until they could get out to inspect it. When she arrived at the door, the house was already getting chilly. "Welcome to our house, hope you don't like heat."

Over the next couple days, the crew came out to inspect and determined it was definitely broken. Turns out, when our contractors were replacing pipes in the basement over the summer, at some point the water was shut off, and the boiler system went dry. This somehow broke our circulating motor- the thing that pumps the hot water through the radiators in the house- and now it needed to be replaced. Because radiators are awesome - the house held on to its heat for pretty long while we waited for them to get all the right parts and complete the work. But by the second and third day, we were all getting a little annoyed and tired of walking around under blankets.

Once the pump was fixed, we went on our merry way, and the house was warm and comfy again.

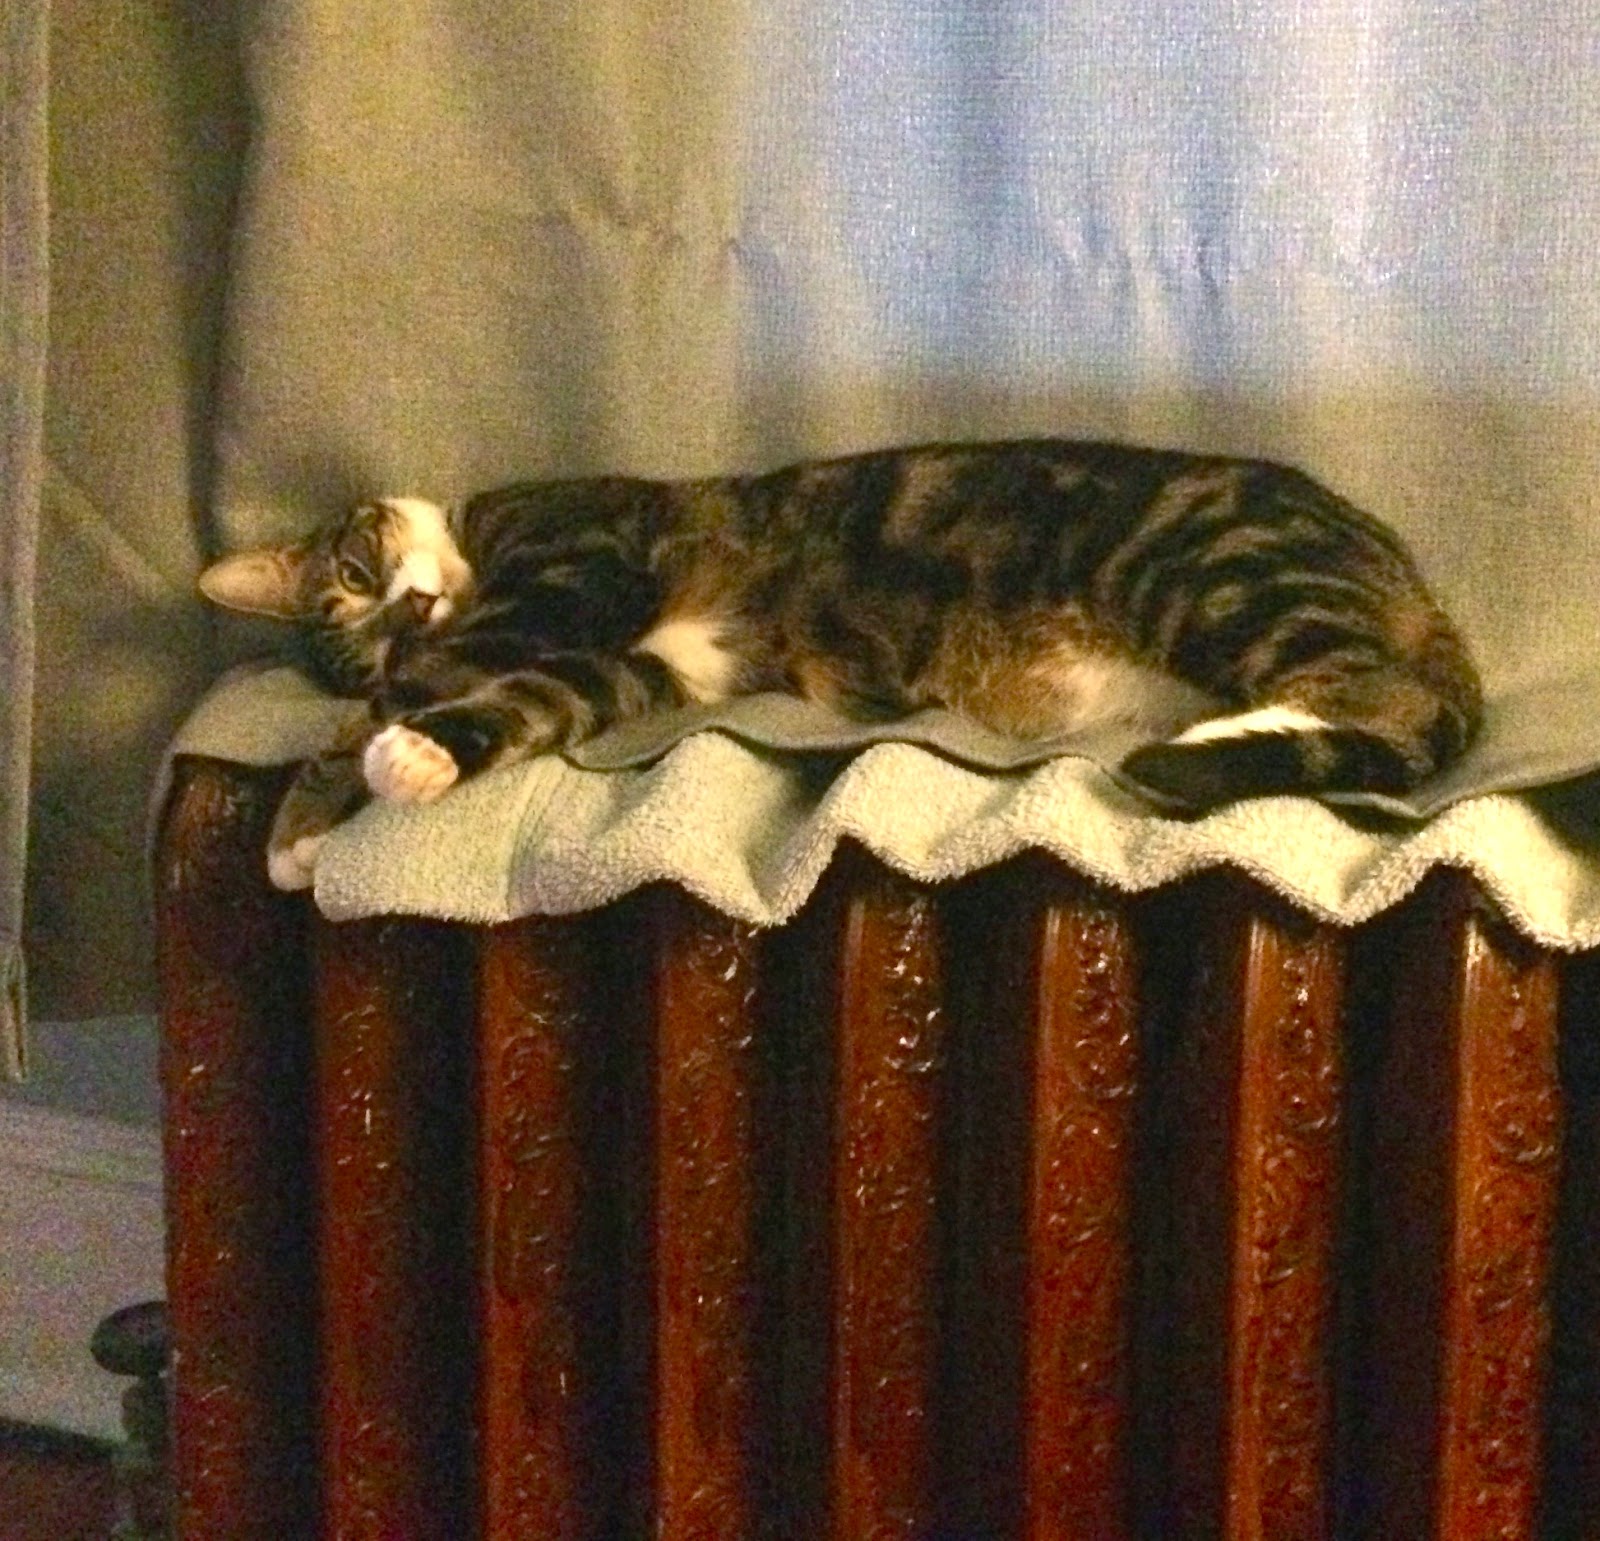
everyone likes a toasty radiator


Then, maybe two weeks after all that, we noticed that the house seemed to be getting slightly cooler. The thermostat noticeably showed that the temperature of the house was at least 5 degrees cooler than it was set to be. So we called the plumbers out again.

Turns out that the work they did to the pump, somehow affected the boiler itself, and ...wait for it... now the whole boiler needed to be replaced. Of course, when we bought the house and saw that the boiler was something like 50 years old, we assumed we would eventually need to replace it. We just didn't expect to have to do it only a few weeks after having a crew come work on the system and swear that the boiler would be fine.

So, after another couple days of wearing blankets, toasting ourselves by the fire, and whining about cold feet - the plumbers finally got the parts and gave us a new boiler. At this point, everything about it is new, so I don't see how anything else could break. Of course, we're about to get more house guests, so everyone should consider themselves warned.

The only good news I can see is that all this work is annoying and disruptive - so it's handy that it's happening now, and not after a new tenant moves into the basement. Hopefully this insures us that no more work will need to happen down there for quite a while. Plus, the new unit is more efficient than the old one, so that's always nice.

Monday, December 15, 2014

Finishing Touches in the Basement

We thought our basement was finished when the contractors left almost two months ago, but there were a couple things that still needed to be fixed.

1. Iron Gates
Both the front and back doors to the basement are protected with iron gates. Those gates both have locks that require you to use a key to exit - which always seemed like a huge fire risk to me. (I like the idea that you can get all the way out of your house without keys if you need to). So, we wanted to replace the locks so that you can get out without a key. The problem is that the bars of the gates are wide enough that you can just reach through, so you could easily unlock the gate by hand, which is a security risk. To solve the problem, we had an iron company come out to replace the locks and add mesh so that you can't reach through. It fixes both the safety and security concerns, even though it's a bit uglier to look at.

new iron gate is safer but definitely uglier


2. Mail box & Doorbell
We ran to the depot to grab a new mailbox, some stickers, and a wireless doorbell for the basement. Just small finishing touches to make for a complete unit.

3. Leaky pipes
Ok, so do you remember this picture from before the renovation got started? We ripped out the wall and part of the carpet, trying to find the source of a leak. We found that not only was water just pouring into the wall where the downspout from the roof hits the ground, but that the wall was completely rotted away. The contractors replaced all the framing and put up new sheetrock, but never did anything about the leak. Similarly, we found that both the front and back doors were pouring in water when it rained, because the drains would overflow.

original basement - destroyed in search of the source of a leak

huge hole to dig up the clogged pipe

crosscut of the removed pipe- more than half-full of cement

We finally called a plumber to come snake all the drains. Two of them were easily fixed, but the third by the back door turned out to be full of construction debris and cement (potentially from the contractors washing their tools off). So we had to get plumbers to come back, dig up the drain, remove the part that was full of cement, and replace. Finally, it is all done, and all drains appear to be flowing nicely (course it's hard to really tell...).

4. Get a Tenant
The contractors were supposed to finish in August, which would have been great for getting a renter in September. They got behind schedule, and didn't finish until October. With all these final projects, we weren't ready for a renter until November, which is a really bad time to be on the market with a rental unit. We posted online, and had a small stream of people come through to check it out. Finally, it looks like we finally found a good tenant who will start moving in before the end of the year! Almost a year after we started this project, our basement is finally done. We are now moving on to other projects!!

Sunday, October 12, 2014

The Big Reveal- Part 3: The Basement Bathroom

So I'm clearly stringing you along. After revealing the upstairs and the rest of the basement apartment, now it's finally time to show you our beautiful baby bathroom. We are so proud of this room, which is almost entirely the product of our work. First, let's have a quick reminder of where we started- with pipes everywhere, cedar planks on the walls, laminate floors, a dinky, nasty corner shower unit, and a generally dark and nasty bathroom. Fun sidenote- the original bathroom had a glass door, because bathrooms are places where glass doors and lots of openness are good ideas.  

a reminder of where we started

So, we demolished everything- taking down several layers of walls and floor and a really thick ceiling. The contractors stepped in and did the framing, rotating the door frame to a different wall and taking care of the termite damage. They also ran new plumbing and electrical through the walls. We picked it back up, built the shower base, added lots of tile, sheetrocked the walls and painted, grouted, and added the trim, fixtures and finishing touches. After all that, here's what it finally looks like:

the view from the newly repositioned bathroom door

in the corner, sits the toilet

across from the toilet, there's a pedestal sink, small medicine cabinet and vanity light

towel rack beside the shower

in the shower...

...there is a lot of beautiful tile

and a fun little accent row

view of the sink from the shower

view of the toilet and new window from the shower

So, after the final scrubbing and last round of paint touchups, we are totally done. Taking a look back, i think this whole project (including the rest of the basement) turned out pretty well. In comparison to where we started, with a dark, nasty basement full of pipes and grossness, this is clearly a lot nicer. It also turned out pretty much like we were planning, light, bright, neutral and open.

the original mood board- pretty similar, right?

I'd say the one thing that really didn't turn out as expected was the degree of doing-it-ourselves vs paying contractors to do the work.  When we first started talking about this project, I imagined that we would do the majority of the work, and just have contractors step in for the difficult parts. Our contractors really weren't interested in that approach, so they ended up doing a lot more than I wanted and we did just most of the work in the bathroom.

Now that everything's finished, I feel like we didn't strike the right balance of work. There are parts of the bathroom that we did that don't look great- namely the sheetrock mudding. In the rest of the basement, there are a lot of little short cuts and sloppy spots like paint drips and leftover grout that they left behind that I could have done better. They did a great job at some of the big stuff (plumbing, electrical, framing, sheetrock), but I think we do a better job at the finishes, which are all little jobs that take patience and diligence that only a picky homeowner has. I think next time, I will leave the big stuff for contractors and insist on doing the finishes ourselves.

But for now,  there are no more contractors or major projects in our future. The last item on our to-do list is to find a tenant, and then we're chilling for a while.

Saturday, October 11, 2014

The Big Reveal - Part 2: The Basement

Now that the contractors are gone and you've seen the upstairs - let's take a look at the basement.  First, a quick reminder of where we started:

the old front wall- torn up in search of a leak

the corner that became a kitchen (notice the pipes along the ceiling)

everyone's favorite glass-brick bar

the old laundry and once kitchen that become a bedroom

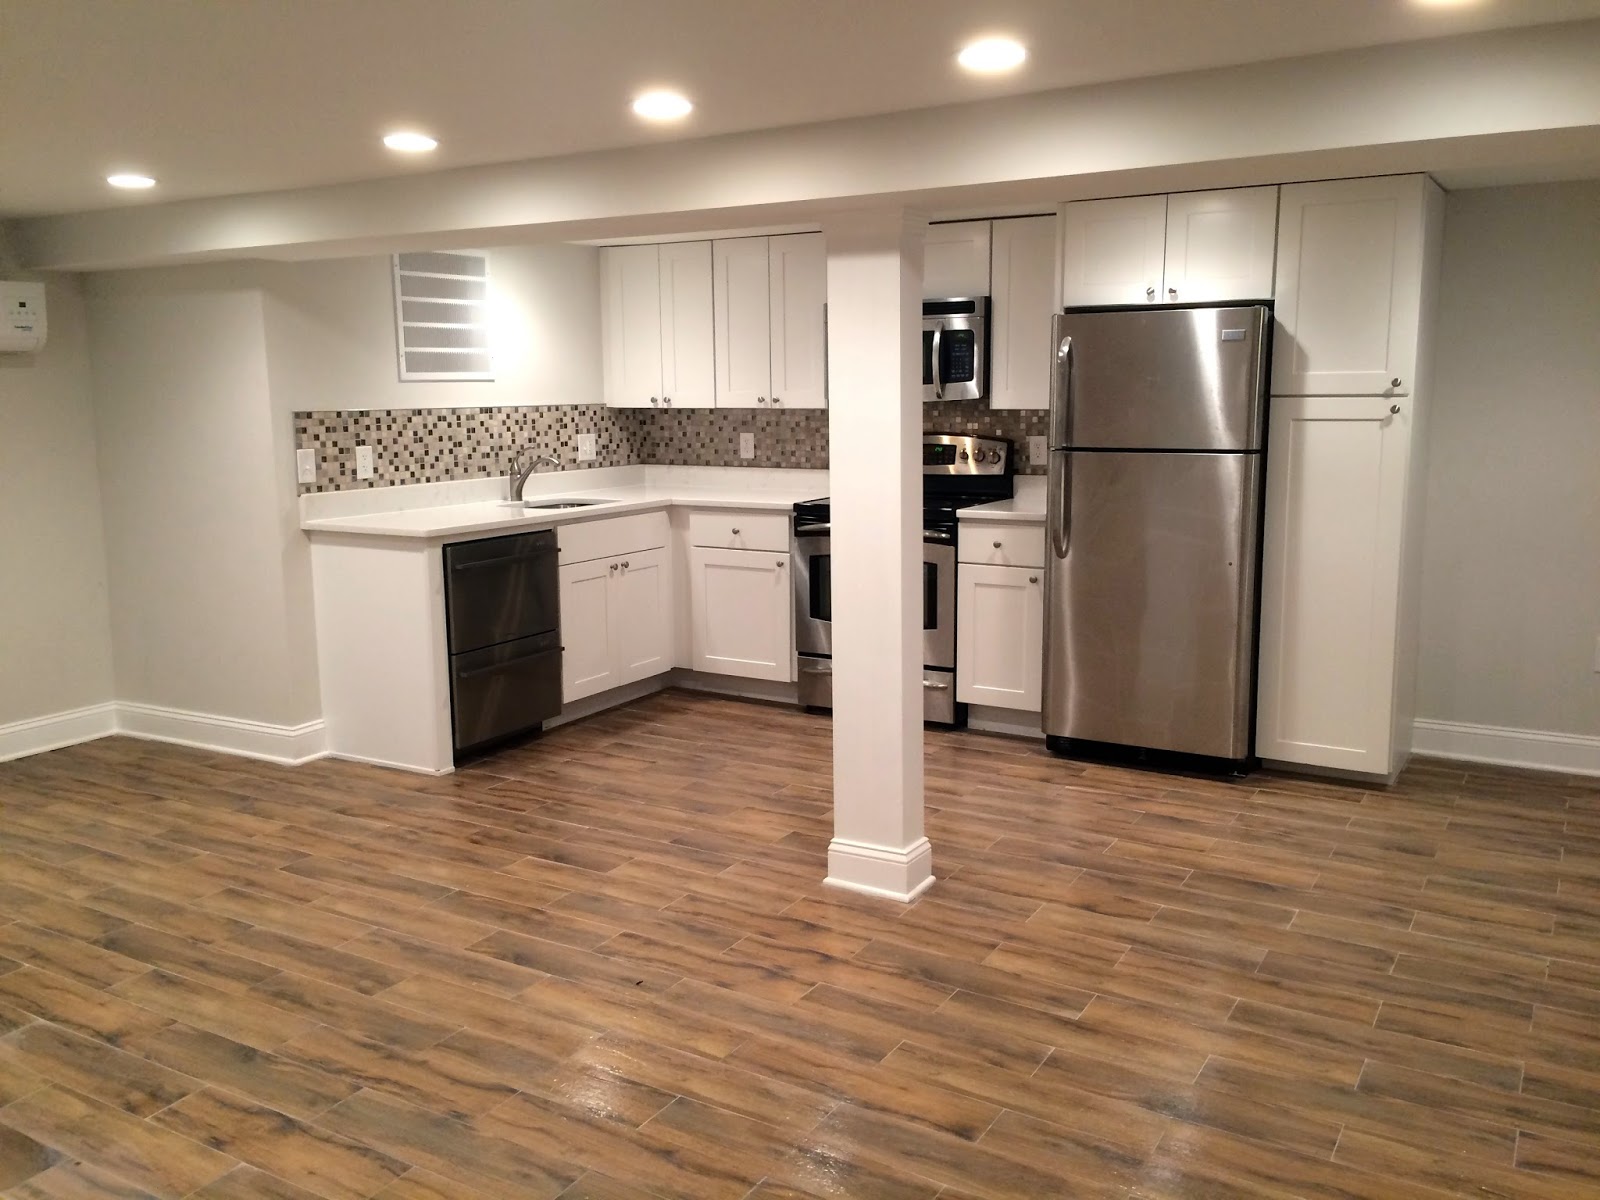
The old, nasty stained carpet came up, and new wood-look tile went down. The tacky and flimsy doors were replaced by new, all-glass ones. The windows were upgraded to ones that can open. Some of the add-on upgrades that we caved on really make the place seem more finished, like moving the pipes into the ceiling and adding a silent minisplit AC and heating unit. There are two big closets, in addition to a laundry closet.

Our one hang up was with the new wall that separates the basement apartment from storage we want to access under the stairs. The wall was up, didn't pass inspections, came down, passed inspections, and then went up again. So now we have access to a lot of extra storage space, as well as a good separator from the tenant. I was worried that the wall would create an awkward, long hallway for the tenant, but it seems fine. And now it all looks like this:

view of the living room and infamous wall from the front

the living room and front door

kitchen

more kitchen

backsplash and countertops

nook to the side of the pantry- good spot for a little table?

nook to the left of the kitchen - spot for a desk?

one big closet

second closet

the bedroom

bedroom and back door

laundry closet

So, in the end, light, bright and open- just as we were hoping for. Next up, we're going to show you the bathroom!

Thursday, September 25, 2014

Bathroom Fixtures

We are just rolling right along on the bathroom- scrambling to make up for lost time and finish in time for inspections. We made a lot of progress over the weekend, and then finished up after work a couple nights this week. In the last post, we had just finished grouting everything.

Step 1. Install Floor Trim
First up, I started working on floor trim because it is so much easier to install before stuff gets in the way. We picked up a couple boards of the standard 5 inch trim and quarterround. I measured a couple times, cut a couple times, and then fit it into place and nail it in. The secret to good-looking trim is caulk. It fills in the gaps and covers all sins. So I liberally applied the caulk, and then painted it.

Step 2. Install Toilet
Meanwhile, mi esposo got to work installing the toilet. He started by drilling holes for the new flange into the cement to attach it securely. Then he cut the water pipe, added a new water valve and hooked up the water line. Next, we set the wax ring on the base of the toilet, and lifted the toilet gently onto the flange and screwed it down.

toilet and trim

Step 3. Install Vanity.
So this is where we get into trouble. We spent hours searching around for a decent looking vanity and sink, we settled on one that then was discontinued. We drove around town looking for options, and eventually just bought the most similar lookalike. We finally took it out of the box and carried it into place, only to realize that it was way too big. We had taped it out on the floor, but in 3D- it was just clearly way too big. So we took it back, and tried to buy a new smaller pedestal sink instead. (Not thrilled with a pedestal, which has no storage, but it was the best option).

Well, the store had three pedestal sinks, but zero pedestal bases, other than the one on display. When none of the store workers would help us, we got a little annoyed and desperate, and my husband, the ne'er-do-well, decided to take the display model. While I was sure we'd be taken away in cuffs, they instead gave us a discount for taking the floor model. We brought it home, and quickly installed it into place. R hooked up a p trap and the new water supply lines, and then put together the faucet and drain.

my devious husband taking apart the floor model
 
husband vs. the pedestal sink

Step 4. Lights.
The contractors had already put up the housing for a recessed light, so we just grabbed an LED cover bulb that was built for a bathroom. Then, we put up the light over the sink. At the same time, we installed switches for the new vanity light and the fan.

vanity light going up

Step 5. Shower Doors.
This was the step we were really worried about. The shower doors are three pieces of heavy, thick glass that we really didn't want to break. After reading through the really daunting instructions, which included gems like, "don't touch the doors to any tile or they will shatter", we decided not to install them ourselves. Instead, the contractors got to step in and take over this last step.

doors!

Next Steps
We are pretty much done. I'm just going to clean it up, touch up the paint, add a towel rack, and then we'll have the big reveal.