Showing posts with label Green Room. Show all posts

Thursday, October 1, 2015

Babyproofing

So - maternity leave was mostly pretty slow and uneventful, house-wise. There was not a lot of time to get anything done on the many, many house projects that I want to work on. However- in the past month we did rather frantically end up making a lot of changes to the house.

You see, finding day care in DC is really hard to do. As soon as I knew I was pregnant, I signed up for the waitlists for 5 different day cares in the area. We paid our waitlisting fees and waited patiently, hoping that by the time maternity leave was over, we would have a spot somewhere. As the end of my leave approached, I reached out to all the daycares to find out where we stood and discovered that we didn't have a chance of getting into any of them. At best, we may be able to get into one in a couple years, and at worst, we managed to move backwards on a list from 150th to 175th.

So, we frantically started researching other childcare options and found a nannyshare that was available with a family in our neighborhood. The great news was that a good nanny would watch our son, starting exactly when we needed her, at a much more convenient location. The bad news was that a 1.5 year old would now also be staying in our house every other week, which was chockfull of baby death traps everywhere we looked. Since our son is only starting to roll over and months away from being really mobile, we hadn't even thought about baby proofing. The other kid though, is running around and great at getting into trouble- so we needed to babyproof asap.

Step 1. Remove the Breakables
There were two bookcases full of breakables - one of our fancy crystal and stuff in the living room and one of our liquor and glasses in the fireplace room. The alcohol got moved into the dining room buffet so its bookcase could go back upstairs to hold books in the new office. The other got moved up to the green room, replacing the console table that was a bad fit up there anyway.

The old liquor cabinet in the fireplace room

new empty wall in the fireplace room- perfect for a basket of toys

old bookcase from the living room moves up to the green room

Step 2. Remove the Deathtrap Shelving Units
After the Great Renovation last year, we got two metal shelving units to replace the walk-in pantry that we lost. One was full of small appliances in the dining room, the other full of food in the kitchen. Both were hideous and totally dangerous for a small child who could pull them over and crush himself. I took all the small appliances off the one unit and moved it down to the basement, where I joined it with a third shelving unit into a mega-double-shelf, to help better organize the stuff being stored down there. The other got moved into the mudroom, where it can be locked away from the kid by the old exterior door.

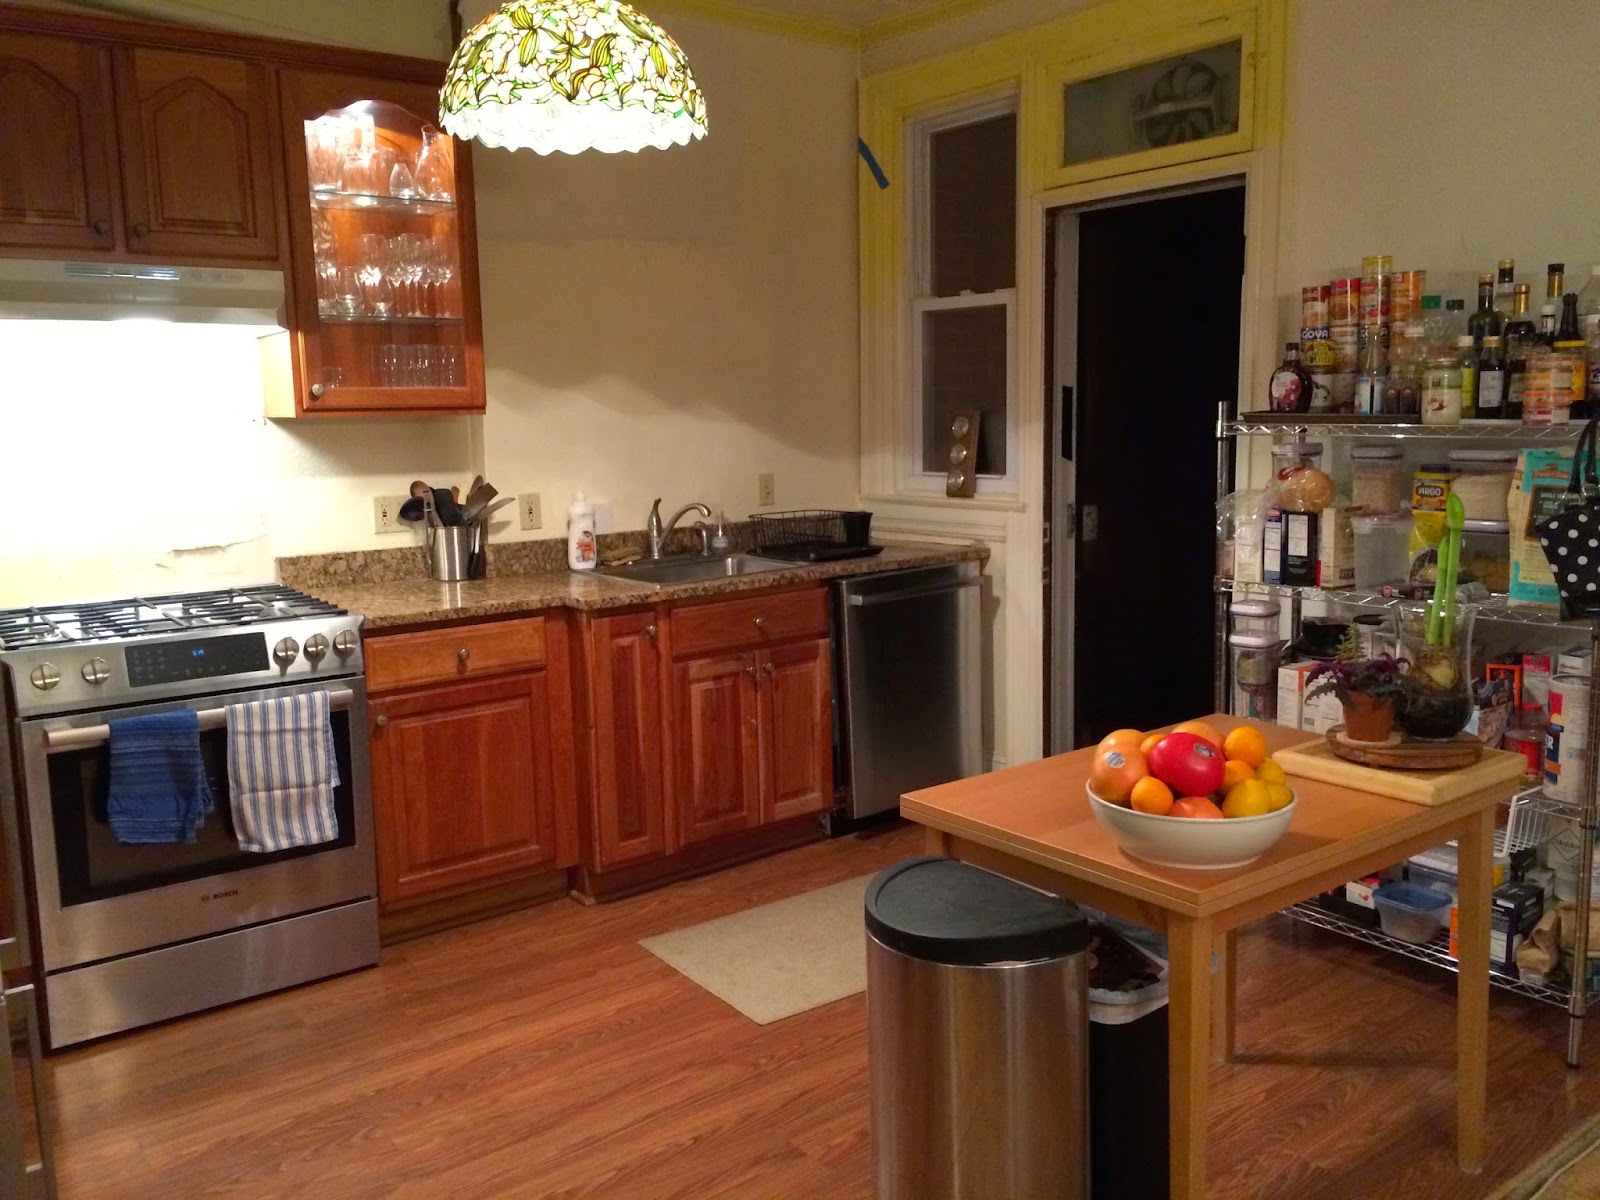
Old Death Trap #1 - pantry in the kitchen

new well-organized pantry in the mudroom 
(still a deathtrap, but safely behind a lockable door)

Old Death Trap #2 - small appliances in the dining room

new mega double shelving unit in the basement

new safe and empty corner of the dining room

Step 3. Get new Cabinets
To hold all the small appliances that now had no home, we picked up some cheap white cabinets and a countertop from Home Depot. All the appliances fit easily into the new storage space, plus we get two new big drawers for utensils and stuff. We were desperately short on counter space before, so even a crappy counter is a huge step up. Even though the kitchen is getting steadily less attractive at every turn, this is a big improvement for storage and functionality. Plus it lets us test-drive this layout before buying real cabinets in the future kitchen renovation. The old table that was in this spot got moved out to the garage to help organize the workbench area.

ugly new cabinets with lots of counter space and storage

Step 4. Add gates, outlet protectors and cabinet locks
After some minimal research on Amazon, we ordered the classic baby proofing gear - baby gates for the stairs, little plastic plugs for all the electrical outlets, and magnetic locks for the kitchen cabinets.

Wally demonstrates the cat door in the baby gate


Step 5. Build Shelves in the Laundry Closet
I finally put up some basic wooden shelves to get all the laundry supplies up off the floor. This has been on the to-do list since the new laundry closet was built, but we couldn't seem to get it done.


new shelves keep detergents off the floor and out of reach for short people

Step 6. Rearrange the Living Room
Once the old bookcase full of breakables was removed from the living room, we needed to rearrange the remaining furniture. We angled the short couch so that it blocks the radiator (a future hazard once the weather gets colder), which also creates a good place to stash toys out of sight. We also moved the old coffee table to the side of the long couch in the newly created space where the old bookcase was. It has hard metal corners that we don't want the kid running into. On the one hand, the new layout is more open and great for playing, and makes it easier to get to the windows. On the other hand, we no longer have a coffee table, so it's much harder to eat dinner in front of the tv. We seem to have accidentally forced ourselves to start eating at the dining room table like real adults.

the old living room layout with breakables in the corner and a dangerous coffee table

new living room layout is more spacious and less dangerous

the old coffee table becomes a side table

Step 7. Mount the TV
Then we ordered a support to mount the tv to the wall so that it can't be pulled over. Once it was on the wall, we no longer needed the massive tv stand under it, and switched it out for a new much smaller console table that is similar to the side table. We then used a furniture strap thing to attach the console table to the wall, so it can't be pulled over either. The trick here was figuring out how to hide all the misc cables and wires, which were totally visible through the new sleek, glass table. I spent some time bundling and tying each of the wires into a smallish mass that I hide behind the cable box. 

old tv stand is massive and dangerous

new mounted tv over much smaller table

Step 8. New Wall Art
After a lot of time staring at our horrible couches and rug that I never liked, I was feeling pretty annoyed with the living room. We can't afford to buy all new furniture, so I bought a new watercolor for the wall instead (consolation prize!) 

the new watercolor classes up the joint

So, not exactly a renovation project, but a bunch of stuff got moved around and improved. We would've had to do all this eventually once our son is mobile anyway, so it was all time well-spent. We also managed to get rid of several pieces of furniture, like the old tv stand in the living room and the red console table in the green room. They are moving on to a new home, while we are slowly making progress on my goal to get rid of all the temporary and flimsy furniture we bought in our gradschool days.

Wednesday, March 25, 2015

Refinishing the Floors

As soon as we first looked at this house, I knew I wanted to refinish the floors for a couple of reasons.
  1. The floors are currently not stained, which makes them very light and kind of yellow. I prefer a medium-tone, warmer brown color for floors.
  2. The floors used to be a very dark stain that was removed lazily, so you can see bits of the old color in corners, under radiators and in other various places.
  3. The finish has worn off in several places, making the wood really vulnerable to anything that gets spilled on it and an ugly grey color.
  4. There are gouges and scrapes in lots of places.
  5. There are a lot of paint drips (not from me) and other mysterious things stuck to the floors.
looking down at the spindles on the staircase- you can see the old dark stain that was never removed

some deep scratches in the bedroom

the floor looks grey where the finish has worn off
So, we knew we wanted to redo them, but never really made it a priority to get started. Since we're redoing the kid's room now, it seems like a good time to get in there, before a baby arrives. And as long as we're doing one room, we might as well do the whole floor. (Of course we would rather do the whole house, but we're going to cut this project in half both to reduce cost and chaos, and come back for the downstairs once the kitchen is ready. Our house has a fun feature of having pine upstairs and oak downstairs, which was common in the early 1900s, so it's not like the floors would match perfectly anyway.)

I would love to do this project myself. In fact, I have done this before, and it's not that big of a deal. But, my doctors wouldn't clear it, and Spouso didn't want to do it all by himself, so we opted to hire it out instead. (This is one project where you don't save that much by doing it yourself, so we didn't feel too bad contracting it out).

Step 1. Make Backup Plans
Once we got a few estimates, picked a flooring company and started talking through the logistics, we realized that we would be stuck downstairs for a couple days and nights. So we packed some clothes and moved the air mattress downstairs. We figured that we could shower at our neighborhood gym and brush our teeth in the kitchen sink, but had no good options for restrooms. So we installed a toilet in the future half bath. Probably most people don't need to start out their floor refinishing projects by adding toilets to their houses randomly, but this was sort of critical for us-- and it was going to get done eventually anyway.

halfbath is all finished! Let's call it "rustic-chic".

Step 2. Get Everything Out of the Way
We already worked on emptying out the new kid's room, but the rest of the upstairs still had lots of stuff in it. The night before they arrived, we quickly moved all the small stuff, drapes, wall art, and clothes out of the rooms. As much as possible got piled onto the sleeping porch, and the rest got dumped throughout the downstairs. When the floor guys arrived on the first day, they moved the heavy furniture out to the sleeping porch.

Step 3. Scrape and Sand
Then they started sanding down the floors to remove the dirt and grime, old finish, paint drips, scrapes, and whatnot. They hand-scraped the steps, getting at all the old dark stain that had been left behind. They used a big drum sander for the floors, and a smaller rotary sander to get closer to the walls. They hung some plastic sheets to cordon off the area to reduce dust, but it was still a pretty big mess. It was also ridiculously loud, so the cats were not happy.  This was a really long day, but they did a really good job. After they left, we were able to carefully walk on the freshly-sanded floors, but tried hard (but unsuccessfully) to keep the cats off.

stairs getting hand scraped

green room all sanded down

Step 4. Stain
Before they finished sanding on the first day, we tried out stain colors. We knew we wanted a medium, warmish tone, but weren't exactly sure which stain to pick. So we tried 3 samples of MinWax: Provincial, Early American, and Special Walnut. Once they were applied and somewhat dry, we quickly chose Special Walnut. I'm not particularly surprised, since this is just a lighter shade of the stain I usually use on furniture, but it was interesting how different they looked on the floor than in the pamphlet.

stain samples on the floor


stain colors on the website & pamphlet

The second day, after they finished a bit more sanding, they applied the stain. It went on pretty quickly and was immediately gorgeous. Then they left to let it dry overnight. There were slight fumes, but nothing serious, so we slept on the air mattress on the first floor again. Unlike the previous night, we really couldn't walk on the freshly-stained floors, so keeping both us and the cats out became the real trick of the evening. We had to build some serious box walls to keep them out. (Thankfully, we have no shortage of boxes right now).

green room with stain

cat box wall

Step 5. Install New Shoe Molding
Part of the project was to replace the shoe molding, which had to be removed for the sanding process. We wanted the new shoe molding to be painted, not stained, so we worked out a deal with the floor guys to drop off lots of shoe molding the first day. Then I painted it in the garage on the second day, where it hung out to dry. On the third day, they cut the painted shoe molding and installed it. This way, I didn't have to worry about trying to paint the shoe molding in place, where I would almost certainly end up painting the new floors, or having to use painter's tape which I'm not a big fan of anyway.
new shoe molding goes in, but there's a visible gap between it and the baseboards

Step 6. Finish
After they finished with the new shoe molding, they applied a sealant to the floor and then polyurethane. We opted for water-based poly instead of oil-based, because it has fewer fumes and dries faster. They put down 2 coats throughout the day, giving it a couple hours to soak in and dry between layers. Then they left to let it finish drying. The fumes were almost non-existent, but we needed to stay off the floors to let them dry and cure, so we stayed downstairs again and left the windows open upstairs.
green room with poly

piles of cats and all our stuff crammed in the dining room

Step 7. Caulk and Paint the Molding One Last Time
The next morning, I crawled out of the air mattress one last time to finish up the trim. They had already cut and installed the painted shoe molding, but there was a significant gap between the new shoe and the old baseboards. So I caulked the gap, let it dry, and then painted the caulk. Let me tell you how tired of molding I was at this point - now at least the third time I've had to scoot myself around the floor messing with the trim, which does look much better, but still looks lumpy and bumpy in lots of places.
the same corner I've been showing you- all done

Step 8. Move Back
The night of the fourth day, we carefully moved our bed back into our room. The next morning, the team showed up to quickly move the heavy furniture back into place. That night, we moved the last of the small things back where they belonged. In only five days, our house went from normal to disaster zone to better than normal. Now everything is finally back together and looking fantastic.

closeup of the floors - darker, shinier and without junk

The floors look great. I was worried when they initially put the stain down because it seemed a little too dark- but once the finish was dry and it had a nice sheen, I was totally convinced. Everything looks warm and classy. The floors are all uniform, without drips, scratches, bad spots or weirdness, and the trim really pops. We are very happy with all of the rooms, but most excited to finally get to put together the kid's room.

sneak peak of the kid's room- stuff starting to go in


Thursday, March 19, 2015

Walls and Trim

Once everything was out of the office, we could finally get started on the minor renovations we had planned. We knew we wanted to take this opportunity to refinish the floors, which badly needed it, before the new furniture gets in the way and the kid arrives. It doesn't really make sense to do the floors for just one room, so we decided to redo the entire upstairs at once. But before we have our floors refinished into beautiful, fabulous floors, it makes sense to touch up all the paint to ensure that nothing gets dripped on them in the future. So, what was a small project of just touching up paint in a couple spots in the kid's room, turned into a major project of patching walls, touching up paint, and fixing up all the trim upstairs.

Step 1. Patch  & Paint the Walls
When we first moved in, I quickly painted all the walls to get rid of the really horrendous colors that we inherited from the previous owner. Because I was in a hurry, I didn't do a very thorough job. So, I went back to take the time now to patch cracks and holes. In all of the rooms, there were cracks along walls and at the tops of the doors and windows that formed as the house settled over time. I quickly patched them with a light coat of mud, and then painted.

patching cracks in the bedroom

Our house has been wired for cable several times, so there were a bunch of cables and outlets that didn't actually connect to anything anymore - so I pulled all of those out and patched the holes.

one of many useless cables running through the upstairs that got pulled out

patching over one of the old cable outlets in the green room

After I had patched and painted everything, I realized that the store had mixed the wrong color for the green room. So we had to take a second trip way out to the suburbs to get a new can of paint for the green room, and then I repainted again.

ak. definitely not the right color in the green room

after another coat of the right color - looking good again

Step 2. Replace the Outlets
An ongoing project in the house is to replace the nasty old yellow outlets with new bright white ones that disappear into the white trim. Since I was repainting the trim anyway, I figured that now was a good time to do it. I just flipped the circuit breaker, unscrewed the old outlets from the wall, and then carefully moved the wires from the old outlets to the new white ones, putting the wires in the same relative places as I went. Now all the outlets upstairs are new, white ones.

Step 3. Fix up Trim
Once the walls were in good shape and the new outlets were installed, I started working on the trim. First up, I removed anything that needed to come off. I pried off the shoe molding, which will prevent the floor sander from covering the whole floor. I pulled out any remaining useless cable and phone wires, and then I scraped everything to get rid of old caulk, flaking paint and other gunk. I then carefully swept and wiped everything down to get rid of paint chips and dust. Then I caulked to fill in all the gaps and cracks, using a caulk gun to run a line of caulk along anything that needed to be filled, and using my finger to smooth it. Then the trim got a new coat of white paint, and the walls got a quick coat of wall paint to make a smooth line along the edge of the molding. Sidenote - caulk is important for filling in gaps and making things look finished, but if you don't paint it- it attracts all the dust and hair in the house and quickly looks disgusting.

Before: a bad spot in the green room

After: caulked & painted, shoe molding removed

Step 4. Remove Lead Paint in Kid's Room
So while I was working on the green room, the hallway and our bedroom, R was focused on the new kid's room. Our house was built in the 1910s, and lead wasn't removed from paint until 1978 - so we knew we had lead paint in the house. For added safety, R decided to take on the project of removing the paint from the trim in the kid's room. (Apparently he chewed on his windowsill as a kid- so this was personal for him). We bought a whole bucket of enviro-friendly stripper, and he started slathering it on. Not surprisingly, it turns out we have dozens of layers of paint on the trim, so it took him three different passes to get the window nearly bare.

stripper doing its thing on the window trim

Between the fumes and the mess, we decided this wasn't the best approach. So we picked up a heat gun (which is basically just a super powered hair dryer), and he used it to finish the window and remove the paint in the door frames.

husband finishing up the window with the heat gun

Once he was done, I came in and caulked and painted the window and closet door frame. In retrospect - removing the paint wasn't a great idea. Stripping the paint made a huge mess and was probably more dangerous than just leaving it in place and covering it will a new coat of fresh paint. Maybe a better answer would be to remove the molding altogether and replace with something new - but that's expensive and feels wrong in an old house.

Anyway - now we are finally done and everything looks great. We stayed up late a couple nights getting everything finished up. This was a monster of a project that ate away several of our weekends. It was completely back breaking and totally thankless-  the kind of project that no one will notice once it's been done. Already it's hard to remember how cruddy it looked before, now that everything is so much cleaner and sharper now. But we finished in the nick of time- the floor guys get started today, and we couldn't be more excited. More on that soon!

Sunday, January 11, 2015

The Grand To-Do List

Happy New Year! I am currently trying to make plans for house projects this year, and realized that we've now lived in our new house for almost exactly 2 years. Seems like a good time to update ye olde to-do list, figure out what progress we've made and what's left to do.

Backyard
The yard has come a long way, and really stands out as the best room of the house. It's almost completely landscaped with flowering shrubs that are all doing well and flower at staggered times so that something is nearly always blooming. The table and chairs have worked out really well, and the kitchen garden has been really productive so far. I'm considering it mostly finished, with only a few small additions needed. Namely, focusing on the small porch outside of the dining room.
the almost completely landscaped backyard

the small inaccessible porch
  • Re-sod lawn
  • Add some new perennials in the back
  • Hang the hammock
  • Create another seating area
  • Add curtains for the porch
  • Upgrade seating for the porch
  • Add an outdoor rug & repaint cement on the porch

Whole House
Moving inside, there are a few items to do for the whole house, so I'll list them here.
  • Refinish floors
  • Add recessed lights
  • Paint trim
  • Replace outlets
  • Get air conditioning

Downstairs

Mudroom
The newly-created mudroom is a totally blank slate that needs to be finished. This space did not exist at all until the big renovation closed in what was part of the back patio.

the future mudroom
  • Tile the floor
  • Sheetrock walls and ceiling
  • Add lights & heat
  • Add cabinets for extra kitchen storage
  • Add a bench and coat hooks
  • Replace stairs to backyard

Halfbath
Similarly, the halfbath is a brand-new addition that needs to be finished. This is a high priority for the near-term, and something we should be able to do mostly ourselves. This space used to be a pantry, which was nice, but less important than having a bathroom on the first floor.

future halfbath
  • Tile the floor
  • Add sheetrock and wainscoting to the walls
  • Lights and electrical
  • Finish plumbing
  • Add pedestal sink & toilet
  • Heat?

Kitchen
The kitchen has made a little progress, with the removal of the wall between it and the dining room. We have temporary counter space where the new peninsula will go, and we've upgraded several of the appliances. It never had great storage to start with, but we really took a hit when we lost the old pantry. Once we get to it, the full kitchen renovation will change the layout of the cabinets and add more counter space by adding a peninsula. This project needs some major electrical and plumbing work, so we're holding off on this one to save up, even though it looks pretty awful right now.

the very orange kitchen with no storage
  • Replace cabinets and counters
  • Add new recessed lights
  • Add new vent hood
  • Refinish wood floors or add tile?
  • Backsplash

Dining Room
The dining room has come a long way, with the new table and chairs and buffet, new chandelier, and open concept with the kitchen. Very little remains to be done in here.

the nearly complete dining room
  • Add door to access back porch
  • Get a rug
  • Add curtains

Fireplace Room & Stairs
The fireplace room got some attention last winter, when we rebuilt the chimney, replaced the ceiling light, and added a bookcase/liquor cabinet and a table for mail sorting, etc. The wall above the stairs was also recently repainted. It will always be our slightly awkward room, but we could do a little more to make it more attractive and functional.

view towards ugly fireplace

view towards stairs
  • Tile the fireplace
  • Replace/paint the mantel?
  • Refinish the bannister
  • Paint the stair risers
  • Add a dangling light over the stairs

Living Room
Despite being the place we spend the most awake time in the house, the living room has gotten very little attention. We added a bit of wall art, moved in the small bookcase, and got a bigger tv, but otherwise nothing has changed. [Check out my new jellies!]

the very blah living room 
  • Get new couches
  • Get a new rug
  • Add a coffee table
  • Nice leather chair

Entryway & Foyer
The entryway used to have awful wallpaper that was peeling. I removed it and repainted, and then the contractors moved the electrical to a new panel box. We bought a new lamp, which is currently resting on a box. (tres chic). We also replaced the overhead light. Otherwise, nothing has happened in here.
entryway gets temporary storage

foyer looking pretty nice
  • Retile the floor
  • Add a bench and coat hooks
  • Add a console table thing
  • Rugs and shoe mats

Upstairs

The Old Office/New Nursery
In case you haven't heard - I'm preggers, and we're having a boy in a couple months. So, the current office needs to become the new kid's room. It's already been painted and the outlets have been replaced. It got curtains, but they won't really work now. This is obviously a very high priority with a short timeline for completion.

the current office & future kid's room
  • Empty out office stuff
  • Get crib, dresser, rocking chair
  • Replace curtains
  • Get a rug
  • Wall art

The Green Room
The guest room is one of the most finished rooms in the house, with a bed, dresser and curtains. It also now has a tv and plant table, but the wall art keeps getting pilfered and moved to other parts of the house.

green room looking purty in the morning light
  • Get/make a headboard
  • Wall Art
  • Bedside tables
  • Rug

Bathroom
This bathroom hasn't gotten any attention, other than to replace the caulk and clean the skylight window (which needs to be cleaned again). Now that we're cut off from the basement bathroom, it's the only bathroom we can use. A full renovation is coming at some point, but it's pretty low on the list.
mostly untouched bathroom
  • Remove tile and wallpaper
  • Replace shower and floor tile
  • Replace pedestal sink with double vanity?
  • Turn door into pocket door?
  • Replace toilet with something more efficient
  • Replace lights

Master Bedroom
The master bedroom got some attention last winter, when I repainted the walls and trim and replaced all the outlets. We also got some new bedding, refinished my lady table and hung the snazzy tin wall art - but we still lack nightstands and could use a rug.

master bedroom still has a ways to go
  • Get nightstands
  • Make a headboard
  • Get a quilt
  • Rug
  • Remove old closet
  • Add a ceiling fan
  • Add a skylight

New Office
What used to be part of the sleeping porch, will now be our new office. It has already been closed in with new windows. This brand-new space needs a lot of work to be completed. Since this will be the place that all the office stuff goes to make room for the kid - it's a really high priority.

new office is a blank slate
  • Frame new wall between office and bathroom
  • Add sheetrock to walls and ceiling
  • Build built-in bookcases?
  • New desk
  • Hardwood or tile floor?
  • Add storage
  • Comfy chair

Old R Room/New closet and master bath
This room is changing the most. What used to be a small extra bedroom where R kept his clothes, is becoming our master bathroom and closet. Over the summer, his old closet space was turned into the new washer/dryer for upstairs, and the old sleeping porch was closed in with new windows.

the current 4th bedroom & future walk-in closet

part of the old sleeping porch and future master bathroom
  • Frame walk-in closet and new bathroom door
  • Open window into door to old sleeping porch
  • Add closet storage
  • Tile bathroom floor
  • Build shower
  • Add double vanity, toilet and tub
  • Add lots of lights and skylight

Priority list
So, in two years, we've made a mark on every room in the house, but there is still a lot to do. First up will be the new office and kid's room upstairs. If those go smoothly, we'll tackle the new half bath and mudroom downstairs, and then maybe the new master closet. By the end of the year, I hope to have also finished the entryway and fireplace. Stay tuned.