Showing posts with label mudroom. Show all posts

Monday, October 10, 2016

Finishing Up the Halfbath and Mudroom

Once the trim was finally done, we got to add a couple small things to make the rooms feel pretty close to finished.

1. Towel Ring and TP holder
When we ordered the sink faucet, I just grabbed the TP holder and towel ring to match. They finally went up with a nice new turkish fouta towel.

new towel ring with fancy towel

with matching thing

2. Shelves
I've noticed recently that I seem to put up shelves often- kinda my go-to thing for making a space more organized. So, not surprisingly when I realized that there was no place to store extra TP rolls, I ended up getting a new board, staining it, and hanging it with some drywall anchors. I pilfered some random stuff from around the house to make it look a little more blogy.

new shelves

3. Secret Door
One more important issue that needed to be addressed was the access panel to the pipes. It needed to be accessible, but otherwise basically invisible most of the time. So we cut an extra wall panel, used some magnets and a little little claspy thing to hold it in place.

now you see them...

now you don't! 

4. Bench
In the mudroom, since it is a mud-room, I wanted a place to stop and take off shoes and store a pair or two - so I pulled together some scrap wood and built a little bench. Then I used some leftover cushion and padding to upholster it.

new little bench

I know. you're shocked that I posted a picture of my little cat.

5. Wall Art
In the name of functionality and organization, I ordered a fun new guy to hold keys by the back door. Then I grabbed an old poster that was framed and a good size and just hanging out. It's not the long term artwork, but it works for now and makes the room look a little more personal. 

our new cast iron octopus

poster gets hung

So - these rooms are like 97% done now. There are a couple little things we need to finish up here and there - but for now, we're shifting gears to finish up the kitchen and sleeping porch.

a functional and glamorous mudroom

half bath is so much better than the toilet sitting on  plywood that it used to be. 

Monday, October 3, 2016

Finishing the Trim in the Halfbath and Mudroom

So, once the pocket door was finished, we could finally finish up the remaining trim.

Step 1 - Baseboards
With the door casings up, we could add baseboards around the mudroom and remaining halfbath walls.  We went with the tallest baseboards we could find to match the rest of the house.

baseboards go up in the mudroom

Wally demonstrates all the new baseboards

Step 2 - Beadboard Panels 
With the baseboards in place, we could cut down the remaining beadboard panels for the halfbath. We had already put up a couple of them, and just had a few small panels left on either side of the door.

Step 3 - Chair Rail
Once the  bead board panels were all up, we cut chair rail using 45 degree angles in the corners, and then nailed it up.

Chair rail and panels are up


Step 4 - Caulk and Paint
Once it was all attached, I came back with my paintable caulk to fill in all the holes and gaps. Then it all got a coat or two of paint.

everything gets caulked and painted

So, on the list of major upgrades to a room under renovation: 1) putting up sheetrock makes a huge difference over exposed framing and insulation, 2) putting down tile/flooring makes a space look and feel a lot more finished and clean because it covers up the subfloor, but 3) putting in trim really makes a huge difference by covering up the last of the holes and building materials and making a room feel fancy and finished.

These spaces have come a long way, and feel so much infinitely nicer and more finished than when we started. This project is like 92% done, which is always the hardest part for me, because I'm already starting to mentally move on to the next project. We are gathering our strength for a final push to the finish-  we just have a few small things to fix up and little accessories to add, and then these spaces are really really done.

Monday, September 12, 2016

Finishing the Pocket Door

As I explained in my last post, after the tile floor went down, we should've installed the pocket door next, because all of the trim builds out from the door, and it's easier to install trim before there are fixtures in the way. However, we knew it was going to be really hard to do, so we just put it off and went ahead with the toilet and sink. Once they were installed, we finally had to bite the bullet and focus on the door. As expected, it was a total PITA, so I am really glad this is finally done.

Step 1: Find a Door
The track was installed in the wall by our original contractors a couple years ago, so all it needed was a door. We could've bought a new one, but didn't want it to look too different from our solid wood, super old doors. It turned out that the door to the closet in our bedroom, which we plan to remove eventually, was just about the right size, so we decided to use it. We removed the hinges from the door fairly easily, and then I took it outside to quickly sand it down and give it a coat of walnut stain to try to reduce the red color just a bit.

door to the closet in the master bedroom

Step 2: Find the Hardware
I know when the track was installed, there was also a bag of hardware to hang the door, but it long ago was lost. (We actually think it might be closed up in the wall behind the sheetrock. Fun surprise for a future owner!). Finding replacement hardware wasn't easy, since we had no idea what brand our track was, and they don't seem to be standard, and they really don't show the sizes for things. So after buying a couple options, one set finally fit in the track. We just screwed the hanging things into the door and put the wheels on the track.

Step 3: Hang the Door
This was the part I was dreading the most - but it wasn't all that horrible actually. Once the wheels were in the track and the hangers were screwed onto the top of the door, we had to lift the door up into the wheels. Of course, maneuvering a massively heavy door into the small little holes without being able to see what you are doing is just as fun as it sounds. Thankfully, this was successfully completed in about a half hour without smashing anyone's fingers.

door is hanging! 

Step 4: Fix the Frame
Once the door was hanging, we gave it a gentle push into the frame, hoping it would silently whizz closed - only to have it come to a grinding halt immediately. Turns out that when the contractors installed the sheetrock on this wall, they pushed the frame together - pinching closed the space where the door should go. So, after quickly debating whether or not it was important for the door to be able to open more than halfway - Spouso got to work trying to pull the frame back open from the outside. His answer was to try to find and remove the screws that attached the sheetrock to the frame, and then reattach them while putting a spare board inside the pocket cavity in place of the door, to push back on the frame and prevent it from being pinched closed. There was a bit of colorful language, but eventually it worked and we rehung the door and were able to gently glide it closed. Unfortunately, the door got rather scratched up as we tried to move it into the pinched pocket, so maybe I'll come back and refinish the door in the future.

Step 5: Install the Jambs
Now that the door works, we got started on making it look nicer. First up was building a door jam using a 1x8 board. Once we cut it down to the right height, we needed to rip it down to the correct width, but didn't have the right tools to do that. So we got a new table saw! It easily cut the board down to size. So, then we got a couple more 1x8s to cut the side and top jambs down to size, and then screwed them down.

door jambs getting attached

Step 6: Install the Casing
Lastly, now that the jambs were in - we could finally put up the casing around the top and sides of the door, inside and out. We picked up some fancy molding from a local mill place to try to match the really old stuff of the rest of the house. It's not exactly the same, but close, and should help the space look a little more consistent with the rest of the house. This was pretty quick, we just used 45 degree cuts to turn the corners. We did the back door at the same time, but had to rip the top board down because the molding was actually too tall for the room.

door casing is up on the pocket door

pocket door peaking out

back door has casing now too

Now that the door is finally, thankfully, done, we can finish up the rest of the trim. The end is very close!!

Monday, August 29, 2016

Fixtures for the Halfbath and Mudroom

So, if you've been following along, you know that we just finished putting down the new tile floor in the half bath and mudroom. The next logical thing to do would be to install the pocket door, because all of the trim will build off of it, and it's easier to install trim before fixtures are in the way. However, we are seriously procrastinating on the pocket door because it's going to be a real PITA to install. Since the toilet has been sitting outside on the back patio all summer, we were anxious to get it inside and hooked up - so, we're skipping ahead and installing the fixtures first. We'll come back to do the door and trim and stuff later.

Step 1 - Partial Wall Trim
I know I just said that we were going to skip the trim - but I couldn't allow the sink and toilet to go in before some trim, because it would frankly be impossible to install after the fact. So, we quickly put up some base molding and a few beadboard panels on just the critical walls.

base boards going in 

beadboard panels going up

Step 2 - Install Toilet
Next, Spouso took the lead on installing the toilet. He had to install a new drain thing, and drill it down to the floor. Then we cleaned up the old toilet which had been sitting outside all summer (tip: rubbing alcohol easily removes wax ring gunk). Then we stuck a new wax ring on, and set it down on the flange. He added cut-offs for the water lines, and poof! Toilet is back!

toilet goes back in

Step 3 - Install Sink
Then, we turned our attention to a new pedestal sink. He hooked up the drain pipe, and then put the sink in place, installed the faucet, and then installed cut-offs and water lines. Everything occurred nearly without incident, with only one occasion in which water was literally shooting out of the wall and pouring into the basement apartment below. Turns out - not only had the contractors sheetrocked over the drain pipe to start, but they also mislabeled the cut-off valves for the pipes.

new pedestal is in

view from above - I'm diggin the faucet. 

Proof that the water works*

Step 4 - Radiator
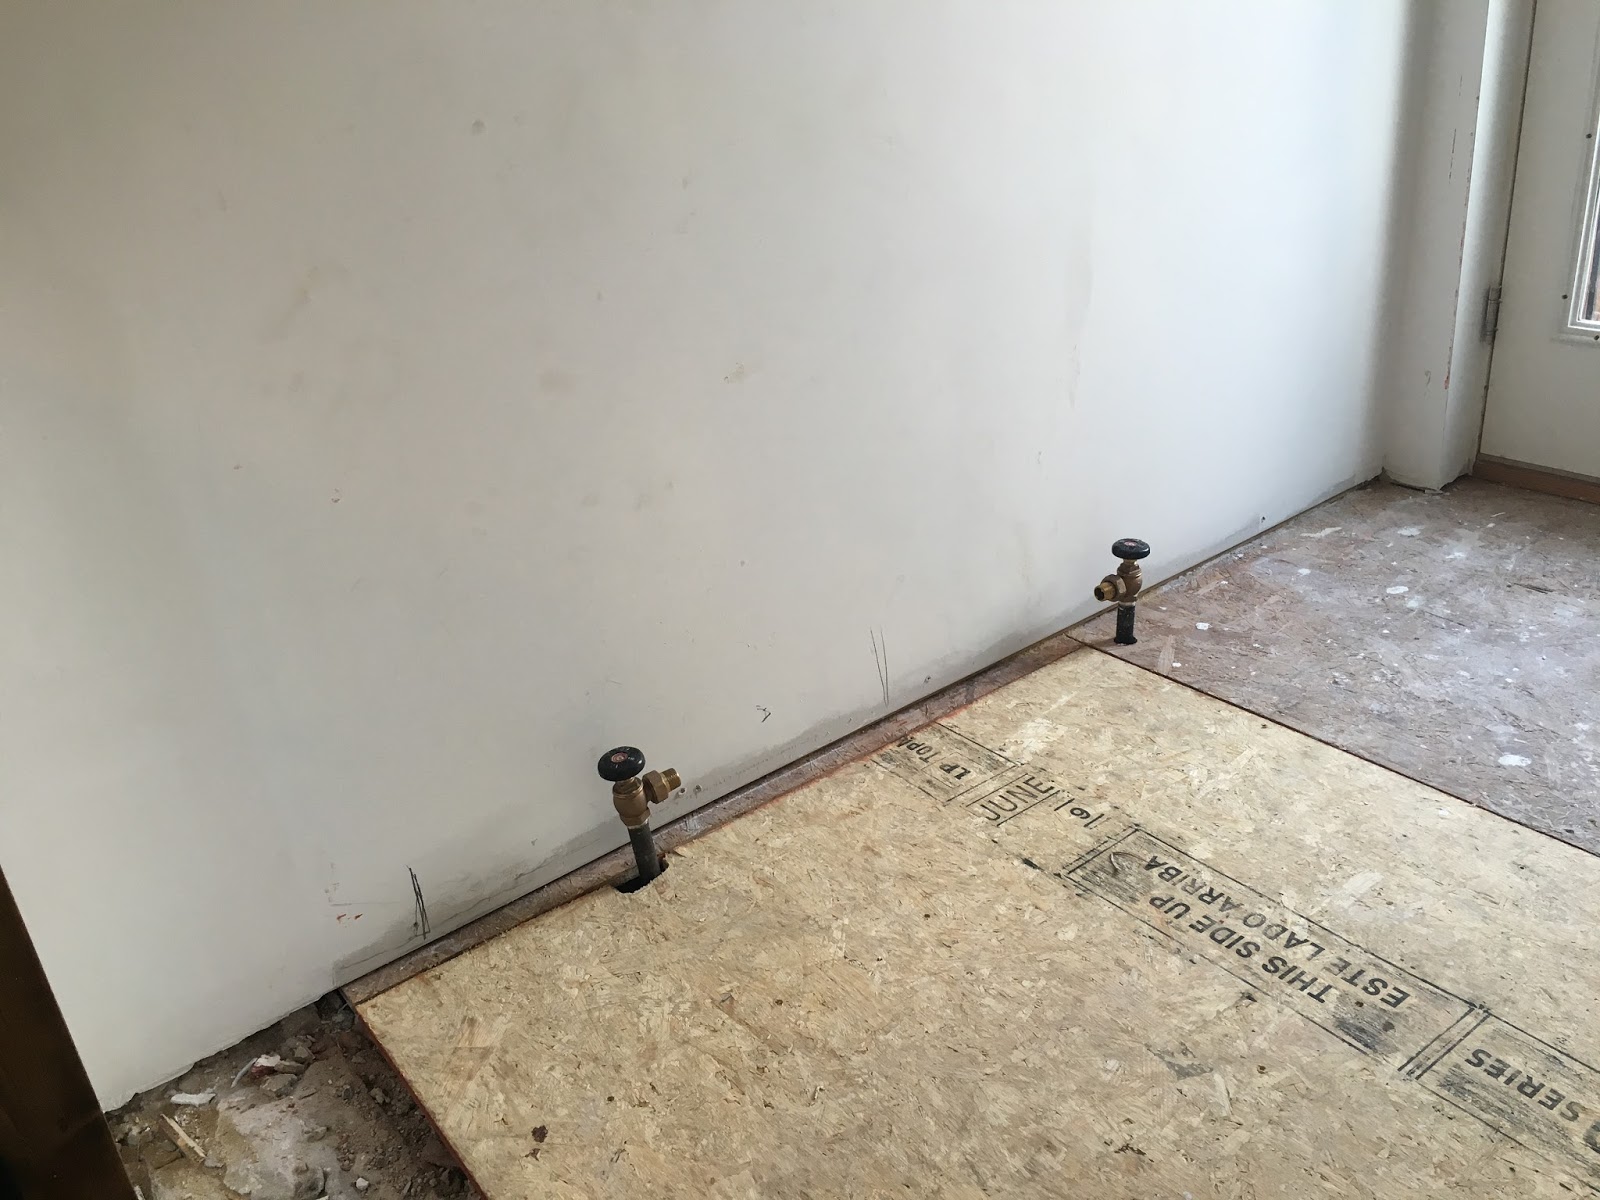
Oh, and the plumber came back and hooked up the new radiator - which means that this space will no longer be icy cold in the winter. This should've been a super easy project since they installed the valves before the tile floor went down - but it turns out they installed the wrong size valves, so they had to rip up my beautiful floor to replace the valves. Then they had to come back a couple times to try to fix a slow leak. Eventually - they finally got it right, and now the radiator should work and more importantly- we're done with contractors! I'm starting to get really excited about fall coming and the radiators going on again.

I suspect this will be a popular spot in the winter. 

So, these two rooms just came a long way on the functional spectrum, but we still have a lot to do to make them look more finished and attractive. (For the record - I continue to believe that the bathroom is not actually functional until there is a door, but I seem to be the only one). We're trying hard to push to the finish - so stay tuned.


* So, just a quick note - the boy is all about bowls, spoons and cups these days and has been carrying this particular bowl around all weekend. Not surprisingly, when Spouso showed him that the sink worked, he immediately stuck the bowl in the water and then threw the water all around the room. He gets more interesting every day.

Saturday, August 20, 2016

Halfbath Gets a Floor

So, as you know - the contractors just finished working in the halfbath and mudroom area - fixing the plumbing, adding electrical and a radiator hookup, and hanging sheetrock. Once they were out - it was our turn to get to work on the floor.

Step 1 - Fill in the Gap
This space used to be the back of the house - so there was a small brick half wall that the contractors removed. When they did, it left a crater-type thing in the floor that needed to be filled in. We picked up a bag of cement, stuck a bit of scrap-wood framing to contain the area, and then poured it in and smoothed it out.

framing and leveling to fill in the gap

Step 2 - Add Backer Board
We had a pretty solid plywood subfloor, but needed something stronger that wouldn't bend or bounce and crack the tiles. So we got some tile backer board, cut it down to size with a utility knife, and screwed it to the plywood.

as always  - 6 hands are better than 2. 

backerboard down!

Step 3 - Paint
So you might've noticed the walls changing colors in the pics above. Knowing that new floor was going down, I wanted to get paint on the walls first, to avoid the risk of splatters and spills on brand new tile. But, we hard a hard time picking a color because there were a lot of constraints: it needed to look good against the floor tile for this space, but I also wanted the same color to go in the kitchen, so it needed to look good with the kitchen now, as well as the kitchen post-renovation, plus it needed to look good against the dining room walls, which abut the kitchen. I ended up with 6 different paint samples and painted the whole room 3 times before we finally ended up with a really neutral color that is barely a color at all. Then, after the mudroom was painted a barely-there color, I decided that the half bath desperately needed to be a strong color, so it went half dark bluish/grey. The bottom half went white, in anticipation of a wainscoting situation, still ahead.

a bluish-grey color looked ok in the mudroom...

but looked horrible in the kitchen against the dining room walls. 

So mudroom gets repainted in a creamy, warm-white color. 

Halfbath goes half dark blue/grey, half white.

Step 4 - Tile! 
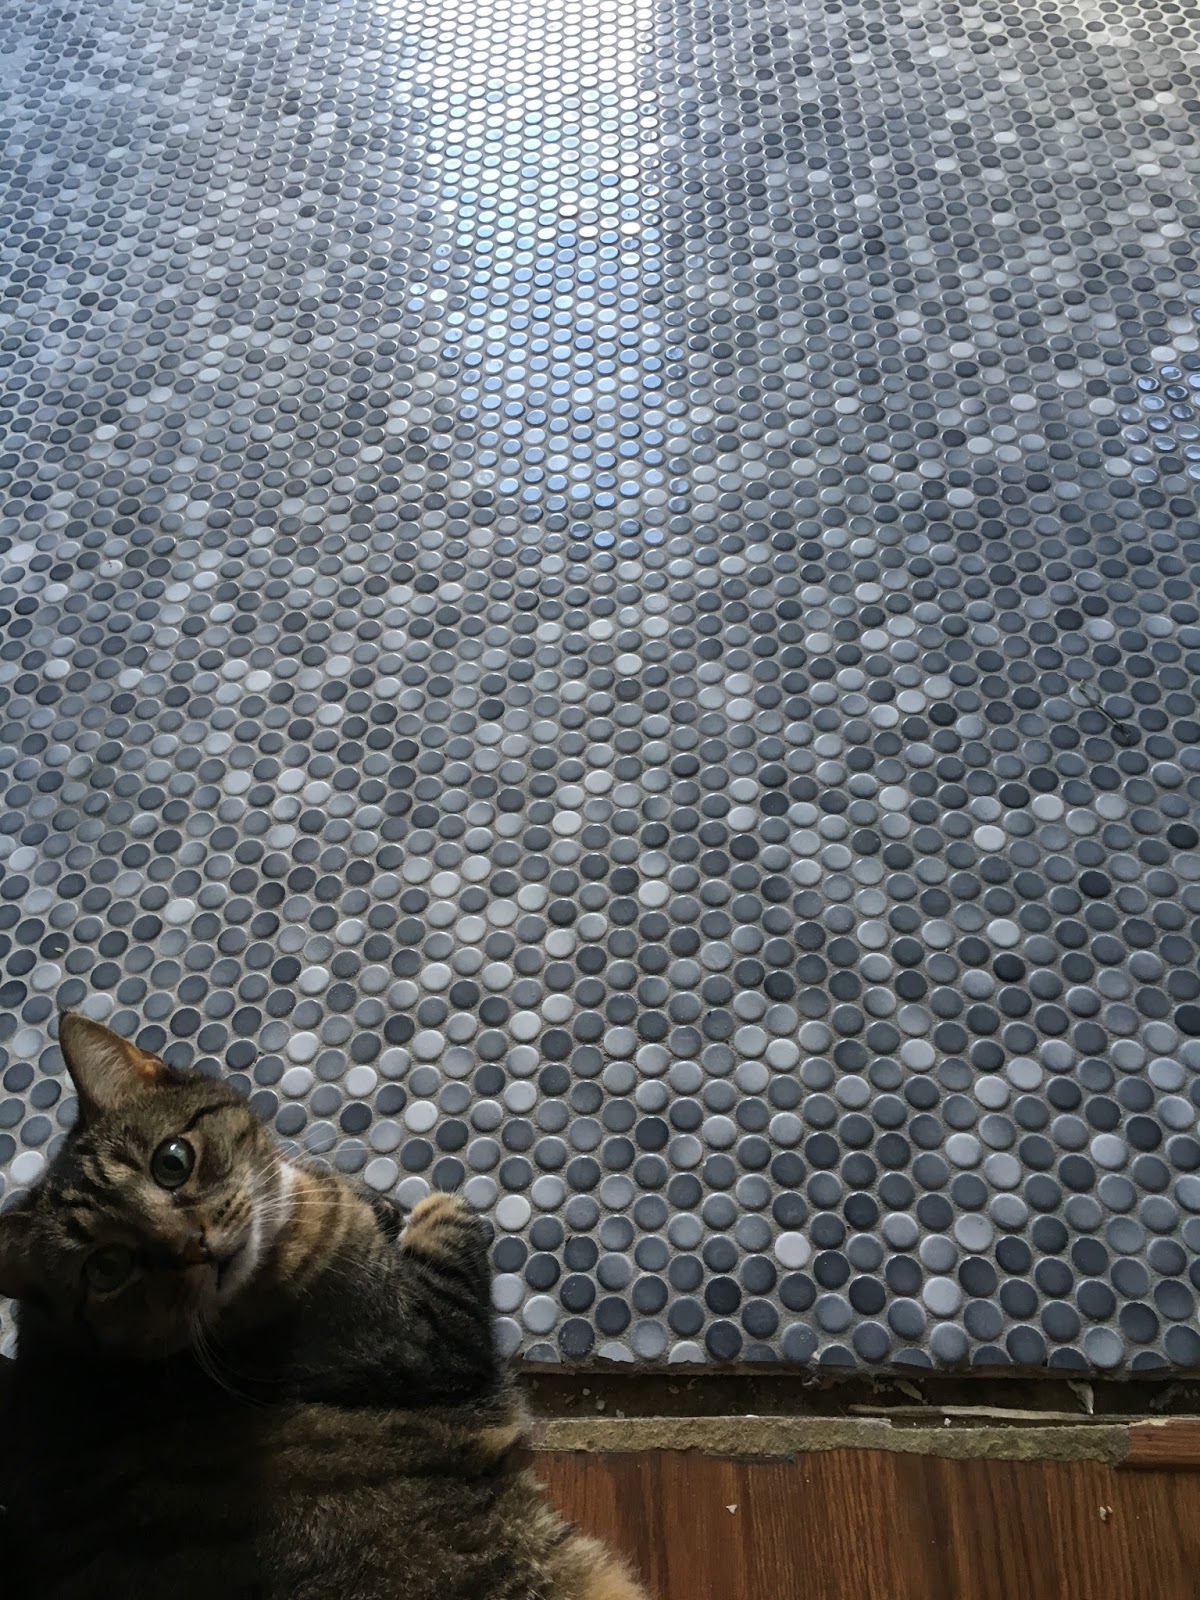
Once it was all ready to go, I finally got to put the tile down. I'm always so excited for this step because it makes such a huge difference in a room. We opted for these little gray penny tiles that came in square-foot pieces. Because the tiles themselves are so small, we didn't even need a tile saw to cut around the toilet and door openings. Instead, I just used scissors to cut the mesh backing, and tile snips to cut a few tiles in half. The whole floor went down in a record 4 or 5 hours.

tile is down!

Step 5 - Grout
So, things were moving along pretty quickly at this point, the tile was down and got 24 hours to dry, so I was ready to grout. We picked a light grey grout color to lighten up the floor a bit while being dark enough to hide dirt (this is a mudroom, afterall). Unfortunately, when we bought it at the tile store - I asked what the square footage coverage of a bag was, and the guy quickly answered "100 square feet". Well, we should've known better and actually read the bag itself. Of course the coverage depends on what kind of tile you are using, and since this is a small mosaic with big gaps between the tiles - one bag had a lot less coverage on this tile than it would on most. So, almost as soon as I got started grouting, it was clear that we didn't have nearly enough. I got the important areas finished, and then had to wait until the weekend to get back out to the store and get another bag. (This wouldn't have been that big of an issue if tile stores weren't located as far outside of cities as they can get).

Syd models the new floor. 

the cats seem to love this room already. 

actually - all the little people seem to love this room already. 

checkout the shine. so shiny. 

Major milestone achieved: Our house no longer has any plywood floors! I'm very excited. We still have a long ways to go to make this a functional bathroom, but we're gaining momentum!

Friday, July 22, 2016

Progress in the Halfbath, Mudroom, Dining Room, and Kitchen

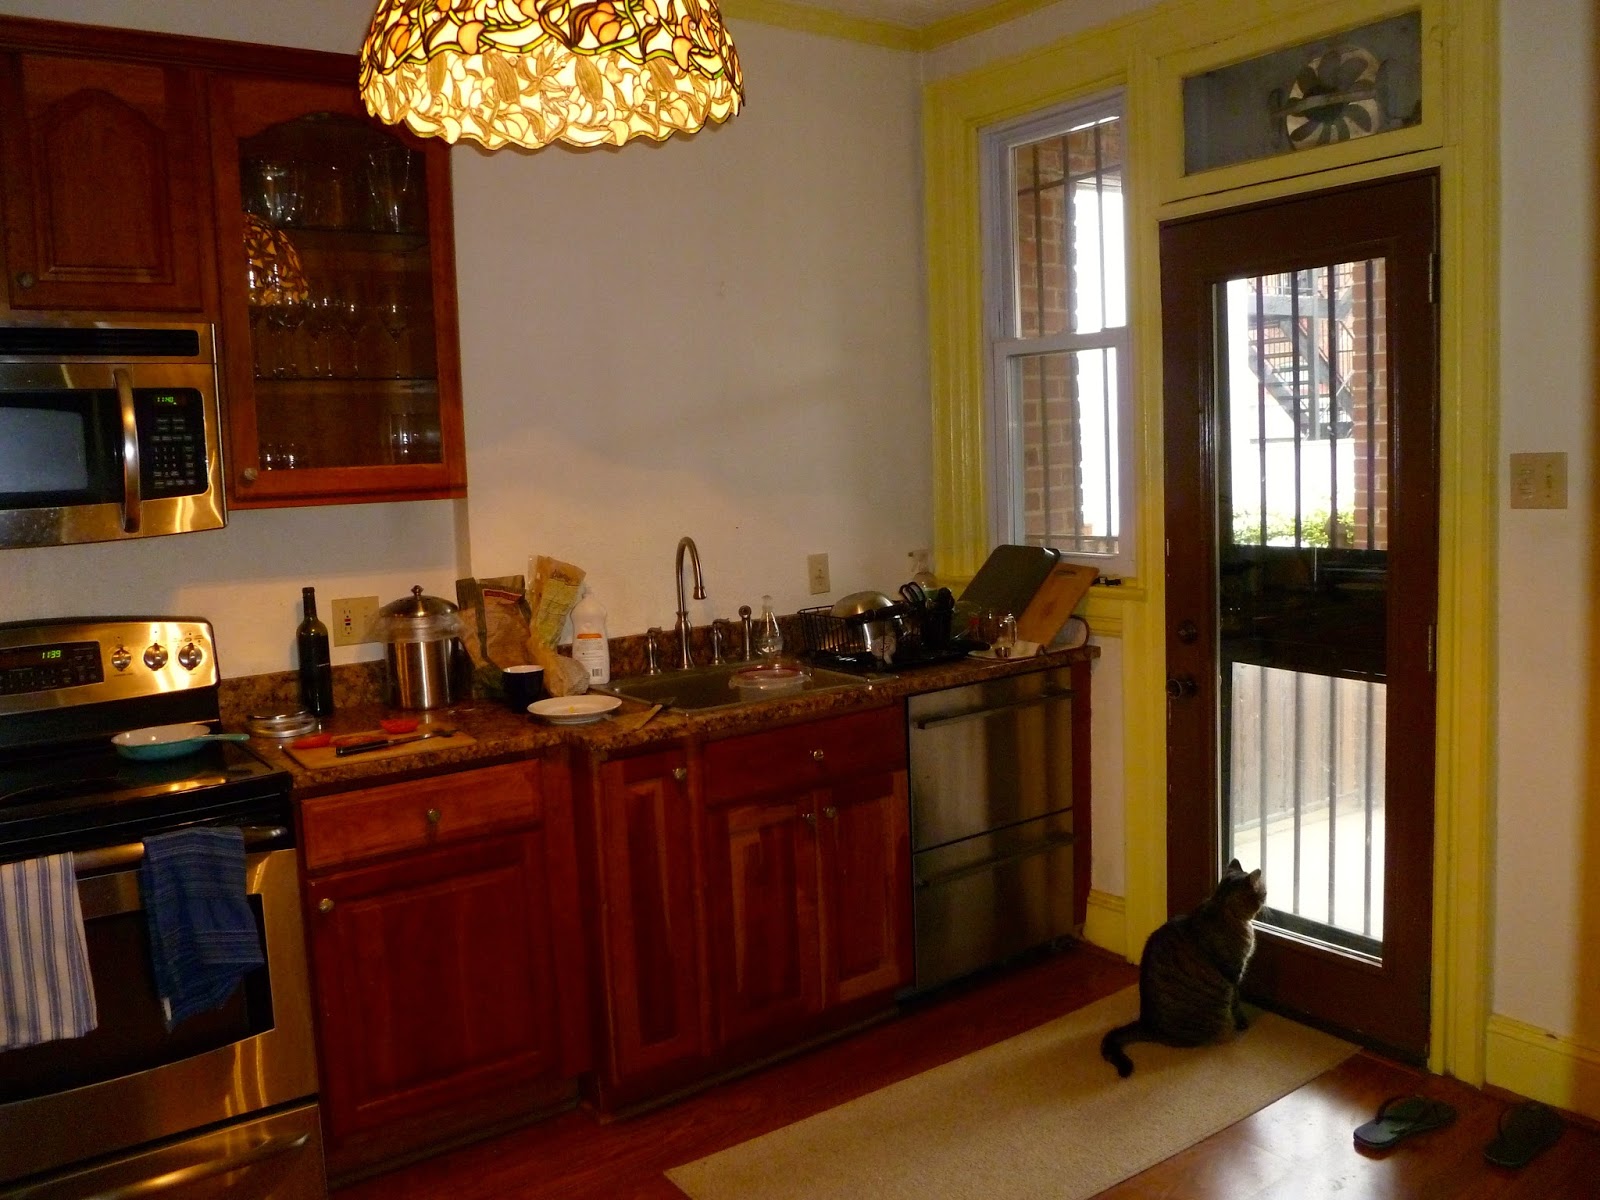
So, to kick off our big 15 week shape up - we reached out to our contractor to get started on some of the projects that either we can't do ourselves, or we could do but were having trouble finding the time to do. They've been working for the past 3 weeks and just finished up. We had them do just enough to make it easy for us to finish the spaces all the way off. First - a quick reminder of what these spaces looked like at the start:

exposed pipe in the kitchen above the cabinets

exposed beam and plywood floor between the kitchen and dining room

the old back door and view of the mudroom

mudroom with plywood floors and insulated walls

The Kitchen
When the washer/dryer was installed upstairs, the previous contractor ran the drainage pipe down the wall in the kitchen, but didn't cover it up. These guys framed the pipe, so that we can come back and add sheetrock to cover it up.

exposed pipe is boxed in and ready to be sheet rocked. 

The Dining Room
Similarly, the previous contractor left the ceiling open when they took down the old wall between the kitchen and dining room and installed the new beam - which is also open and ugly. These contractors framed it, so that we can come back and add the sheetrock. They also replaced the plywood filler that covered the spot where the wall used to be with an actual wood transition.

exposed beam is boxed in and ready to be sheet rocked

new transition from the kitchen to dining room floor

The Halfbath & Mudroom
The majority of the contractor's time was spent in these spaces. First, they fixed the plumbing so that it vents all the way to the roof, instead of just inside the wall. Second, they added wiring for new outlets and installed overhead lights. Third, they added some framing so that they could sheetrock and mud it.h Last, the plumber added hookups for a new radiator to heat the spaces, which they will come back and install once we do the floor.

new view from kitchen to mudroom

half bath all sheet rocked

new jellyfish light in mudroom

radiator hookups - ready and waiting.

The Sleeping Porch
We decided not to have them finish this space in order to reduce costs, but they did have one small project up here. Because the halfbath toilet needed to vent properly, they installed a new pipe going up from the halfbath, through the middle of this room, and up to the roof. Eventually, this pipe will be covered the wall that will separate the office from the master bathroom - but for now, we're just going to have to try to cover this up and make it look less ugly.

new vent pipe through the sleeping porch. mmm. 

The Add-on Project
So, every time we use a contractor for any project, we negotiate and edit the contract down in scope to get it as small as possible, and then inevitably, as soon as they get started, we realize we need to add more things and expand the scope. (I'm sure they just love this). So, this time, we opted to do the demo ourselves to remove the old back door, window and fan. As soon as we did, we realized that we wanted all of the brick removed so that it could be as open and breezy as possible, but removing walls of brick is really beyond our abilities. At this point, they had already started framing the mudroom for sheetrock, so it wasn't the best time to add additional demolition work. But, in the process of taking the door out, we realized that the header supporting the brick overhead wasn't really supported anymore, so it needed some additional work that was beyond our scope. Thankfully, this only added on an extra day or so - and it looks so much better. The mudroom area already feels infinitely more connected to the house, and the kitchen feels more open.

after we took out the doors and windows - realizing there was still brick in the way. 

they remove the rest of the brick and add this nice beefy support

The Electrical and New Discoveries
We have a 100+ year old house, which means that whenever we do anything, no matter how small, there's a really decent risk that we'll discover some other problem or break something. One day, the team was working on removing the electrical connection for the old fan above the kitchen door, a relatively small electrical project, when our tenant alerted us that some of his outlets were no longer working in the basement. About half of the house, including appliances on their own circuits, no longer had power, during one of the hottest heat waves of the summer. Several days went by, and the contractor was unable to figure out what had happened, leaving us without electricity to most of the important parts of the house  (no oven, no washer/dryer, no air conditioning). We were not happy about it, but doing our best to remain flexible and work around the situation as best we could. Eventually, an electrician was able to determine that we were part of a neighborhood-wide power outage, which blew out one of the two lines that feed our house - meaning that it was not at all related to the renovation and just completely coincidental. The power company came out and fixed it quickly.

...

Similarly, since the contractor was going to be sheetrocking in this formerly-exterior space, we pointed out that it sometimes leaked during heavy rain, and asked him to check it out. Turns out that the exterior wall has a massive hole in it, just above all the new sheetrock and framing. We could never see it because it's right on the property line. Now that we know it's there, we need to find a cement specialist to fix it, but hopefully it can wait a little longer.
big hole in the cement just outside the mudroom wall. grim, no? 

Lesson learned - always leave room in the budget for additional projects that might pop up, either because you realize you want something else done, or a problem arises.

just a reminder of where we started. 

Next Steps
So the contractors are essentially done now, and it's our turn to finish these space off. We're going to finish the mudroom floor so that they can come back and install the radiator. After the mudroom and half bath are done, we'll come back and finish up all the remaining sheetrock and painting.