Wednesday, February 25, 2015

Baby Furniture

A big part of our decision to switch from working on the office to working on the kid's room is that special order furniture often takes 8 - 10 weeks for delivery, and we're getting close to 10 weeks away. To make sure that the big furniture arrives before he does, we started out with some furniture shopping. All of these items count as big ticket items, so they need to be gender-neutral enough to work for Next Kid.

1. A chair
We generally understood that babies like to sit in moving chairs when they eat, but had no idea otherwise what to get. We assume that this will be a place we'll spend a lot of time, so we want something really comfortable that can hang around for a couple years.

We started looking at the options online at various stores and through craiglist. We quickly decided that we wanted something upholstered, since we plan to sit in this quite a bit and want to be comfortable. While secondhand is good for furniture - I think I draw the line at secondhand upholstered goods. I found an ad for a used chair with "no visible stains" that sort of creeped me out, so we decided it must be upholstered and new.

We went to visit some stores and sat in a few nice options. I discovered that I cannot get out of a rocking chair without slamming the bottom of the chair into the back of my heel. I also can't seem to rock a rocking chair without using my head - which not only looks ridiculous, but kind of hurts. So, next decision - we need a glider.

so many horrible chairs

Then, we realized that some chairs have really low backs, which prevent you from resting your head. Apparently my husband plans on being asleep while feeding the baby, so it's critical to him that he can rest his head - so next decision - it must be high enough to rest your head.

All of these discoveries eventually led us to this chair. It turned out to be on amazon, so we ordered it.

2. Pouf
It seems like it's critical that babies not only have comfy moving chairs, but foot rests. We didn't want to bother with an ottoman, some of which also move, because it seemed too expensive and too big for our little room. So instead we decided to get a pouf. We were a bit worried about the knit ones, knowing that our cats would love to sharpen their nails on something like that - and didn't want the leather ones that were all around $100. Then we found this guy, and clicked him on his way to us.

3. Crib
Babies sleep in cribs for some amount of time, until they grow big enough for toddler beds. Since the crib is a somewhat short-term item, we wanted to keep costs down on this purchase and get something adaptable to last for a couple stages. Crib safety standards have changed in recent years, so this was also an item that needed to be new. I googled around and found Lucie's List, a website that makes recommendations for baby items in a couple different budget levels. She recommended this one, as the mid-budget option, which will also transform into a toddler bed, day bed, and full size bed eventually. (not sure about the full-size bed, but we can keep the option open.). Seemed straightforward enough, so we clicked and sent it on its way to us.

4. Rug
Another important item to get is the rug. I'm new to this- but I understand that babies tend to be on the floor a lot, so it seems like we should have a rug up there. First condition - needs to be soft, not scratchy, so probably no wool. Second condition - should be at least 5' x 8', if not 6'x 9'. Third - it should be fluffy, not flat so if the kid falls on it, it doesn't hurt. Fourth - there must be some sort of pattern so that if you were playing with cars you could pretend to be driving on a road (this is more for me than the kid - I just love playing with cars on patterned rugs).  Fifth - it should be durable, able to get spilled on, easily cleaned, and relatively cheap. So, after lots of online searching, we finally narrowed it down to this guy. Ordered it.

So, ironically, we changed plans and started working on this room because we were worried we wouldn't get things done in time- largely because baby furniture has such a long delivery time, and instead, because amazon is amazing, our furniture showed up too quickly. We now have the opposite problem of having a lot of furniture here in boxes with nowhere to go yet. We are working on cleaning out the old office and prepping it to be the new kid's room- but aren't ready yet to put in all the new furniture. More on that soon. 

entryway fills with boxes as the furniture arrives too soon

Thursday, February 19, 2015

The Kid's Room

We are working on the office, as planned, but we hit a bit of a snag. I'm getting a little nervous that we won't have time to finish the office before starting on the kid's room and be done in time- so we're going to switch gears and get started now.  Hopefully we can still finish both rooms by the big deadline. More on the office snag coming soon.
the current office

So, the kid's room. You already know that we are planning to use our current office as the kid's room. Thankfully, there isn't much in the way of renovating to do in here, so this should mostly just be a decorating project. I want to refinish the floors and touch up some paint, but otherwise things are pretty much ready to go. A couple of goals for the room:
  • Spend money on the things that will last, be thrifty on the temporary stuff.  I'm generally blown away with how much money we're going to have to spend for supplies/toys for the kid that will be useless in a few months. So, as much as possible, we want to avoid wasting money on the temporary stuff and try to invest wisely in the things that will hang around. I'm thinking that means an adjustable crib that turns into a bed, a nice dresser that can be used as a changing table, a decent rug, but cheap wall art and fabric.
  • Create a gender-neutral spot that works for Next Kid. Assuming there is a Next Kid, it could be a girl. So the things we invest in need to work for girl too. I'm picturing lots of gray and white and geometric designs. I'm not big on gender stereotypes, so we want to avoid sports themes and that sort of thing- but maybe some blue stuff that's cheap and can be replaced is ok.
  • Add lots of visual interest. I love the look of layered fabrics and a variety of textures, so I'm thinking I'm going to be spending some time with my sewing machine to make pillows, quilts, bedding, curtains, etc. This wouldn't be a blog if I didn't make some over-the-top crafty thing and it wouldn't be a kid's room if it weren't whimsical, so I'm picturing a hanging paper thing over the chair, maybe with fairy lights and twirly, dangly stuff. Also plan to turn to etsy for some help on this.
Here's my design plan:


  1. Variety of white, grey and blue fabrics
  2. Cool hanging mobile over the crib
  3. Basic, wooden convertible crib
  4. Papery hanging structure thing
  5. Geometric, neutral rug
  6. Fun wall art
  7. A poof for the feet
  8. comfy glider 
So, we're ready to get started pulling this all together. My hope is to really focus on this room intensely for 2-3 weeks, and then turn back to the new office. More soon. 

Saturday, February 7, 2015

Organizing our Recipes

As one small part of the office project, we are turning our efforts to our massive collection of recipes. Because we both like to cook and read magazines, we have amassed a lot of recipes from cookbooks, magazines, blogs and websites. All of the physical recipes are dumped in the current office, taking up lots of space while not getting a lot of use. Rather than just move them all to the new office, I wanted to take a moment to find a better organization system, so that we could store all of them in a single place and access them where and when we need them. Ideally, we could cut down on the amount of stuff that needs to be stored in the new office and gain better access to the stuff we have at the same time.

a box full of cookbooks currently just sits in the office

piles of recipes torn from magazines

Step 1. Find a new organization system.
I did a bit of googling around to find electronic ways to store recipes, and stumbled upon Pepperplate. It's a website and an app for our phones that allows us to upload, organize and access all of our recipes. It looked like it would be relatively easy to upload recipes from a variety of places, and would automatically format them to look the same. The part that I got really excited about was that it allows us to categorize each recipe, and then use those categories to search for recipes later. I've always wanted to separate recipes by season and by meal component, so we could find all of our summer dessert options or breakfast recipes. The search feature also searches through ingredient lists, allowing us to find all the recipes that use certain items- a great way to use up leftover ingredients. Because everything is stored in ye olde cloud, it means we can access all of our recipes wherever we go - including to the grocery store. So I was pretty stoked all around.

Step 2. Move all emailed recipes.
I started out with the easiest stuff. Whenever I find a recipe online, I tend to just copy the text into an email to myself. Over the last few years, I had accumulated maybe 100 recipes, so I started with them. Using the pepperplate website, I just copied and pasted the recipes into new entries. It maybe took me 1 hr.

Step 3. Upload the magazine recipes.
For the past few years, both the spouso and I have been collecting recipes from magazines. I just tear out the recipes I like and keep them in a binder/heap, while he likes to keep the entire magazine. Both approaches tended to result in piles of paper in the living room, which drive me crazy. I started out by scanning all of my torn-out recipes. I emailed them to myself, which resulted in my gmail account getting locked down for suspicious activity (oops). Then I began to crop each of the images, and tried to upload them into new recipes. This turned out to be a huge disaster, taking way too much time and effort. So instead, I used the scanned images to look up each of the recipes on their host magazine's website, and then imported from there. For most, once I found the recipe I could import with a single click from the pepperplate button that I installed on my browser's toolbar. For the ones that were from magazines that aren't supported by the app, I had to do some copying and pasting, but it still took only a minute per recipe. Thankfully I had some slow time at work, so I plowed through these during the day in my free time over a week or so.

screenshot of an upload- scanned image on the right, pepperplate on the left

Once I finally worked through that mess, I decided to take a different approach with the husband's numerous piles of magazines. For those, he flipped through and marked all the recipes he wanted to keep. Then, I looked up each recipe on the magazine's website, and uploaded directly. Thankfully, most of his magazines were supported by the new app, so that we could upload recipes with a single click. This still took forever, mostly because he had hundreds of magazines and insisted on keeping almost all of the recipes in each one.

a pile of magazines getting dogeared and uploaded

Once everything was uploaded, I went back through them all to add tags and categories, and make sure everything was saved correctly. Altogether, this process took a few solid, miserable hours stuck at my desk. (most tedious house-related project yet).

Step 4. Install a cookbook shelf.
Lastly, we decided to install a new shelf above the kitchen sink to store the cookbooks. We figure that if we see them more often, then we will use them more often. I very briefly considered uploading all the cookbooks to the site, but quickly decided not to bother. We just grabbed a 1x10, cut it to size, and gave it a quick paint job to protect the wood. Then we found the studs in the wall, screwed in some cheapie braces, and poof! It's not a super attractive option, but this kitchen is going to be renovated in a couple years anyway- we can find a better option then.

ugly but practical shelves in the kitchen

Step 5. Cook.
Once everything was uploaded, we had a grand total of 686 recipes. We celebrated by throwing out all the magazines, emails and clippings. Now that we can find everything, we can actually use them more often and start cooking. As an added side benefit (and the real reason we started this whole project in the first place) we don't need to move anything food-related into the new office, cutting down slightly on the stuff we need to find space for. Yay, small victories.

Fun facts: Because uploading the recipes was a bit of a pain, I tended to skip any recipe that was more than a bit difficult or not appetizing. Because I'm awfully pregnant now, I tended to add extra recipes for the things I'm craving and skip the recipes that sounded repulsive. Not surprisingly, this means that the vast majority of recipes are for desserts (14%) and hearty, winter meals (42%), while very few are for alcoholic drinks (4%)  or light, healthy meals (15%). With that in mind, I leave you with a screenshot of our chocolate recipes. I'm thinking about making this my computer's new wallpaper.

oh, sweet chocolate. i plan to make all of these. 

Monday, January 19, 2015

The New Office

So our first project for the new year is to complete the new office space. It's not really a high priority itself, but the current office needs to be cleaned out to make room for the kid- and all that stuff needs to go somewhere. Since neither of us work from home, our office doesn't get a lot of use. It has to be a functional space to store files and officey materials, like the printer and paper, as well as all of our books. It will also hold my sewing machine, which is slowly getting more use each year, and its associated stuff.

some of the many books in the current office that need a new home

the closet in the current office is full of stuff that needs a new home

new windows looking out towards the yard

the old window between the master bedroom and sleeping porch

the door between the bedroom and sleeping porch

The Design
The space is small, so mostly it needs to be very well organized, with lots of storage and not a lot of unnecessary items. The new wall that will separate the office from the new master bathroom will be covered with bookcases with cabinets on the bottom for lots and lots of storage. We'll also have a small desk with a drawer, and hopefully a comfy chair for reading. There aren't a lot of walls, but maybe we can find room for some nice piece of real art for the walls.


1. Hardwood floor of a nice, medium tone
2. The same grey/blue wall color as the bedroom
3. Stripey drapes
4. Built-in bookcases with cabinets on the bottom
5. A small desk with a drawer
6. Comfy seating to read


The Plan
So, we're doing this one all ourselves, hopefully over the weekends and not at night through the week. We need to do minor demolition to remove the ugly paneling from the ceiling, before we can frame in the new wall that divides this space from the new master bathroom. Then we can put up new sheetrock on the walls and ceiling, and get everything painted. Next up, we'll put down a hardwood floor that's meant to look seamless with the bedroom, and will need to be leveled with a little insulation from the cold, concrete slab. Then we'll build in the bookcases along the new wall. Finally, we will add the new furniture and curtains to finish off the space. Before we move everything over from the current office space, I plan to do a hard scrub on all the things that are getting stored, to make sure everything really needs to be kept. Some things (like piles of cookbooks) need a better system to be used, other things (like my wedding dress) just need a permanent home elsewhere. My goal is to be done with this space in mid-February, and ready to move on to the next room.

Sunday, January 11, 2015

The Grand To-Do List

Happy New Year! I am currently trying to make plans for house projects this year, and realized that we've now lived in our new house for almost exactly 2 years. Seems like a good time to update ye olde to-do list, figure out what progress we've made and what's left to do.

Backyard
The yard has come a long way, and really stands out as the best room of the house. It's almost completely landscaped with flowering shrubs that are all doing well and flower at staggered times so that something is nearly always blooming. The table and chairs have worked out really well, and the kitchen garden has been really productive so far. I'm considering it mostly finished, with only a few small additions needed. Namely, focusing on the small porch outside of the dining room.
the almost completely landscaped backyard

the small inaccessible porch
  • Re-sod lawn
  • Add some new perennials in the back
  • Hang the hammock
  • Create another seating area
  • Add curtains for the porch
  • Upgrade seating for the porch
  • Add an outdoor rug & repaint cement on the porch

Whole House
Moving inside, there are a few items to do for the whole house, so I'll list them here.
  • Refinish floors
  • Add recessed lights
  • Paint trim
  • Replace outlets
  • Get air conditioning

Downstairs

Mudroom
The newly-created mudroom is a totally blank slate that needs to be finished. This space did not exist at all until the big renovation closed in what was part of the back patio.

the future mudroom
  • Tile the floor
  • Sheetrock walls and ceiling
  • Add lights & heat
  • Add cabinets for extra kitchen storage
  • Add a bench and coat hooks
  • Replace stairs to backyard

Halfbath
Similarly, the halfbath is a brand-new addition that needs to be finished. This is a high priority for the near-term, and something we should be able to do mostly ourselves. This space used to be a pantry, which was nice, but less important than having a bathroom on the first floor.

future halfbath
  • Tile the floor
  • Add sheetrock and wainscoting to the walls
  • Lights and electrical
  • Finish plumbing
  • Add pedestal sink & toilet
  • Heat?

Kitchen
The kitchen has made a little progress, with the removal of the wall between it and the dining room. We have temporary counter space where the new peninsula will go, and we've upgraded several of the appliances. It never had great storage to start with, but we really took a hit when we lost the old pantry. Once we get to it, the full kitchen renovation will change the layout of the cabinets and add more counter space by adding a peninsula. This project needs some major electrical and plumbing work, so we're holding off on this one to save up, even though it looks pretty awful right now.

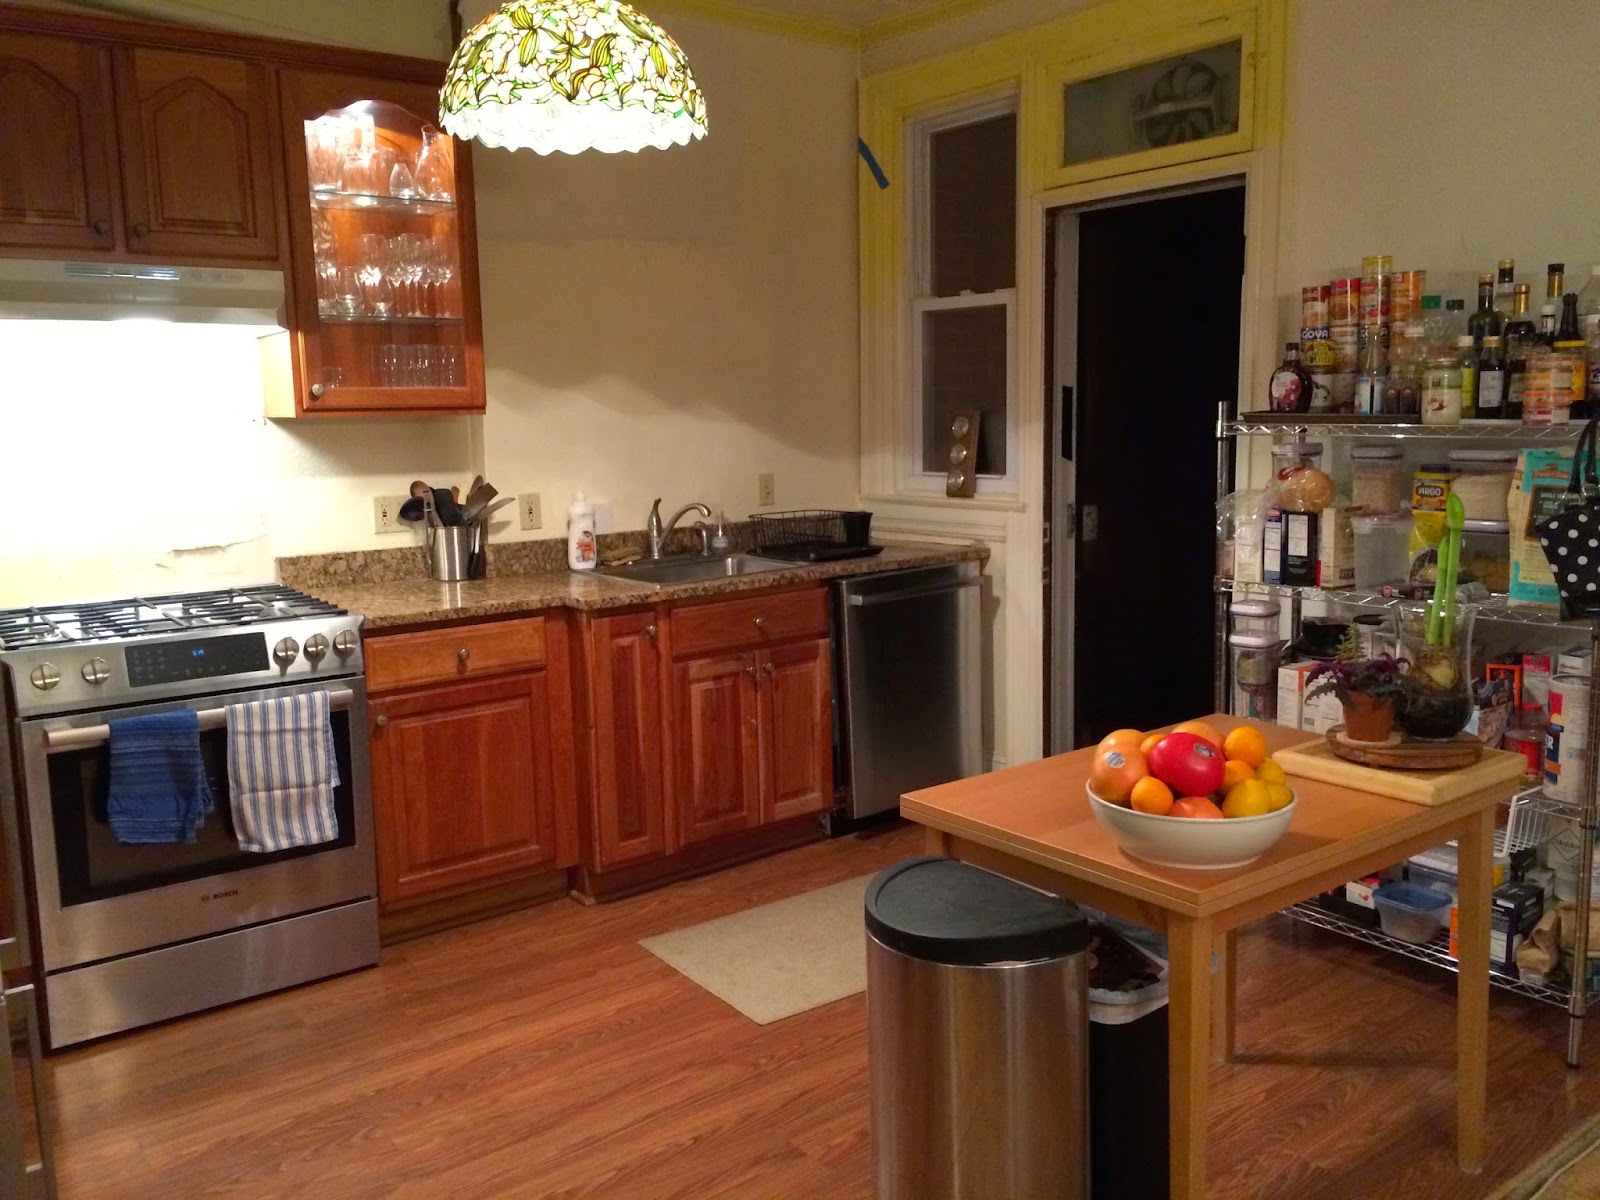
the very orange kitchen with no storage
  • Replace cabinets and counters
  • Add new recessed lights
  • Add new vent hood
  • Refinish wood floors or add tile?
  • Backsplash

Dining Room
The dining room has come a long way, with the new table and chairs and buffet, new chandelier, and open concept with the kitchen. Very little remains to be done in here.

the nearly complete dining room
  • Add door to access back porch
  • Get a rug
  • Add curtains

Fireplace Room & Stairs
The fireplace room got some attention last winter, when we rebuilt the chimney, replaced the ceiling light, and added a bookcase/liquor cabinet and a table for mail sorting, etc. The wall above the stairs was also recently repainted. It will always be our slightly awkward room, but we could do a little more to make it more attractive and functional.

view towards ugly fireplace

view towards stairs
  • Tile the fireplace
  • Replace/paint the mantel?
  • Refinish the bannister
  • Paint the stair risers
  • Add a dangling light over the stairs

Living Room
Despite being the place we spend the most awake time in the house, the living room has gotten very little attention. We added a bit of wall art, moved in the small bookcase, and got a bigger tv, but otherwise nothing has changed. [Check out my new jellies!]

the very blah living room 
  • Get new couches
  • Get a new rug
  • Add a coffee table
  • Nice leather chair

Entryway & Foyer
The entryway used to have awful wallpaper that was peeling. I removed it and repainted, and then the contractors moved the electrical to a new panel box. We bought a new lamp, which is currently resting on a box. (tres chic). We also replaced the overhead light. Otherwise, nothing has happened in here.
entryway gets temporary storage

foyer looking pretty nice
  • Retile the floor
  • Add a bench and coat hooks
  • Add a console table thing
  • Rugs and shoe mats

Upstairs

The Old Office/New Nursery
In case you haven't heard - I'm preggers, and we're having a boy in a couple months. So, the current office needs to become the new kid's room. It's already been painted and the outlets have been replaced. It got curtains, but they won't really work now. This is obviously a very high priority with a short timeline for completion.

the current office & future kid's room
  • Empty out office stuff
  • Get crib, dresser, rocking chair
  • Replace curtains
  • Get a rug
  • Wall art

The Green Room
The guest room is one of the most finished rooms in the house, with a bed, dresser and curtains. It also now has a tv and plant table, but the wall art keeps getting pilfered and moved to other parts of the house.

green room looking purty in the morning light
  • Get/make a headboard
  • Wall Art
  • Bedside tables
  • Rug

Bathroom
This bathroom hasn't gotten any attention, other than to replace the caulk and clean the skylight window (which needs to be cleaned again). Now that we're cut off from the basement bathroom, it's the only bathroom we can use. A full renovation is coming at some point, but it's pretty low on the list.
mostly untouched bathroom
  • Remove tile and wallpaper
  • Replace shower and floor tile
  • Replace pedestal sink with double vanity?
  • Turn door into pocket door?
  • Replace toilet with something more efficient
  • Replace lights

Master Bedroom
The master bedroom got some attention last winter, when I repainted the walls and trim and replaced all the outlets. We also got some new bedding, refinished my lady table and hung the snazzy tin wall art - but we still lack nightstands and could use a rug.

master bedroom still has a ways to go
  • Get nightstands
  • Make a headboard
  • Get a quilt
  • Rug
  • Remove old closet
  • Add a ceiling fan
  • Add a skylight

New Office
What used to be part of the sleeping porch, will now be our new office. It has already been closed in with new windows. This brand-new space needs a lot of work to be completed. Since this will be the place that all the office stuff goes to make room for the kid - it's a really high priority.

new office is a blank slate
  • Frame new wall between office and bathroom
  • Add sheetrock to walls and ceiling
  • Build built-in bookcases?
  • New desk
  • Hardwood or tile floor?
  • Add storage
  • Comfy chair

Old R Room/New closet and master bath
This room is changing the most. What used to be a small extra bedroom where R kept his clothes, is becoming our master bathroom and closet. Over the summer, his old closet space was turned into the new washer/dryer for upstairs, and the old sleeping porch was closed in with new windows.

the current 4th bedroom & future walk-in closet

part of the old sleeping porch and future master bathroom
  • Frame walk-in closet and new bathroom door
  • Open window into door to old sleeping porch
  • Add closet storage
  • Tile bathroom floor
  • Build shower
  • Add double vanity, toilet and tub
  • Add lots of lights and skylight

Priority list
So, in two years, we've made a mark on every room in the house, but there is still a lot to do. First up will be the new office and kid's room upstairs. If those go smoothly, we'll tackle the new half bath and mudroom downstairs, and then maybe the new master closet. By the end of the year, I hope to have also finished the entryway and fireplace. Stay tuned.


Friday, January 9, 2015

Christmas 2014

This year, my family came to town to celebrate Christmas with us. We started in early December to get the house all spirited up. As always - I probably went just a bit overboard, but I thought it looked nice.  

the living room with 5 new pillows

Wally seems to show up in all my pictures. This is not staged- he's just a little ham. 

the tree with its mini-skirt from last year

snow flakes and berries over the doorway

twinkliness on the mantel

the fireplace with 7 borrowed stockings, some branches and the twinkliness

one of the new pillows in the fireplace room

a gingerbread house that was made entirely by my family, of which I had no part.

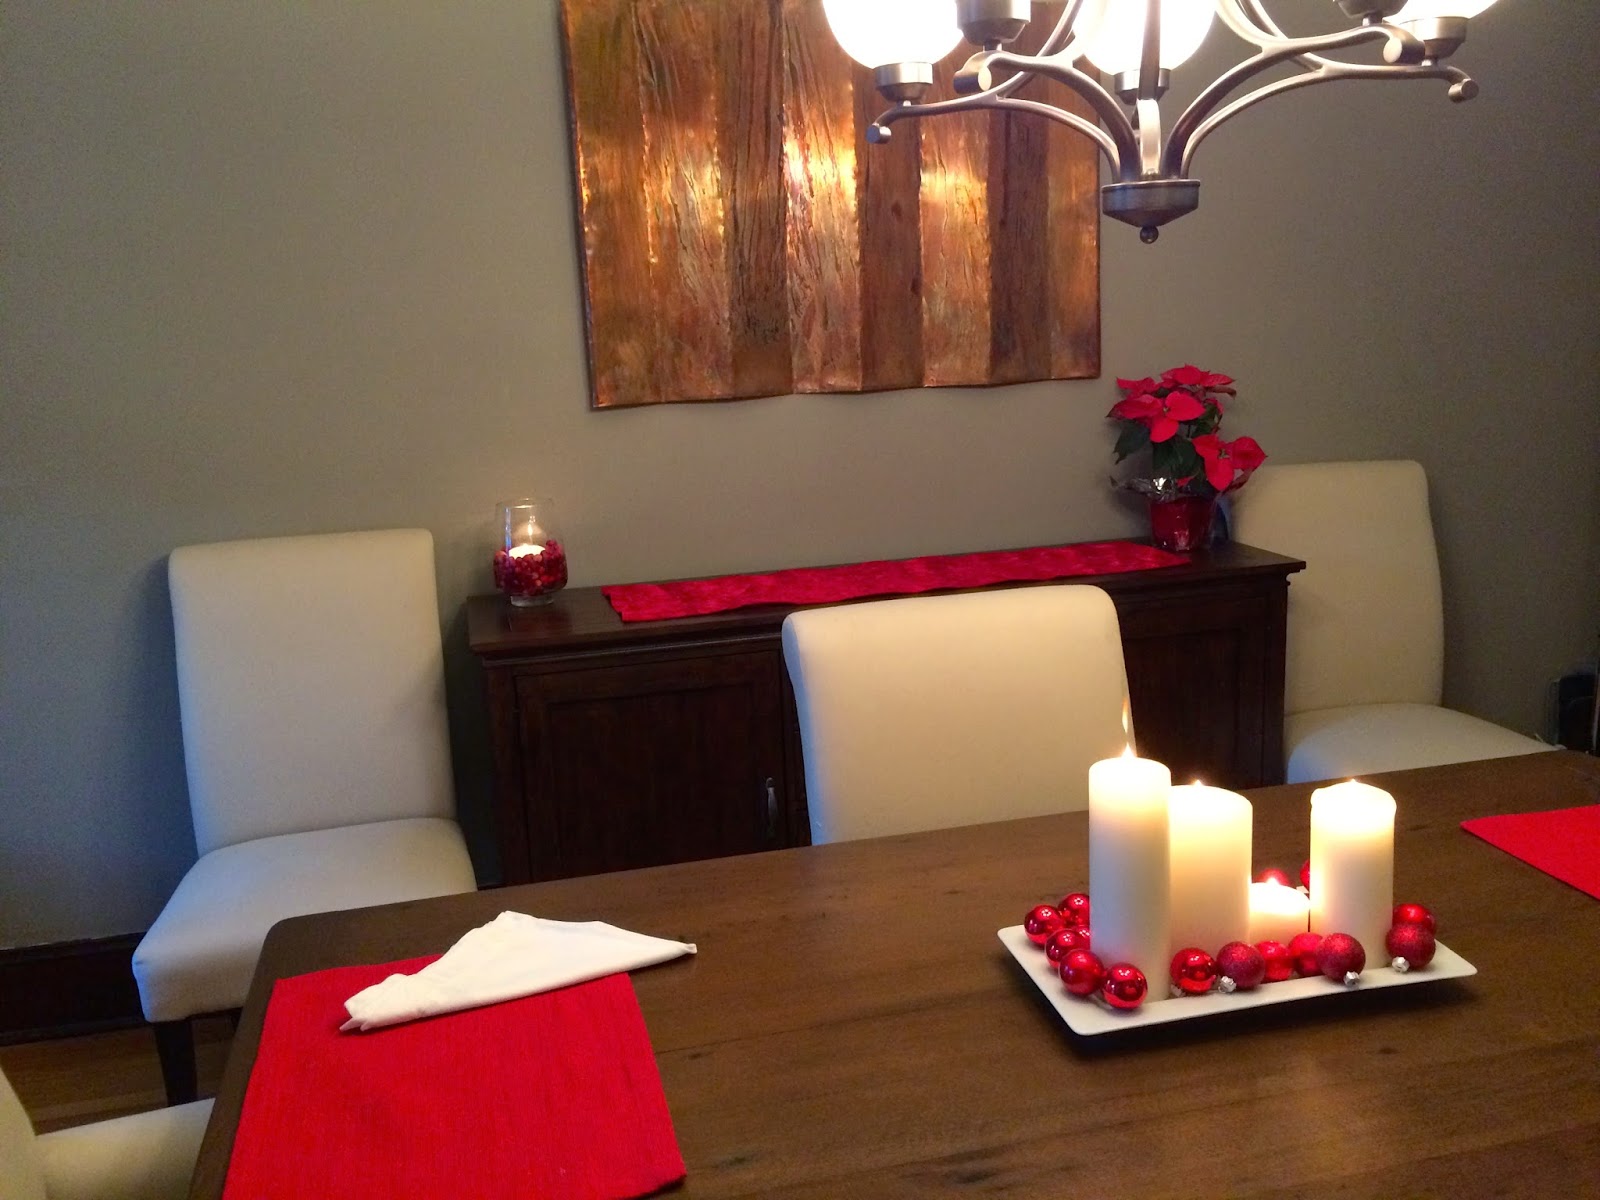
my standard candles and ornaments centerpiece

a new runner I made out of fabric scraps, with a candle floating on cranberries

more of the dining room

live garland wrapped up the staircase

Because I like to document things, it occurred to me on Christmas morning that I should make a short video of the holiday. It's a shame I didn't start earlier, because we did a few cool things in the two days before Christmas that they were all in town. But here's what I've got - my second attempt at a video showing Christmas Day, and the two days after it that we shared with some of my family. Enjoy. 


Thursday, December 18, 2014

New Envelope Pillow Covers for Christmas

One of the things I wanted to do last year was re-cover all the throw pillows for Christmas, but the fabric I ordered didn't arrive in time. This year, with the fabric in hand, I finally got my chance. I spent a Saturday afternoon slowly cutting, pinning and sewing while watching movies. Of course, the tv is downstairs and the sewing machine is upstairs, so I'm only catching like every other half-hour of the movies.

Step 1. Measure, Cut and Prep Fabric
First up, I quickly wash and dry my fabric to preshrink, and quickly iron it flat. Then, I remove the first pillow cover and measure it: an 18" x 18" square. Next, I cut my fabric into three pieces: one square (Piece B- will be the front of the pillow) that is 19"x 19" (should be 1" more on both sides than the previous pillow cover), and two rectangles (Pieces A and C) that are 19" x 13" (same height as square piece, 6 inches shorter on the length).


cutting fabric is more difficult with playful monsters.

Step 2. Hem Long Edge of Both Rectangles
I fold a half-inch seam on the long each of each rectangle pieces, pin and sew closed.

Step 3. Layer and Sew Top, Bottom and Side Seams
I start with Piece B, right side up. I take Piece A (wrong-side up, with hemmed edge to the right) and place it on top of Piece B. Then I take piece C (which is wrong-side up, with hemmed edge to the left) and place it on top of Piece A. So now we have a pile of all three pieces, with all the right-sides of the fabric inside and only wrong-sides of fabric on the outside. Then, I pin half-inch seams and sew along both vertical edges, and then both the top and bottom edges.


Step 4. Open and Stuff
Last up, I flip out the pillow cover through the envelope opening, and stuff in my pillow.

Step 5. Repeat
I did the same thing for my other pillows, slowly working through all the fabric. After just a few bad movies, I was all done, with six new pillows to festive-up the living room.

two new christmas pillows