
Step 1. Remove the Toilet
Our first project was to remove the toilet, which we had left in here as long as possible for the dayworkers to use. Because it's an old clay pipe held on with lead, getting it off took some serious muscle and effort.
Step 2. Level the Floor
Whoever renovated the bathroom before us moved some plumbing across the room by digging out a trench, and then filling it with cement. The problem is, when they refilled the trench, they overfilled it, so the trench was significantly above the level of the rest of the bathroom. We grabbed a bag of self-leveling cement, poured it around strategically to smooth out the biggest problem areas, and let it sit.

Floor leveler goes down
Step 3. Tile!
Once the floor was prepped, we started to dry-fit the tiles. Our contractors left a score-and-snap tile cutter in the basement, so we borrowed it for most of the cuts. We only had 4 tiles that needed more complicated cuts that couldn't be done with the score-and-snap tool. Usually, Lowes will cut a few tiles for you for free, so we drove way out to the nearest Lowes (1.5 hours from us), but the clerk told us the cuts were too difficult. (arg). We bought a tile file, which the clerk said would work, but once we got it home, it became clear that filing a cut into a tile would take about as long as me willing the tile to cut itself (not going to work). So eventually, we broke down and rented the same tile saw we used on the shower, bringing it home for roughly 5 minutes of use, before returning it. Bummer, but effective.
Then, once everything was cut and dry-fit into place, we came back and thinsetted them down. The trick here was that the floor was still really uneven, even after we added the self-leveler. It took much more time than I expected because leveling was so difficult. Hopefully, in the end, the stuff you can see will look fine, and the ugly parts will be hidden under the vanity.
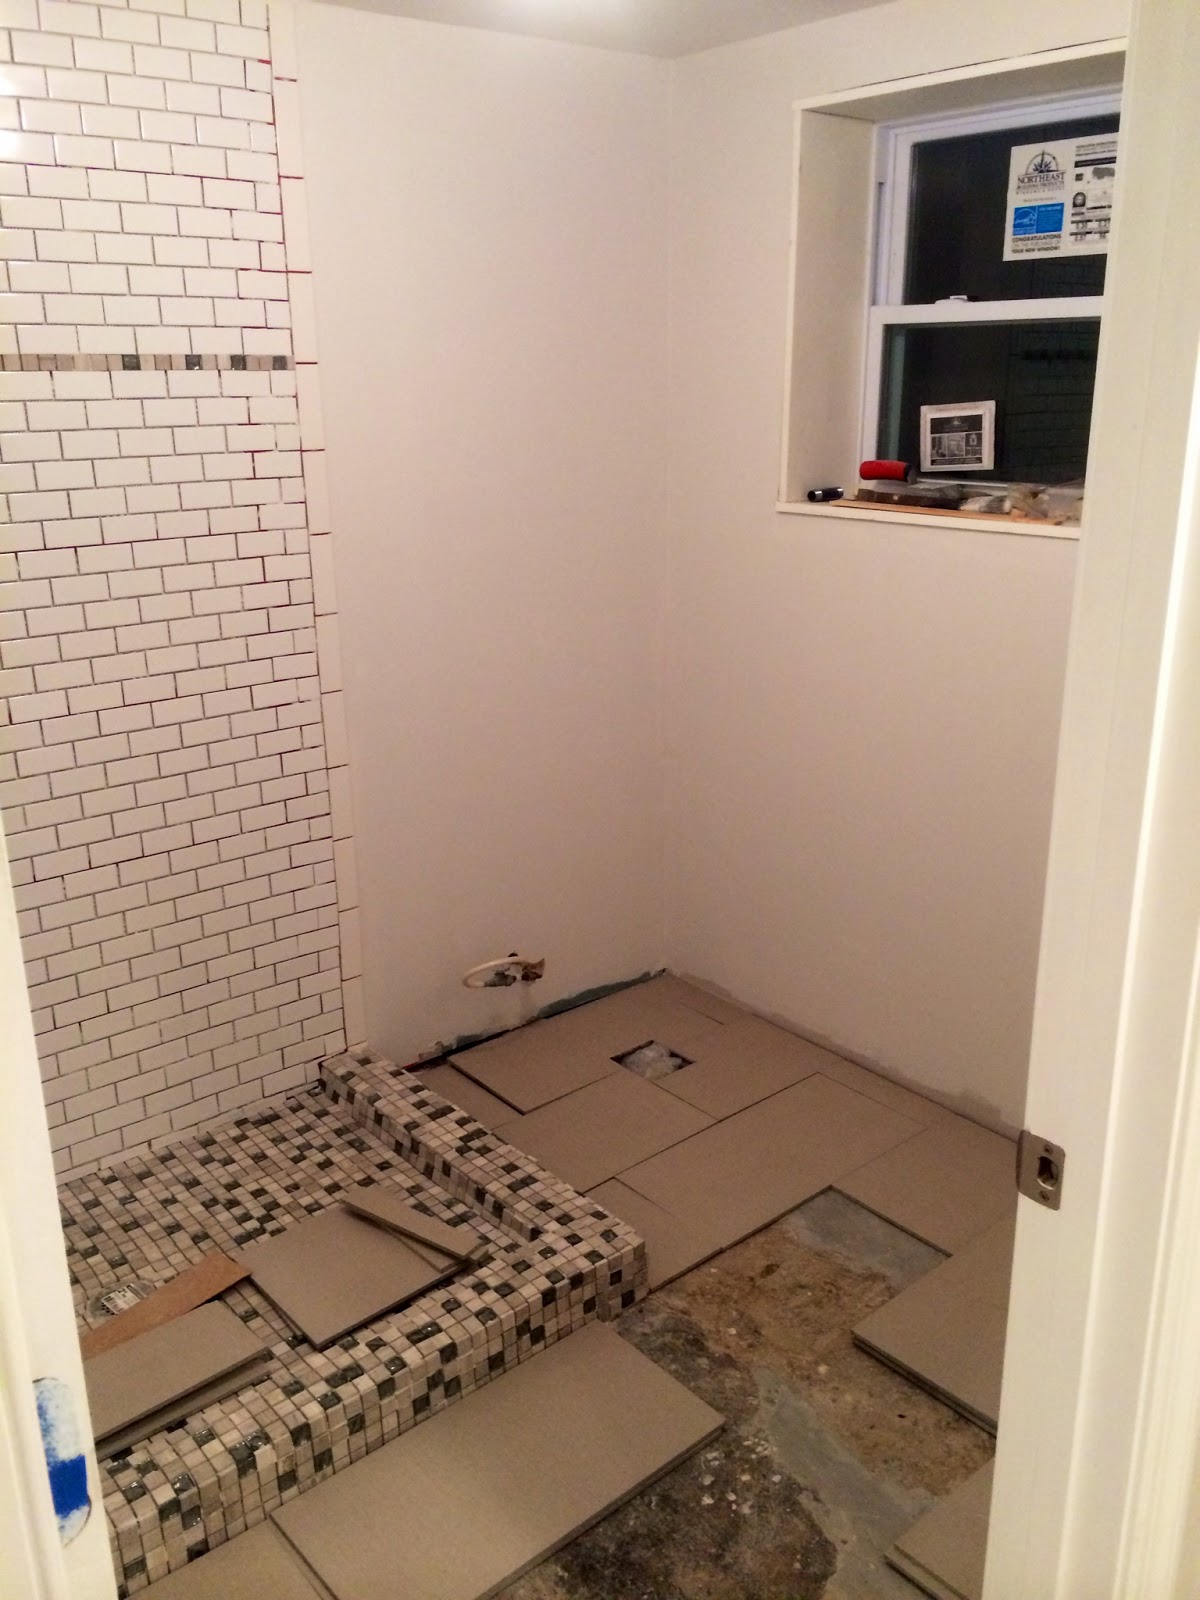
dry fitting them into place

I thinset the last few tiles
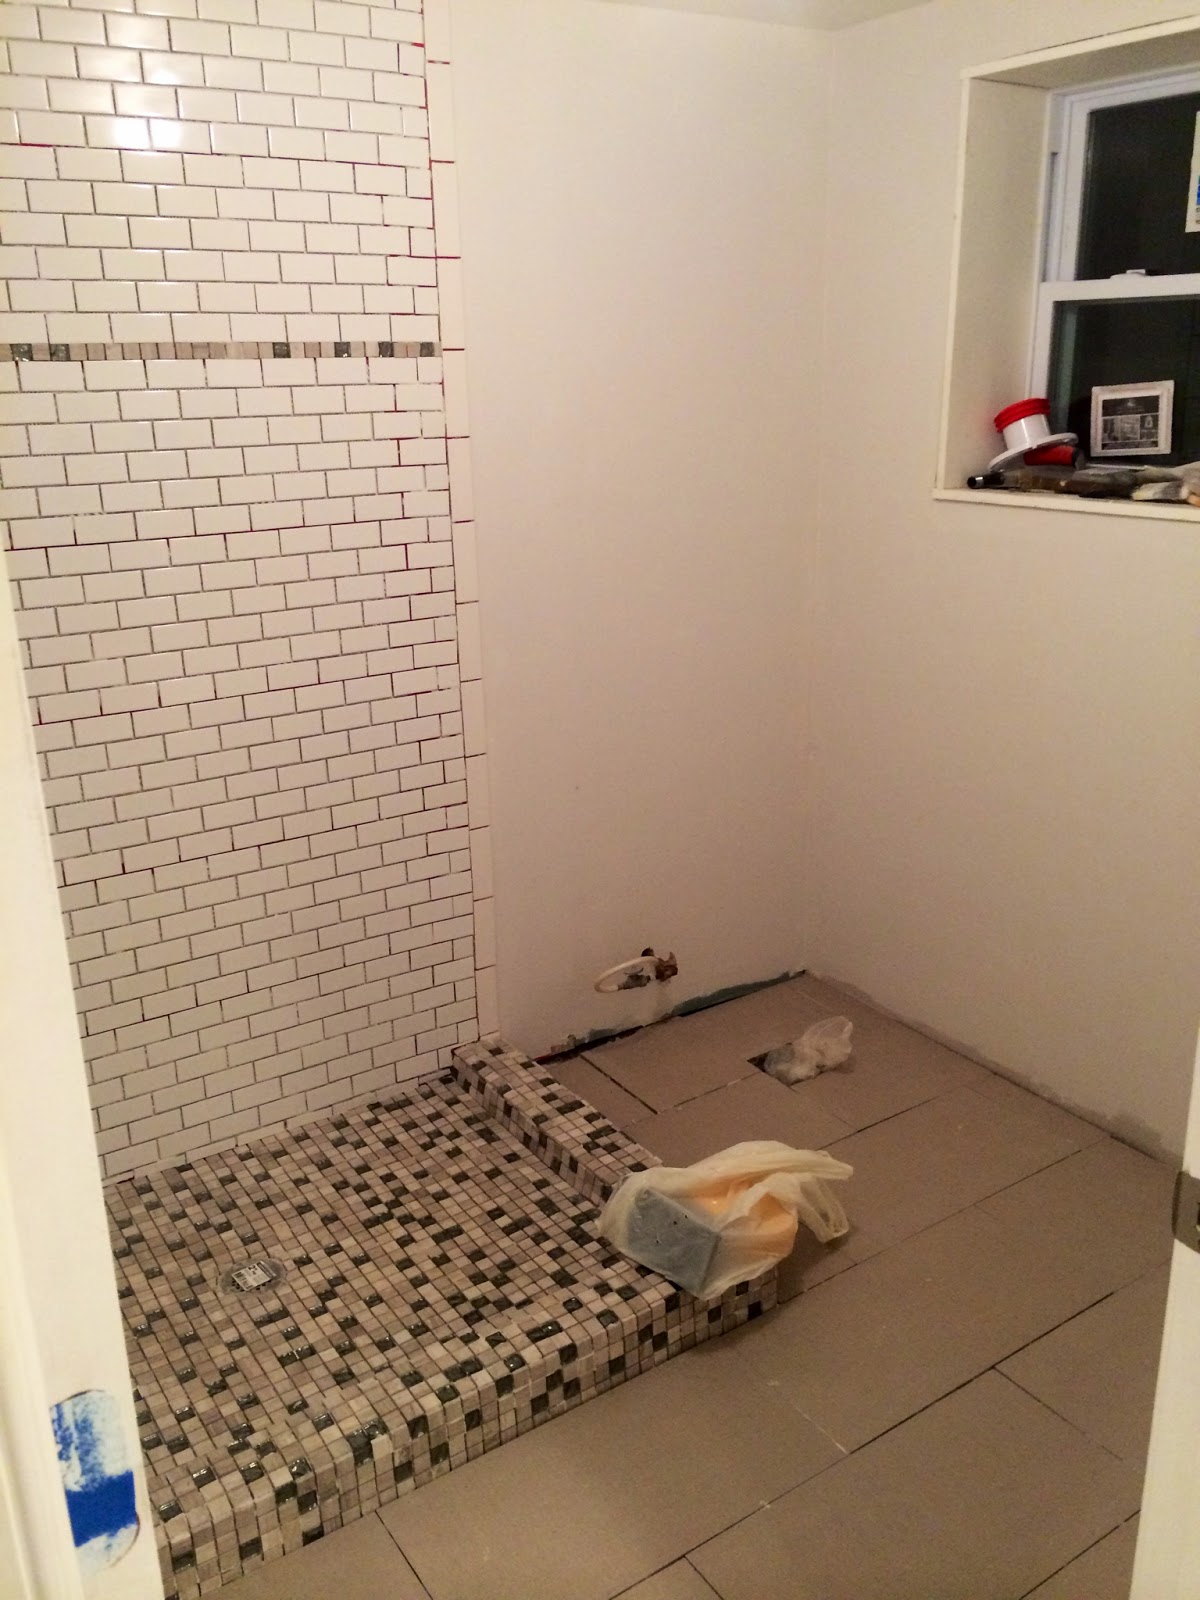
done!
Step 4. Grout. The next night, we started grouting. First, I did the shower, and then came back the next day to do the floor. Grout is easily the easiest of renovation tasks- you smear the grout into the gaps, and then wipe it clean with a big sponge. It takes a couple washes to get everything off, but with glossy tiles like this, it's super quick.

grouting is basically just scrubbing- over and over again.

done!
Next Steps.
Now we are really in the final stretch on this bathroom. We just need to install the vanity, toilet and shower doors, plus fixtures and lights.
No comments:
Post a Comment