Tuesday, July 12, 2016

Introducing the Half Bath and Mudroom Project

Okey dokey - so part of our big House Shape-Up plan is to finally close in and finish the halfbath/mudroom area. We have contractors on site shoring up the structure, plumbing and electric in this space, so we've been busy planning and shopping to figure out what we want these rooms to be.

First, let's do a quick review of how these spaces got to where they are today. When we bought the house, this was a large pantry off of the kitchen, which was next to the back door that opened out onto a small back porch and the brick steps down to the yard.

the old pantry 
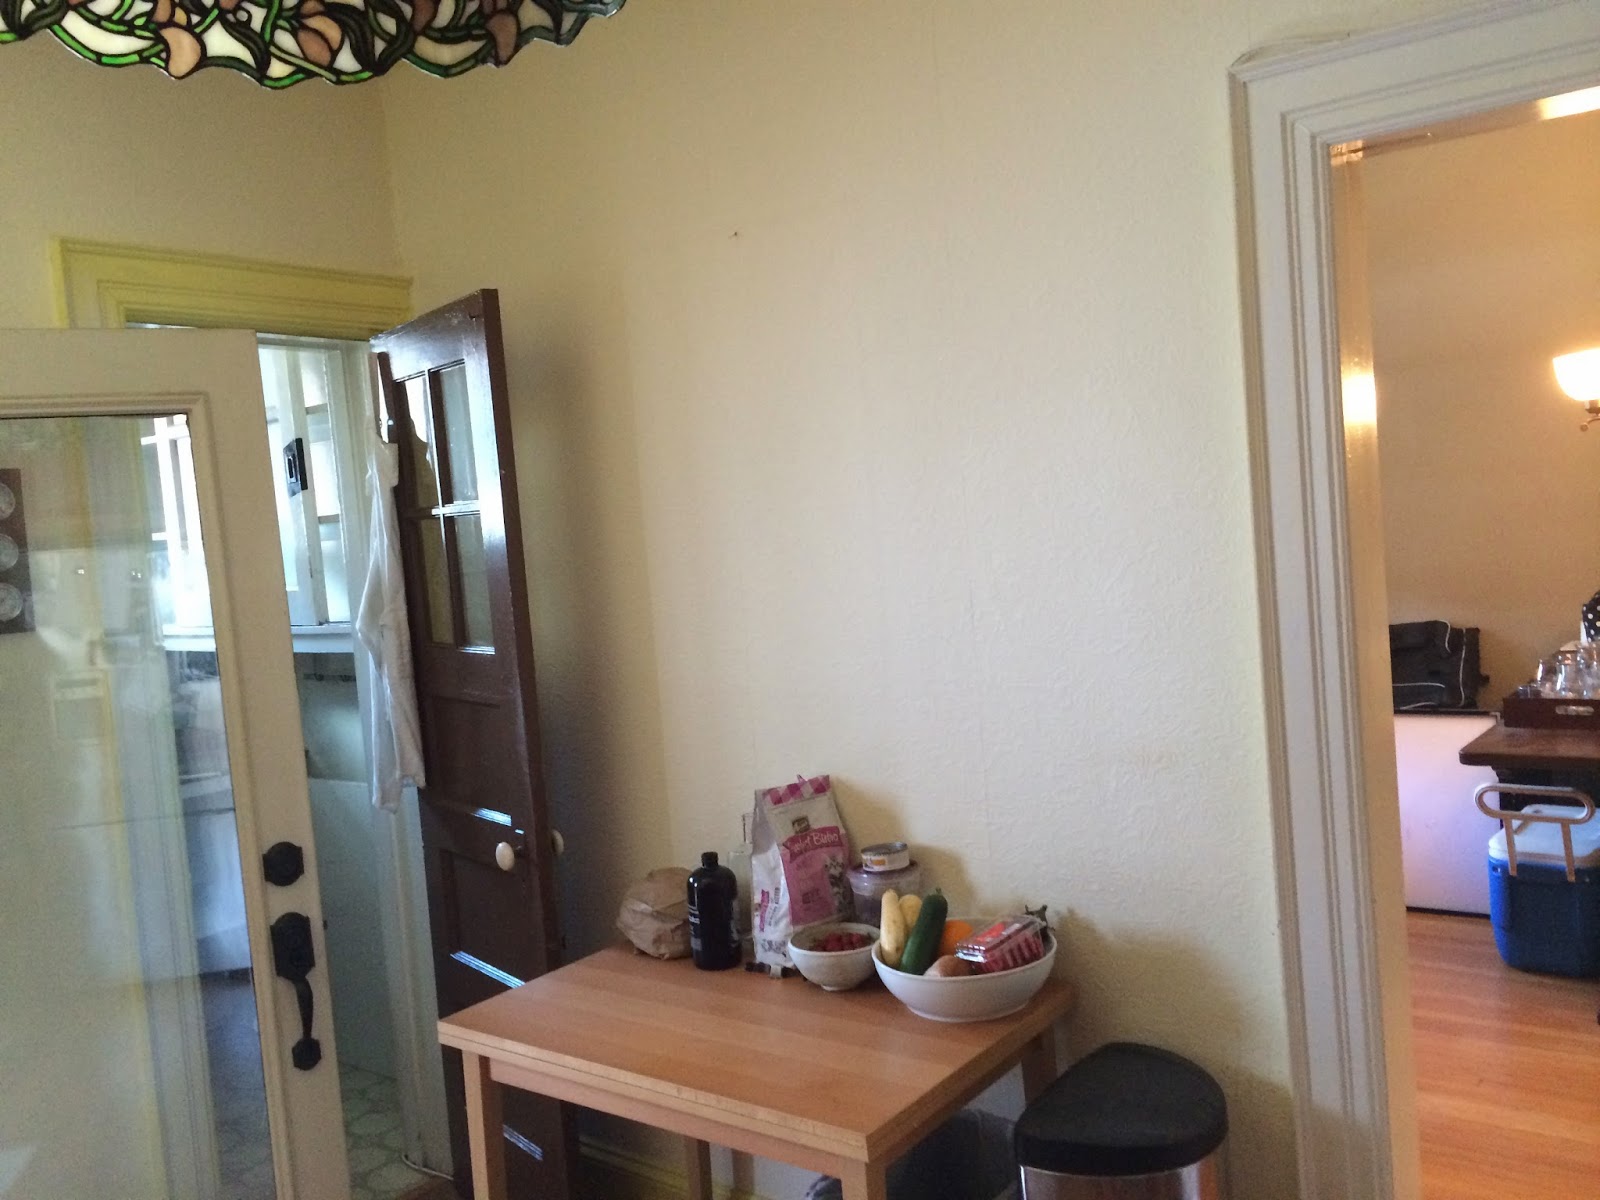
pantry door - view from the kitchen

Then, during the Great Renovation, we hired a team to knock down the pantry walls and close in part of the old back porch, moving the back door back to the edge of the porch floor. 

the new floor plans for the Great Renovation of 2014

on the back porch, the wall of the pantry comes down

from the back - the new half bath gets closed in and the new back door is moved

the back door gets moved to the other side of the old back porch, creating a new mudroom

the half bath gets a window

Then the team started pre-plumbing the area so that it would be ready to turn into a half bath, but stopped there. About a year later, we got desperate for a spare toilet while our upstairs floors were being refinished, so we added the toilet, but nothing else. 

the half bath gets partially plumbed 

new toilet really finishes the space up. 

Lastly, not really part of these rooms but related - we had the old brick steps removed and replaced with fancy new metal stairs in order to give us a landing area to make it easier to get in and out of the door, fixing one of the unintended consequences of moving the back door out. 

old broken brick steps are replaced with these fancy new ones

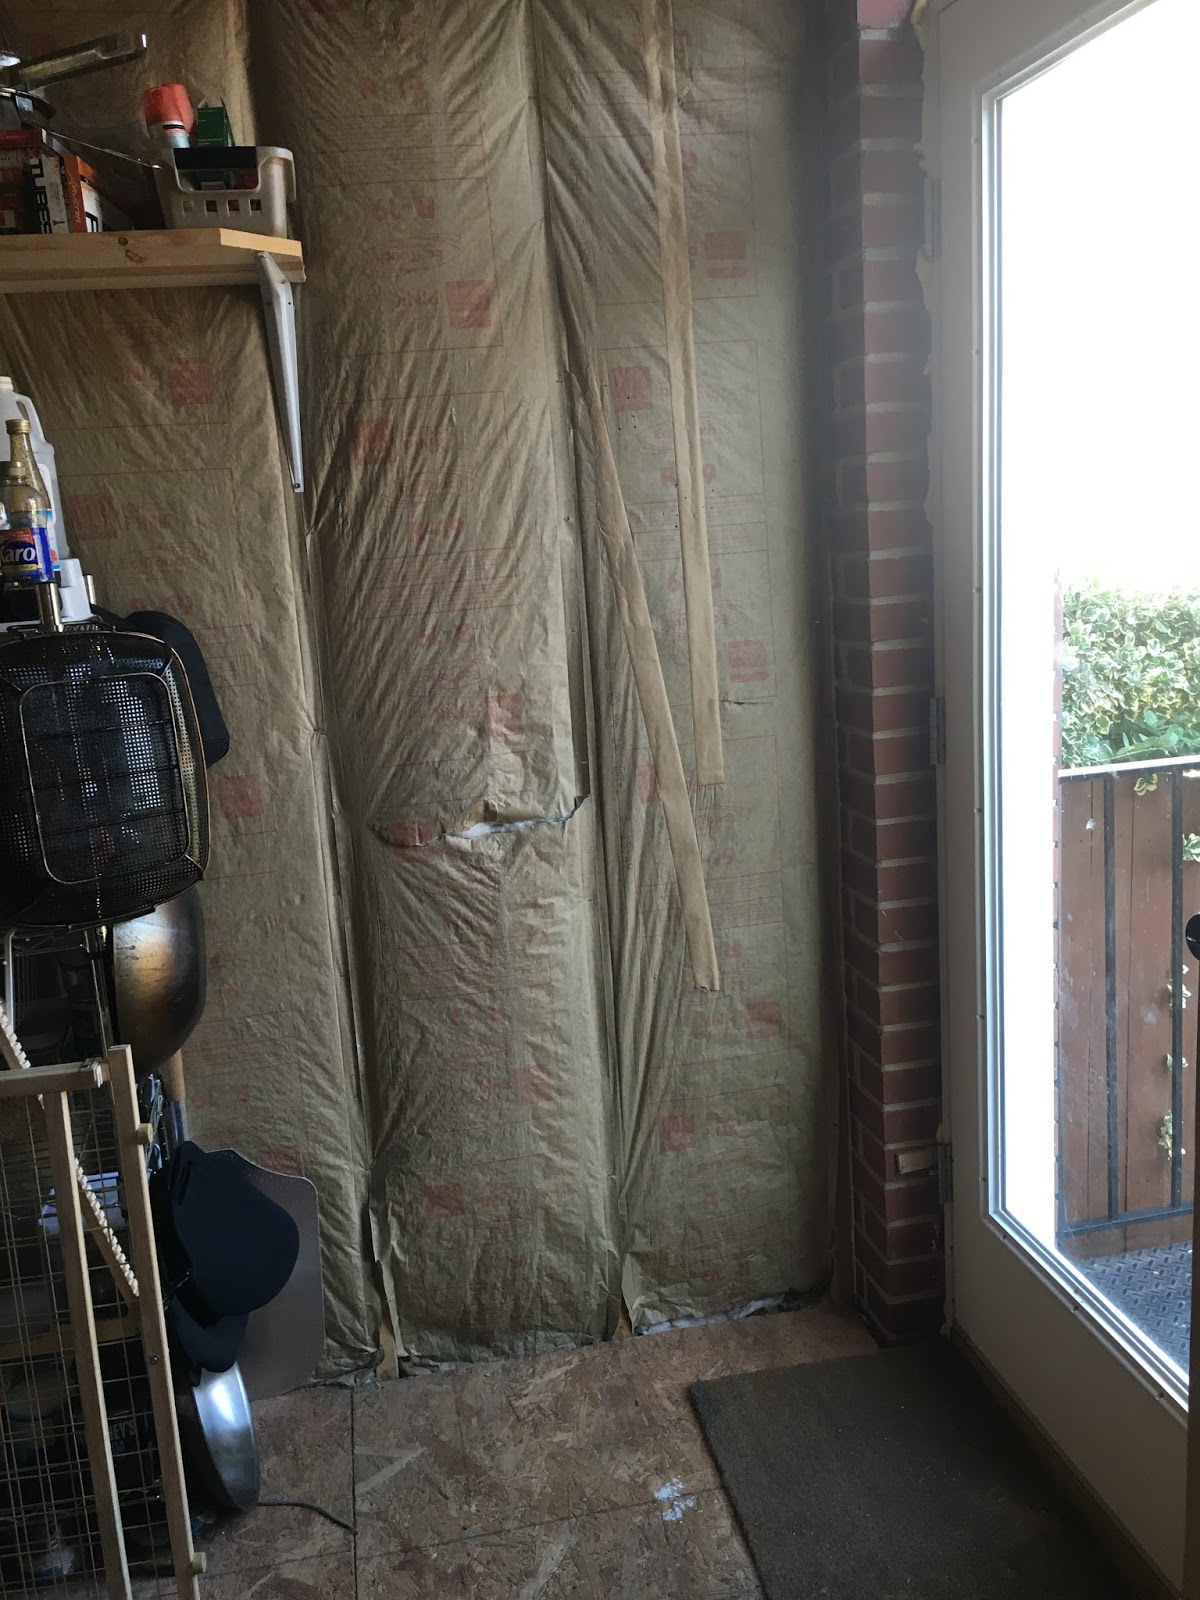
So - that's where these spaces have been for the last few months. They are the dumping grounds for a lot of junk, including the pantry, a massive pile of shoes, and lots of other random stuff. Obviously, they could be much more functional and attractive, and with the plywood floors and open ceilings - they could be a lot safer for the boy.

Since both rooms are so small and right next to each other, we're going to renovate them together with the same overall design plan. The goal is for the two rooms to be light and bright, and look like they've always been there. The mudroom will flow into the future kitchen, so we want to keep that design in mind so things don't clash. They should be consistent with the rest of the house, so we want  the same dark wood and metal accents that we have going elsewhere, plus some blue because I love blue.

Here's the design plan:


  1. A glassy and bronzey pendant light for the mudroom
  2. Some fabric for curtains and fouta hand towels
  3. Oil-rubbed bronze fixtures for contrast
  4. A removable wallpaper
  5. Wainscoting for character
  6. Penny tile for the floor
  7. A white pedestal sink
  8. Some serene but interesting artwork
  9. A live-edge shelf
Workwise, there's a lot to do, and we are going to do as much of it ourselves as we can, with some contractor help to get it finished as quickly as possible.
  1. The contractor will install a radiator to heat the spaces and fix the plumbing so it vents properly. He will run electric lines for new overhead lights and outlets in each room, and also sheetrock the walls and ceilings. 
  2. We will then paint the ceilings, and maybe add wainscoting and wallpaper. 
  3. We will then tile the floor, in something that won't be slippery if wet. 
  4. Then we will hang the pocket door and add trim. 
  5. Last, we will install the fixtures and accessories.
The goal is to finish this up as quickly as we can so that this is a functional space, and the house doesn't look like it's under construction anymore. 

Monday, July 4, 2016

Finishing the Back Porch

Ok- so first up on the shape-up plan is finishing up the back porch. (Background on how this space got to where it is, here and here.) Now that we've started using it pretty regularly, the peeling paint on the ceiling and handrails has become a glaring disgrace that needed to be fixed. So, using some weekend naps and a couple week nights, I finally tackled this miserable project.

peeling paint on the ceiling

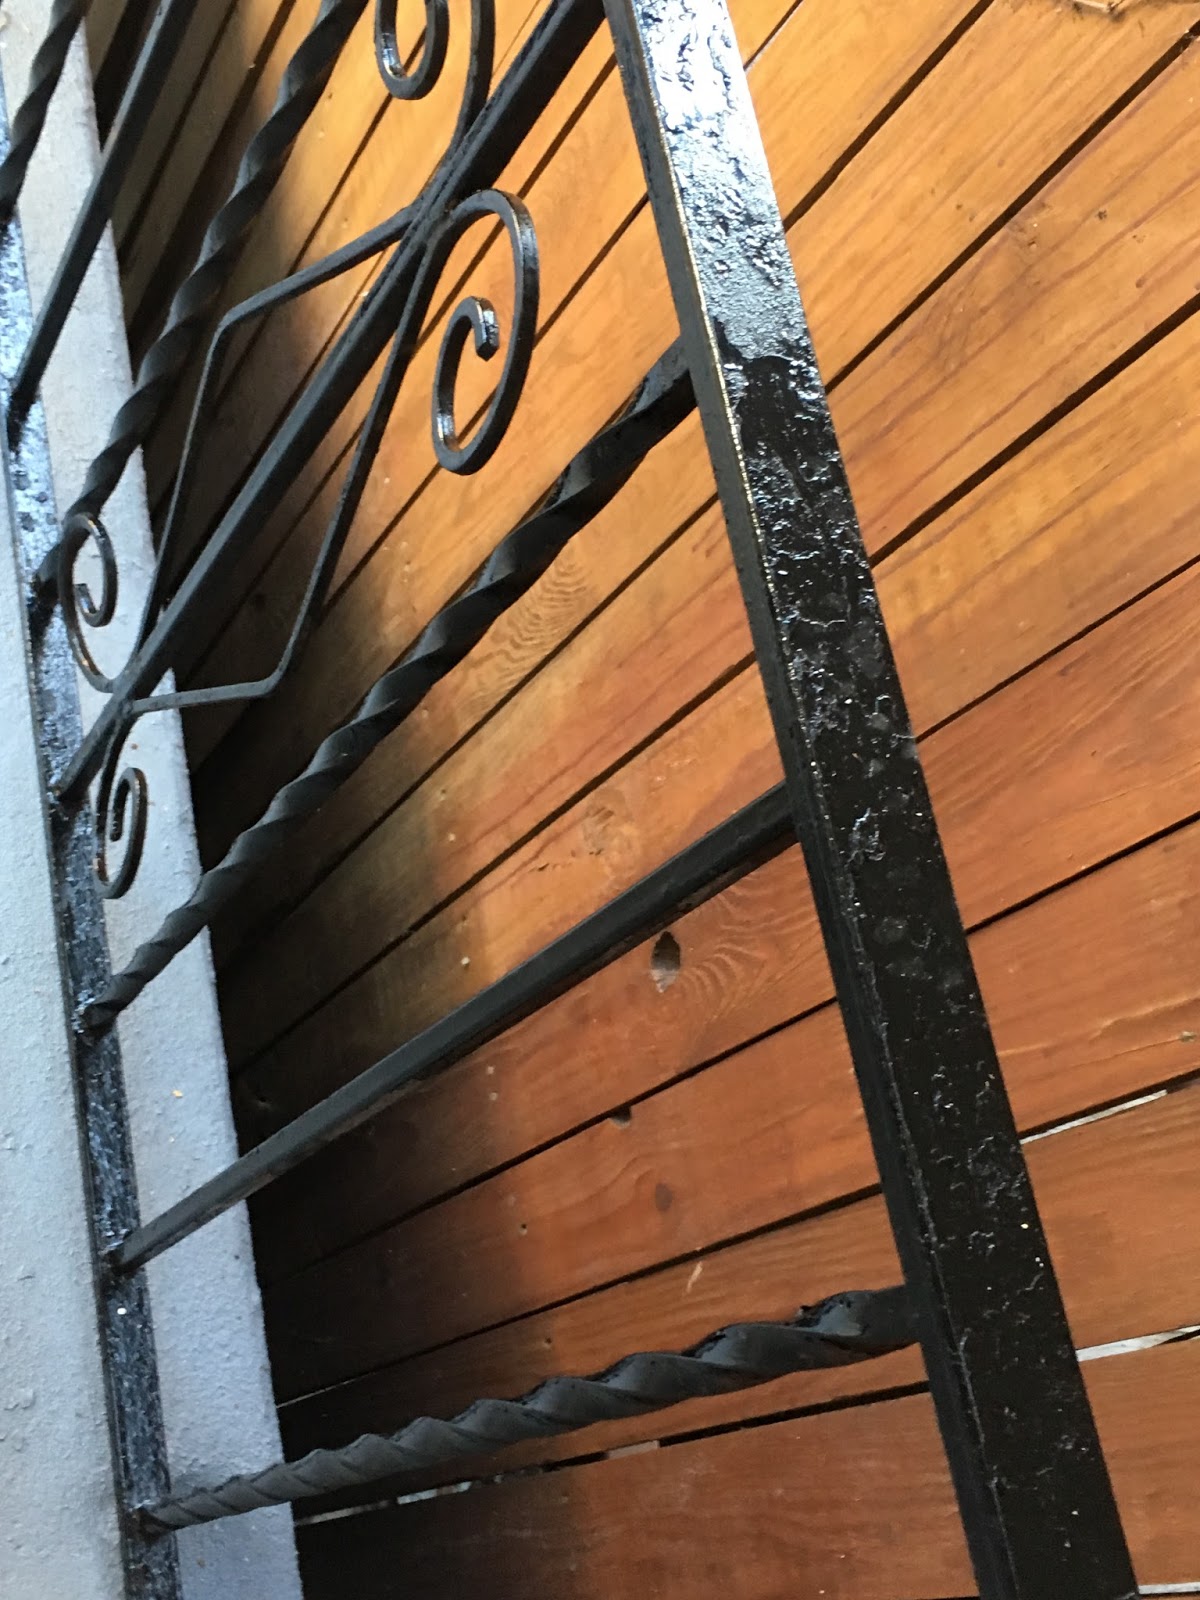
peeling paint on the handrails

 Step 1. Scrape the Peeling Paint
Using a painter's tool and a step stool, I got to work scraping away the peeling paint on the ceiling - which is horribly miserable work to do because the paint flakes just keep falling in your eyes. And then if it's hot (which of course it was) the paint chips stick to you and it's just horrible. Once that misery was done, I was much happier to get to work scraping the handrails smooth, using a sanding block to get all the flaking paint off. While I was there, I decided to grab a hacksaw and remove the curlicues on the handrails, which were no longer all-the-way attached anyway. Then I just swept all the paint chips away, and hosed down the whole area and let it dry.

curlicues that were only halfway on

Step 2. Repaint
For the ceiling, I rolled on a new coat of stain-blocking ceiling paint. Again, working on ceilings is miserable because stuff is constantly falling in your eyes, but this was relatively easy because it was such a small space. Once it was done - I pulled out a can of black spray paint for the handrails. I don't often use spray paint and probably would have preferred just a can of paint to use instead, since I lost so much time trying to cover and protect everything - which still didn't work very well. The only nice part was that it took like 5 minutes to spray everything once the area was all covered and prepped.

newly painted ceiling - no more paint flakes

newly painted handrail - all shiney and non-flakey

no more curlicues

Step 3. Touch up the Floor
Well, not surprisingly, it was a mistake to start this project by painting the floor before painting the ceiling and handrails. I dripped ceiling paint and over-sprayed the handrail paint, and ended up messing up my floor. So I quickly grabbed a brush and touched up the key areas, making the floor nice again. I figured another coat of paint would only be helpful anyway.

yipes. obvious advice: paint the ceiling before the floor. 

Step 4. Make Privacy Curtains
So, then I opted to make some curtains to give us privacy from our neighbors, who come and go often through their back door just on the other side of the handrail. Since it does get a bit of sun, I picked a sunbrella fabric in a fun blueish grey color, and just made simple unlined, grommet drapes. To keep them from blowing all over the place, I made tie backs using leftover velcro. I hung them with a standard tension rod (shower curtain rod), so that we didn't have to drill into the brick. The only trick here was that I was using a much heavier, outdoor fabric so my cheapo sewing machine struggled a bit on some of the seams - but going slowly and backing into the thicker seams worked great.

you just can't complete a sewing project in this house without help from Wally.

tie-backs with velcro

new curtains up and looking great

Step 5. Install Exterior Outlet
We have a team of contractors on site working on other stuff in the house (which I'll fill you in on next), so we asked them to add an outlet for the porch while they were here. So while we sat in nicely air-conditioned offices without any paint chips or dirt falling in our faces, they installed a lovely outlet that is mostly hidden from view - which will allow us to string up some fun lights to brighten the space at night.

new outlet - tucked behind the plant ladder

So, now this porch is officially finished. There is no flaking paint in sight, so I feel ok about the boy being out here. And since I no longer see a long list of to-do's when I sit out here, we can definitely enjoy it as well. The only other fix I would like to see is nicer patio furniture - but we can wait on that. Moving on - I'll update you on what the contractor has been up to, and then we turn our efforts to the sleeping porch.

no paint flakes to be seen

plant ladder in all its glory

oh- and happy 4th - cuz this definitely happened. 

Tuesday, June 28, 2016

The 15 Week Shape Up

So at some point I read that men are more likely to view their houses as the places that they live, whereas women are more likely to view their houses as a part of themselves-  which allows a messy, disorganized house to reduce a woman's self confidence, while it would have little to no impact on a man's confidence. (I can't find the article, but here's another interesting read on the gender gap of self confidence).  For sure, I feel like my house reflects on me, so it messes with my confidence when I know it's a disaster. But then again, my confidence is already kind of messed up right now anyway. There are aspects of both the house and myself that are kind of embarrassing and cringe-worthy, that I've been very slowly trying to fix up or just putting off altogether. For a variety of reasons, the time has come to get both the house and myself back in shape.

house shame 1: the plywood gap-filler between the dining room and kitchen floors

Part A: Me
So, more than a year since having a kid, I'm still carrying pregnancy weight that just won't get lost. I'm tired of not fitting into a bunch of my clothes and feeling not like myself. I have been losing weight steadily over the past 8 or 9 months, but not fast enough - so it's time to get in gear. My goal: in 15 weeks, I will lose 15 pounds. I don't want to turn this into a weight loss blog, but I'm tired of feeling crappy about myself and ready to be back to normal.

Part B: The House
If you've seen our house lately, you would think that we're in the middle of major construction - but really nothing much has happened in quite a while. After the Great Renovation of 2014, we left a bunch of half-finished spaces that we thought we could close up ourselves, but never got around to. Other spaces, like the bathroom and kitchen, have not been touched really since we moved in - more than 3 years ago. The time has come. First, the spaces are just hideously ugly and constantly filthy, which drives me crazy. Second, the kid is basically walking now, and can easily and quickly get to all of the hazardous and dangerous places - which are of course, exactly where he wants to be. He crawls over plywood floors, tries to eat bits of plaster that fall from the ceiling, and picks at the chipping paint and black mold - so, as a well-intentioned parent, I need to do something for his safety. Third, most of these spaces are completely nonfunctional - we have piles of books and office supplies in the office, and piles of trash and donations in the half bath. So, the goal is to finish up all the partially finished spaces (half bath, mudroom, dining room, kitchen, sleeping porch/office) and to redo the main bathroom - or, generally to fix anything that makes me cringe. This is a considerable amount of work to do, but not quite the entire house to-do list - these are just the big projects that have safety/health issues, or major functionality issues. I'll leave the smaller cosmetic things, like refinishing the fireplace hearth, for another time. We've already got a contractor lined up to get started on some of this, but will do most of the work ourselves.

house shame 2: "mudroom"

Here's the list:
  • Finish the back porch
  • Close in open ceilings and floors in kitchen and dining room
  • Fix the eyesores & other hazards in the kitchen
  • Finish Mudroom
  • Finish Half Bath
  • Finish Office
  • Refinish main bathroom
  • Finish the entryway
  • Renovate the kitchen?
For the Boy
So, obviously, this is largely for myself, but it is also hugely related to the kid (as is, basically everything we do now). On the house front, most of the projects on the list are there because they pose health or safety risks to the kid - either rough edges that he could cut himself on or flaking paint and plaster that he could choke or poison himself with.  It's impossible to make a completely hazard-free house, but it would be damn close to irresponsible if we don't fix these things. On the me front, while he isn't quite talking yet, he is already absorbing and repeating just about everything we do in front of him, so we are clearly teaching him all kinds of things right now, including both healthy and unhealthy habits. Just as I wouldn't want him eating junk food and sitting around playing video games all day, I wouldn't want him to feel self conscious about his body when he's older - and that all starts right now. So my goal is to create both healthy lifestyle and habits that he will see and repeat - like exercising and eating lots of produce, and to eliminate unhealthy body shaming and weight loss mentalities.  If we had a girl - I would be even more psycho about this, but even boys get a lot of pressure about body image, so I want to get him off to a good start.

this guy. 

The Plan
So, for me - the plan is the obvious  "exercise more, eat less bad stuff" plan. I'm signing up for a 10 mile race in October to keep me on track - so I have plenty of time to build my base before starting a 10 week training plan. I'll plan to mostly use my lunch hour at work for running and a couple yoga classes for weight training/flexibility to reduce my likelihood of injuring my bad knee. I'll have to do long runs on the weekend, so scheduling that around the boy will be a little tricky. For food,  I'm going to make an effort to bring in my lunch and snacks so that I don't have to buy food at work, and will cut back on useless calories at home.

house shame 3: the current office/sleeping porch

For the house - we have already hired a contractor to get started on some of the stuff we can't do ourselves. For the rest of the stuff, the plan will be to work  mostly during weekend nap times, with some minor work during weeknights after the boy goes to bed. We might also have to take a day off here and there. Balance will be key - since we also want to do fun summer stuff and don't want to waste the whole summer working on miserable projects.

So, a very ambitious, but hopefully doable plan to get everything back in shape by the fall. I'll report back with updates as we proceed. Wish me luck!

Friday, June 17, 2016

A Birthday Book

So - as you know - our kiddo just had his first birthday - which is very hard to believe. It seems like both much longer and much shorter since he arrived. For this momentous occasion, I wanted to get him a great gift that he would really enjoy for a while (like, at least a month), and of course, it needed to be handmade. Right now - he really likes books, particularly with different textures, and especially ones that rhyme. He's also really into zippers and pushing buttons. So, I decided to make a book with all those things.

1. Research & Shop
So - I googled and pinterested around for a bit, and discovered that I was stumbling on to something that already existed called a "quiet book" - presumably meant to be a quiet distraction for places like church. I went to Amazon and ordered a book on how to make felt animals, some felt, stuffing, sequins and beads. I already had embroidery thread and needles. Then (after letting this project grow a bit more complicated), I went to Joanne fabric and ordered some fabric quarters in various colors and more thread. The fabric quarters are selected to look similar to what you ordered, so what arrived wasn't exactly what I wanted, but was pretty close and awfully cheap.

the dining table looked like this for the last two months. 

2. Make Felt Animals
Once I had all the materials, I used the book to make some felt animals. The gist is pretty simple - you just cut out two copies of the outline of an animal, maybe add an extra appendage like a tail or ear or something, add some beads or other decoration, and then sew them together with a bit of stuffing to give it some dimension. It took me about 2 hours to make each animal, a little more for the ones with a lot of decorations, which made it perfect to do at night after he went to sleep. I made 2 or 3 animals for each habitat (forest, sea, etc), and then starting making my own designs for some alien monsters. I also thought it would be fun to get the grandmothers involved, so I mailed both of them the materials and patterns for an animal to contribute.

an owl

giraffe

3. Make the backgrounds
Once I had all the animal critters,  I needed backgrounds for them. Using more felt and the random fabric pieces, I cut out skies, hills, waves, horizons, and whatnot to create backgrounds for each page. I added some trees and bushes, seagrasses, and a farmhouse for more dimension and interest. These didn't get stuffed, so they were much faster to make. I think I pulled them all together in one or two nights.

a background for the giraffe

4. Add something extra to each page
So - at this point I had the makings of a pretty decent book, but it wasn't anything spectacular. I wanted to add something unexpected to every page for more texture and interest. I started with small things like buttons and shoelaces, and then went another step and decided to add some lights that he could switch on and off - a string of fairy lights to be stars on the space page and a push-button light (undercabinet light) to be the sun on another page. I tried to make a rocket ship that would light up and make noise when he pressed buttons - but once I started looking into making my own circuit boards with LED lights, I figured I had gone too far and scrapped the idea.

fairy lights taped to cardboard for the starry night sky

5. Add the Text
Spouso's contribution was the story line - so I just gave him the list of animals and he got to write the story, in rhyming couplets, of course. He decided at this point that the story would be about the animals coming to the kiddo's birthday party and forgetting how to get home, and that he would have to put the animals back on the pages where they belonged. A super cute idea - but it meant a little scrambling on my part to get velcro and add some extra pages to the front and back. Once he was ready, he used a sharpie to write the text on some blank white pages made of leftover curtain liner. I then made additional pages, using the same background as the main pages, and sewed his white text on. In a few cases, we had extra animals that couldn't fit on the main page that needed to be squeezed onto the text page.

a white text sheet and its background page getting sewn together

6. Put it all together
Lastly, I finally got to put everything together. Half of the critters got sewn onto the background pages, and the other half were stuck onto velcro, which was also stuck onto the pages (so that he can move them around). The critter pages were sewn to the text pages, with cardboard in between for support.

one page gets sewn to the next with cardboard in-between

The last step was trying to bind it all together, which turned out to be harder than I expected because the pages were so thick. I ended up just sewing them together on big fabric loops and sticking it in a 3" small binder for protection. Then, almost 3 weeks after his birthday and nearly 2 months after I started - the book was finally finished and ready to be read.


the party page with the 5 lost friends.

the farm page with a shoelace sun

the forest page with a button trail

the savannah page with a light-up sun
(lion by Nana)

the sea page with a zipper sea grass
(fish by Grandma)

the space page with LED stars (that are possibly too subtle to see)

Finale page with cats. 

button trail is the favorite so far


So - this project ended up being pretty massive. It took about two months total - but in the beginning I only worked on it every other night for 2 or 3 hours, and by the end I was working on it every night for many hours.  Clearly - you could make this a little easier on yourself by skipping some of the backgrounds or making fewer critters, but I got carried away. Regardless - I think it turned out pretty well, and he seems to be a fan.

Thursday, June 2, 2016

Powerwashing, Painting, and Plants on the Porch

Ok, so we had the new dining room door installed a couple months ago, which suddenly gave us easy access to this charming little porch that we had been completely cut off from for the past 2 years. So now, of course, we want to be out there all the time, so we needed to fix it up.

the newish door to the small porch (from January)

The small patio and its newish door

peeling paint on the porch floor

1. Pressure Washing
The porch floor was painted years ago (badly), and the paint was really flaking off, which is annoying for a place that I want to be barefoot, but really not ideal for a crawling baby who puts everything in his mouth. So we rented a pressure washer to remove the flakes. Having never rented one before, I had the impression that this thing would instantly and magically power all of the paint off - which turned out not to be true. Instead, it could remove the biggest flakes, then I followed up with my paint scraper tool, and then sprayed it down again. After an hour or so, I had removed all the loose stuff, but there was quite a bit of paint left behind.

after pressure washing - no loose paint but still ugly. 

2. Paint
Since the pressure washer didn't remove all the paint, what was left behind was safe but ugly. So I grabbed a gallon of cement/garage paint, which is presumably meant to be outside and therefore hopefully won't flake off like the old stuff. First, I did one thin layer with a paint brush, and came back an hour later with a thick roller. It made the floor all one nice homogeneous color, though clearly where the old paint was left behind it looks bumpy. I'm hoping this is "texture" that will reduce slipperiness.

after the first coat of paint - all one color but not very smooth

3. Plant Ladder
Clearly, the next step was to add some plants to this area. I wanted some height and wanted to cover up the awkward little notched area where the old walkway used to be - so decided to build a plant ladder using scrap wood. I just took two 2x4s, cut a 15 degree angle in the bottom and a 15 degree angle off of the top so that they would lean against the house, and then cut a bunch of scrap boards that were all 1" thick but various widths to 15" long to be the shelves. I stained them all and added a couple coats of polyurethane to protect them against the water. Then I screwed them to the 2x4s, 1 foot apart. I bought a bunch of terracotta pots of various sizes and some shadey, drapey plants. In hindsight - I should have spaced them out a bit more than a foot (or gotten shorter pots), because tall plants bump into the step above - but it's no biggie.

plant ladder!

So, the painted floor and lack of peeling paint chips are a huge improvement, and I'm pretty proud of my plant ladder and its flowing greenness. As is to be expected, now that one major eyesore has been fixed- suddenly a new one pops out. It is now super apparent that the handrails are flaking and desperately need to be painted. Also, even though we like our neighbors, a little privacy curtain would be nice to separate our space from their back door. Plus, it would be great to upgrade the furniture - so maybe some of these things will happen next. For now, this is already much nicer and safer than it was before, and has already gotten a lot of use.

yay porch.